
OKO Web Client 4.7.1 CSP 6.36.0
This article will guide you through creating a new space in OKO Web and managing it.
Instructions
Create a space
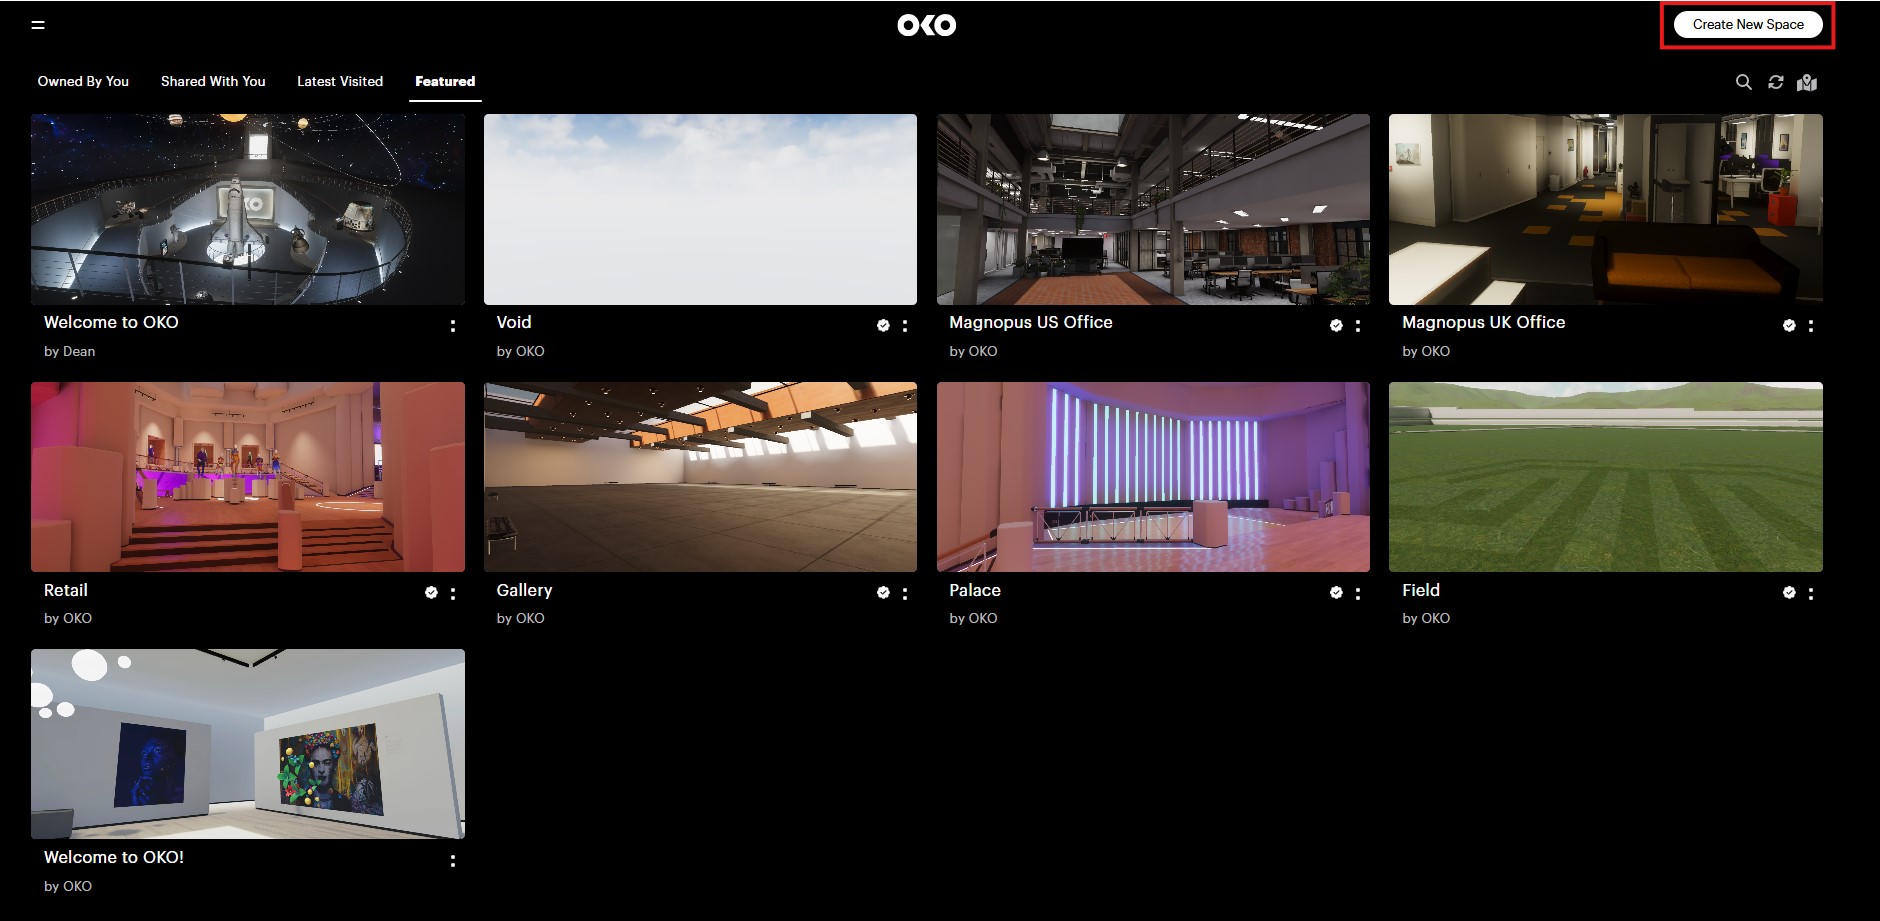
After logging into your OKO account, you'll arrive at the home page. Look for the Create New Space button in the upper-right corner of the screen and click to start.
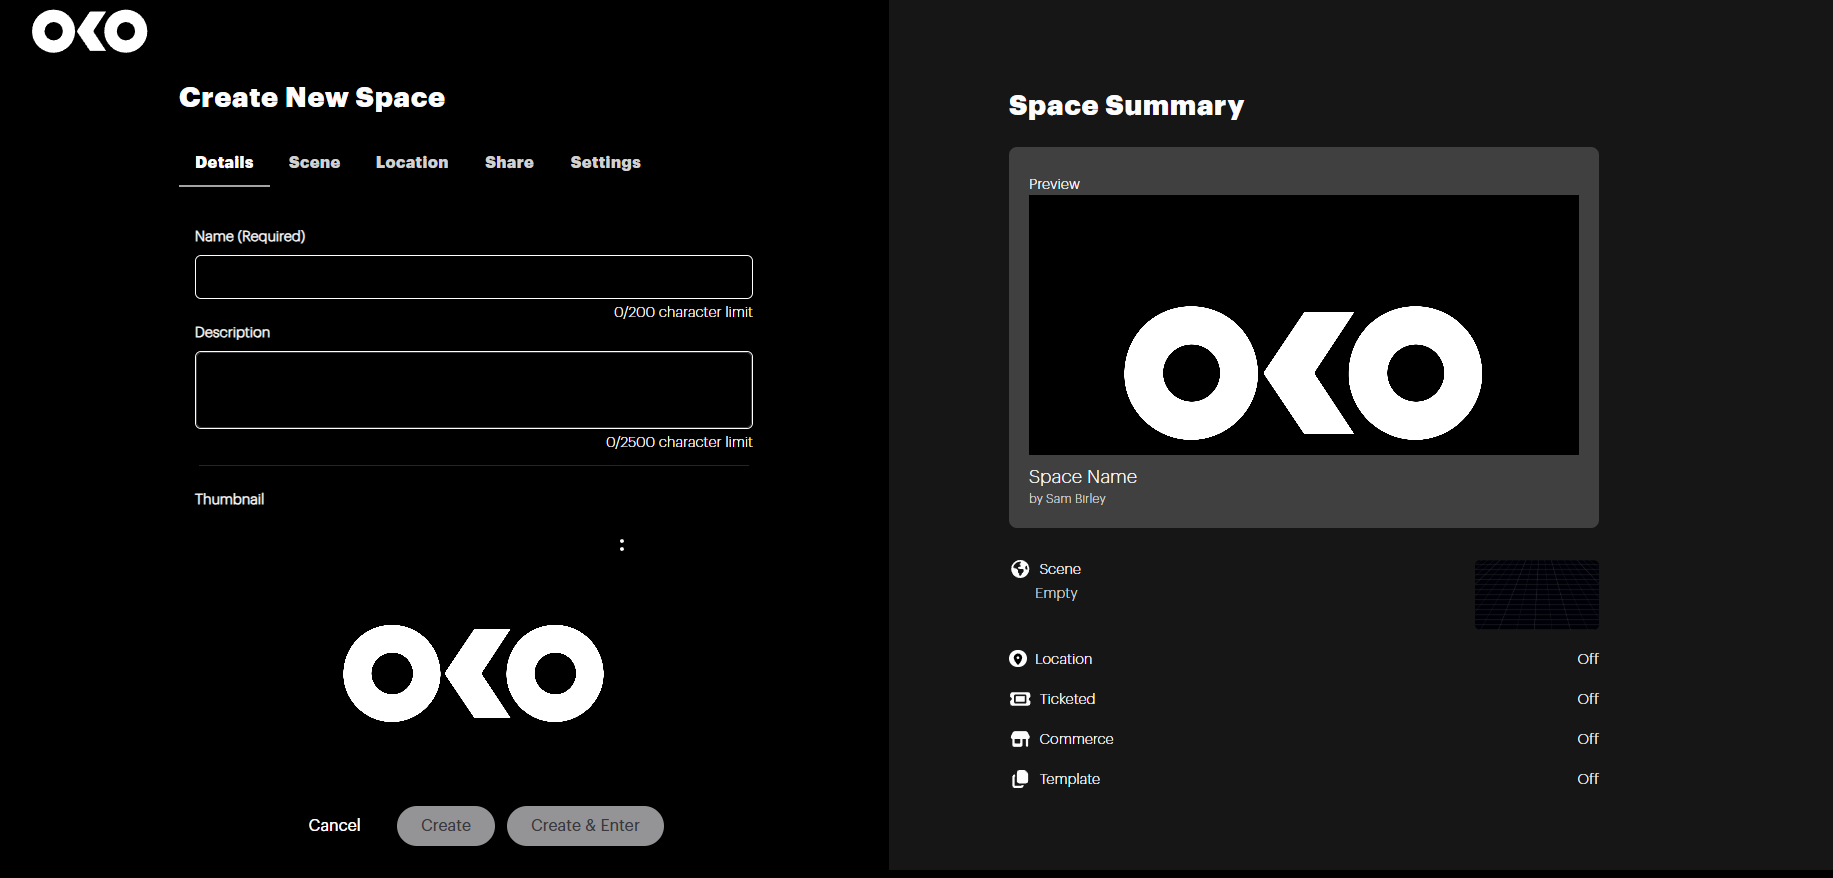
The following page will appear.
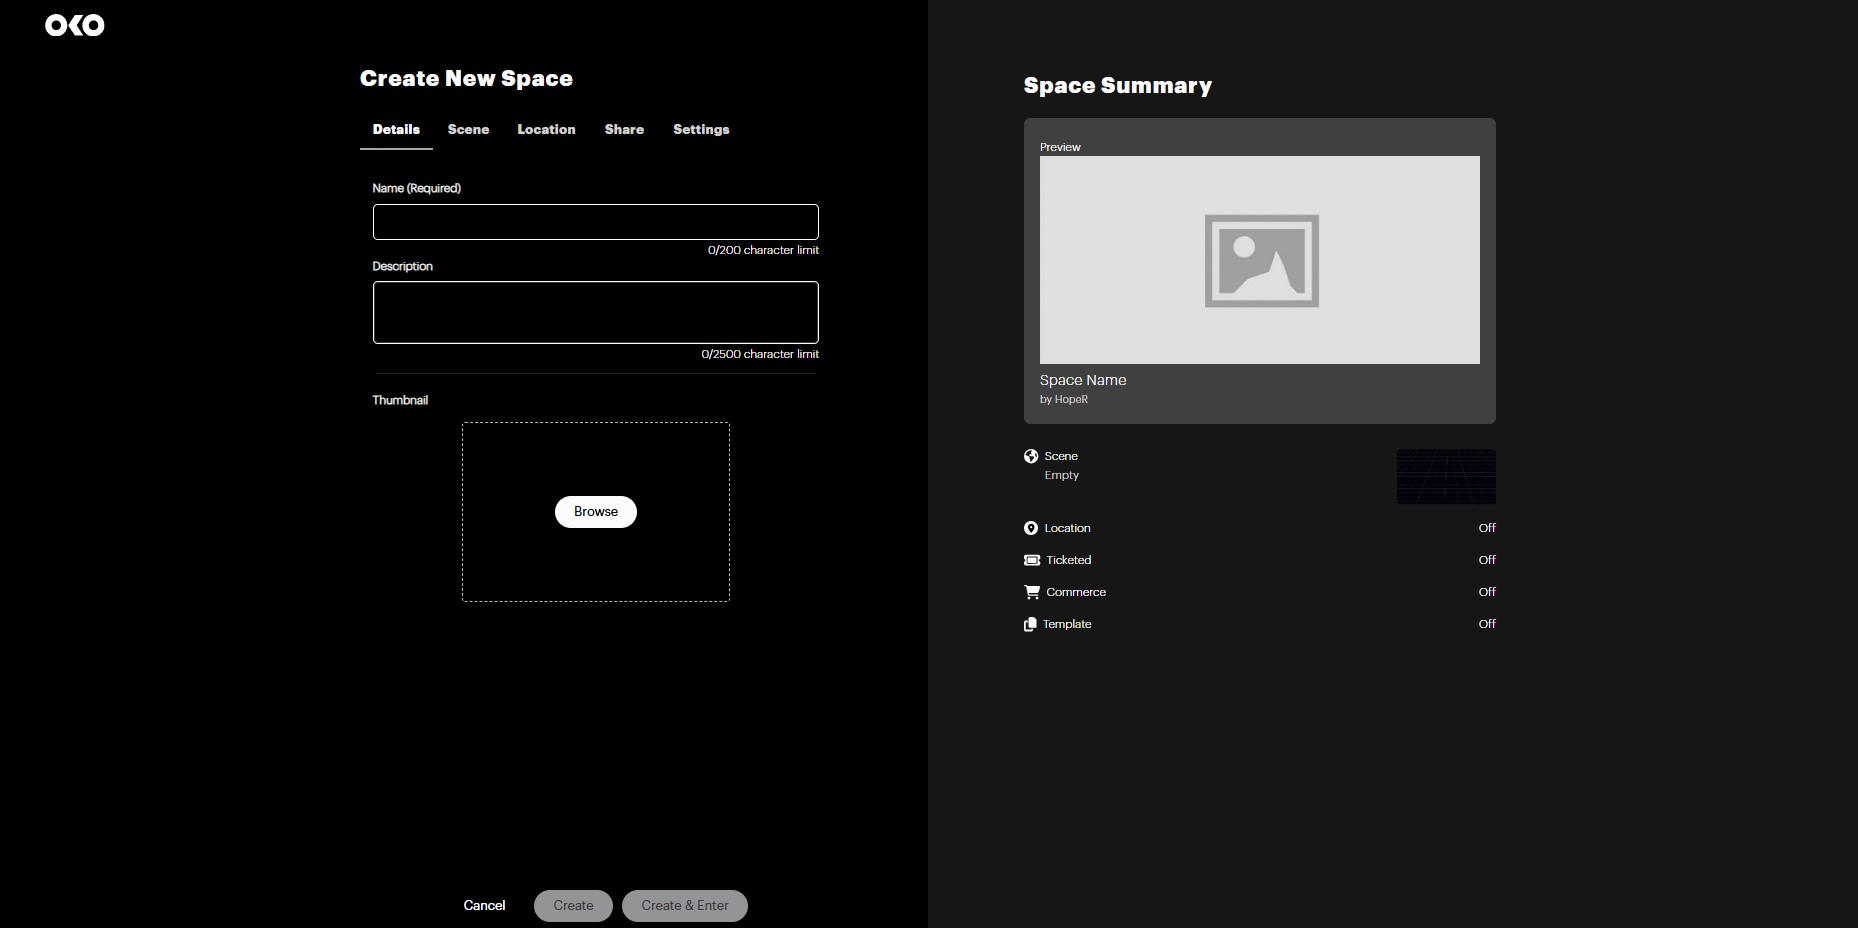
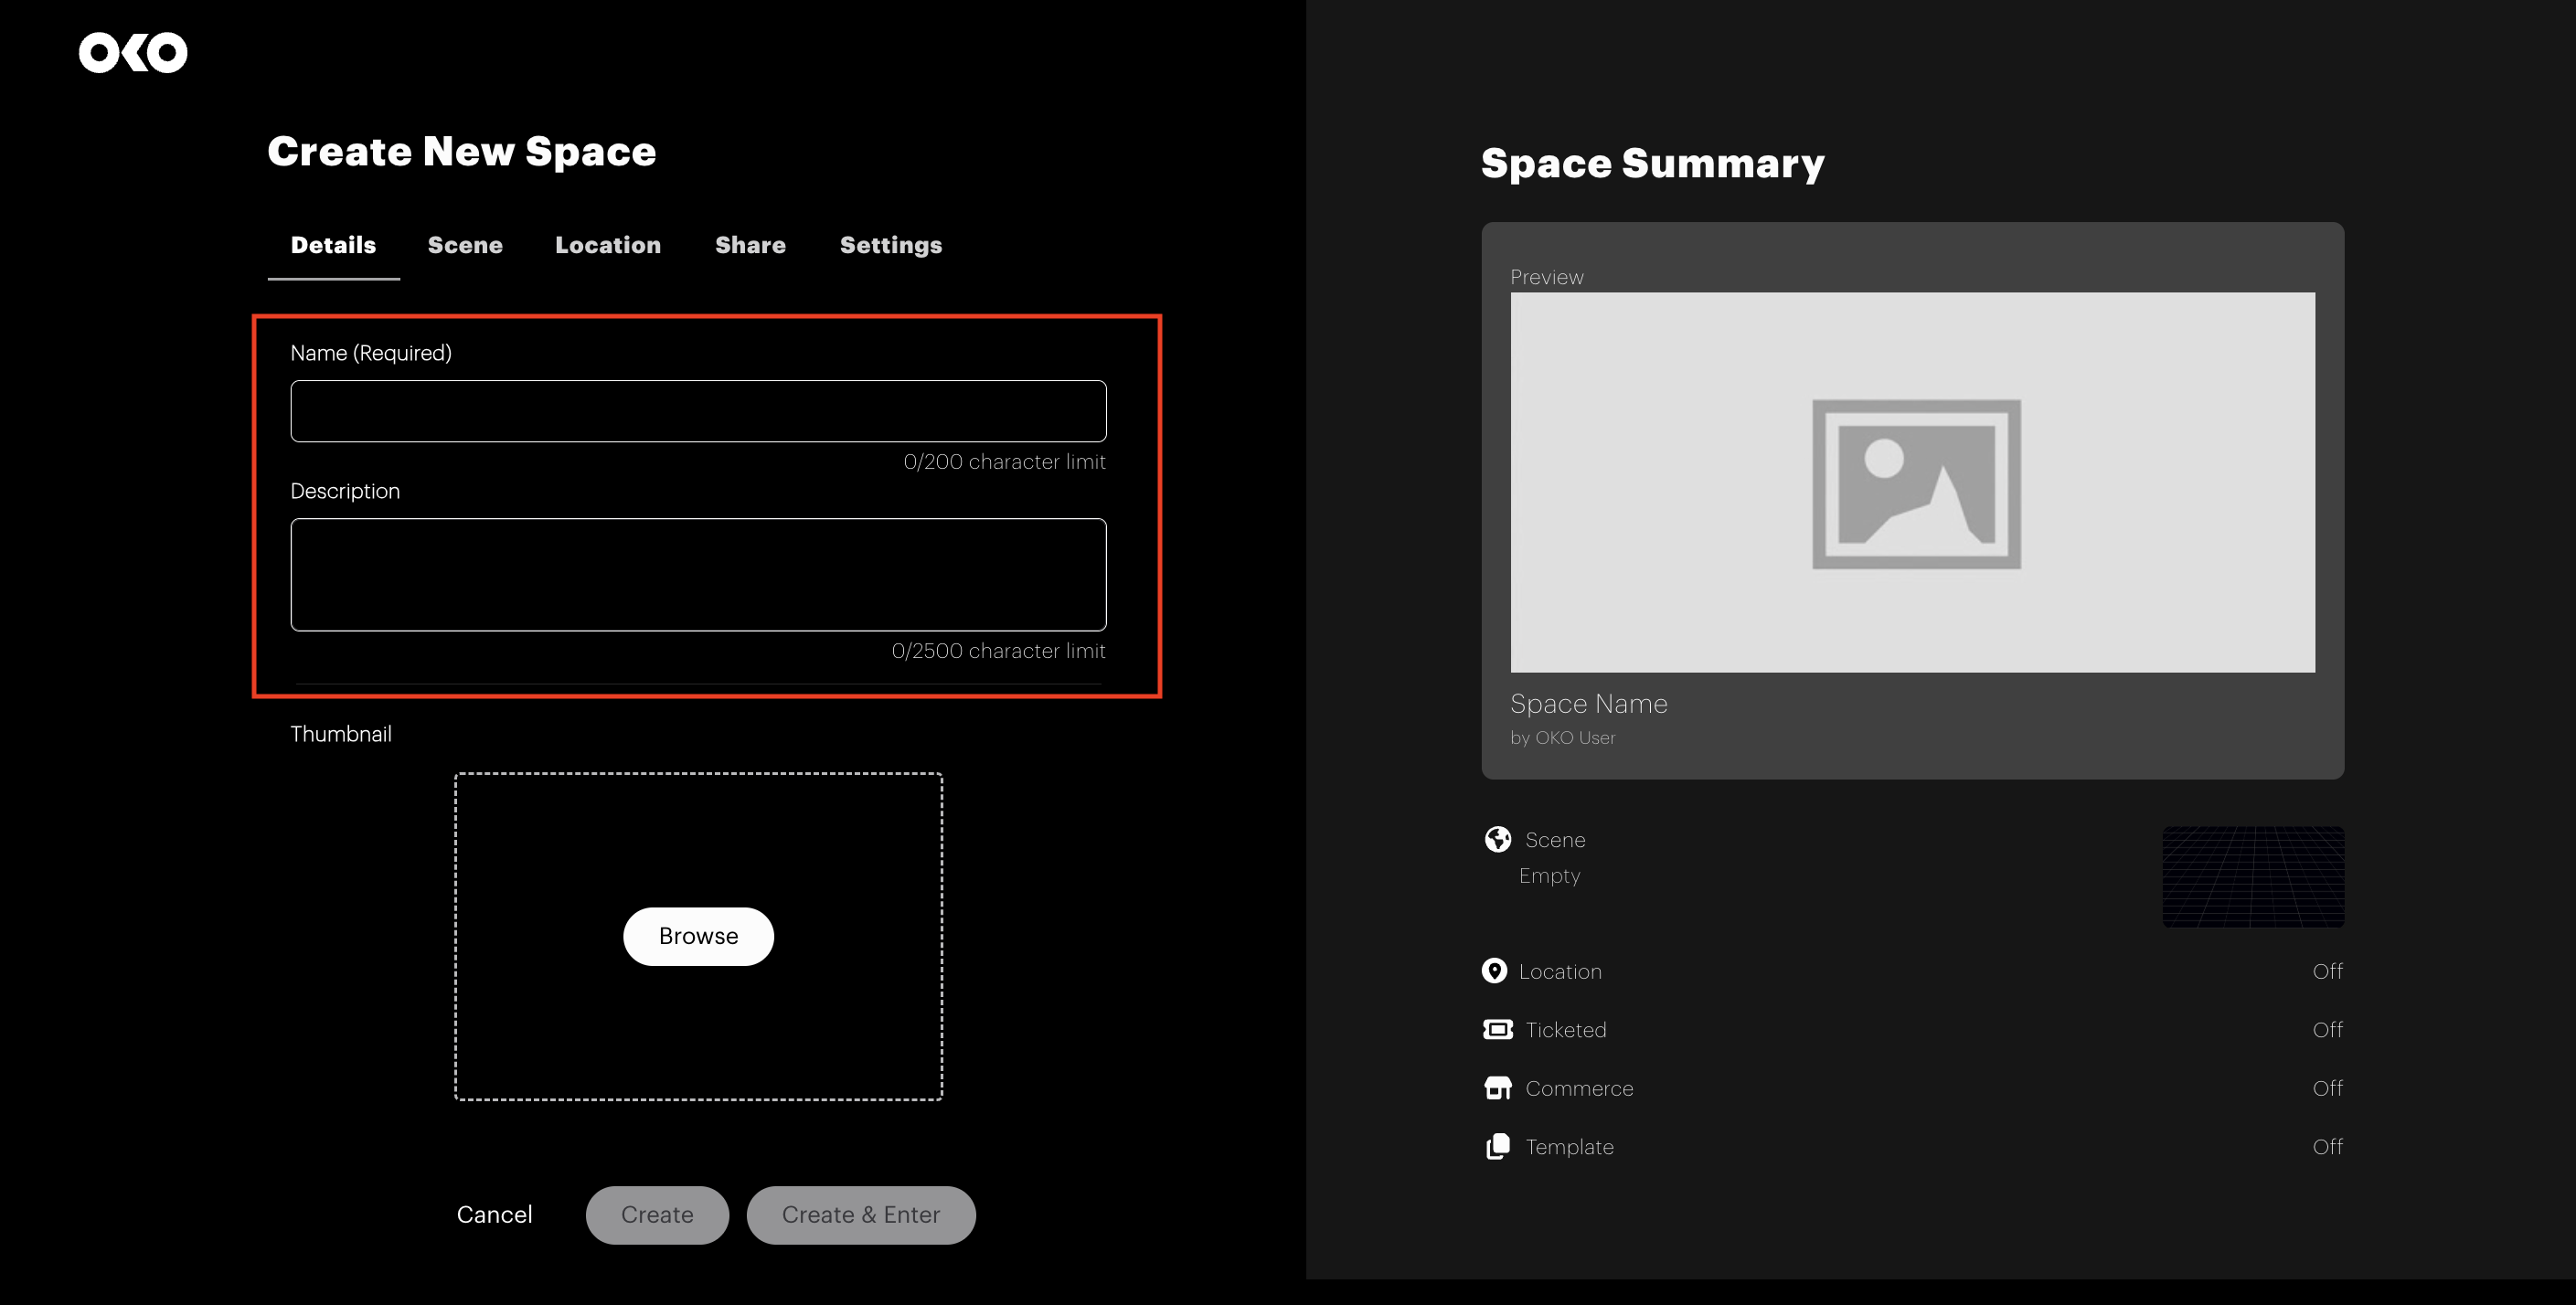
From here, you will be able to define the properties of your space. First, give your space a name and add an optional description.
From this page, you can also add a thumbnail image of your space by selecting Browse.
OKO supports either a PNG or JPEG format.
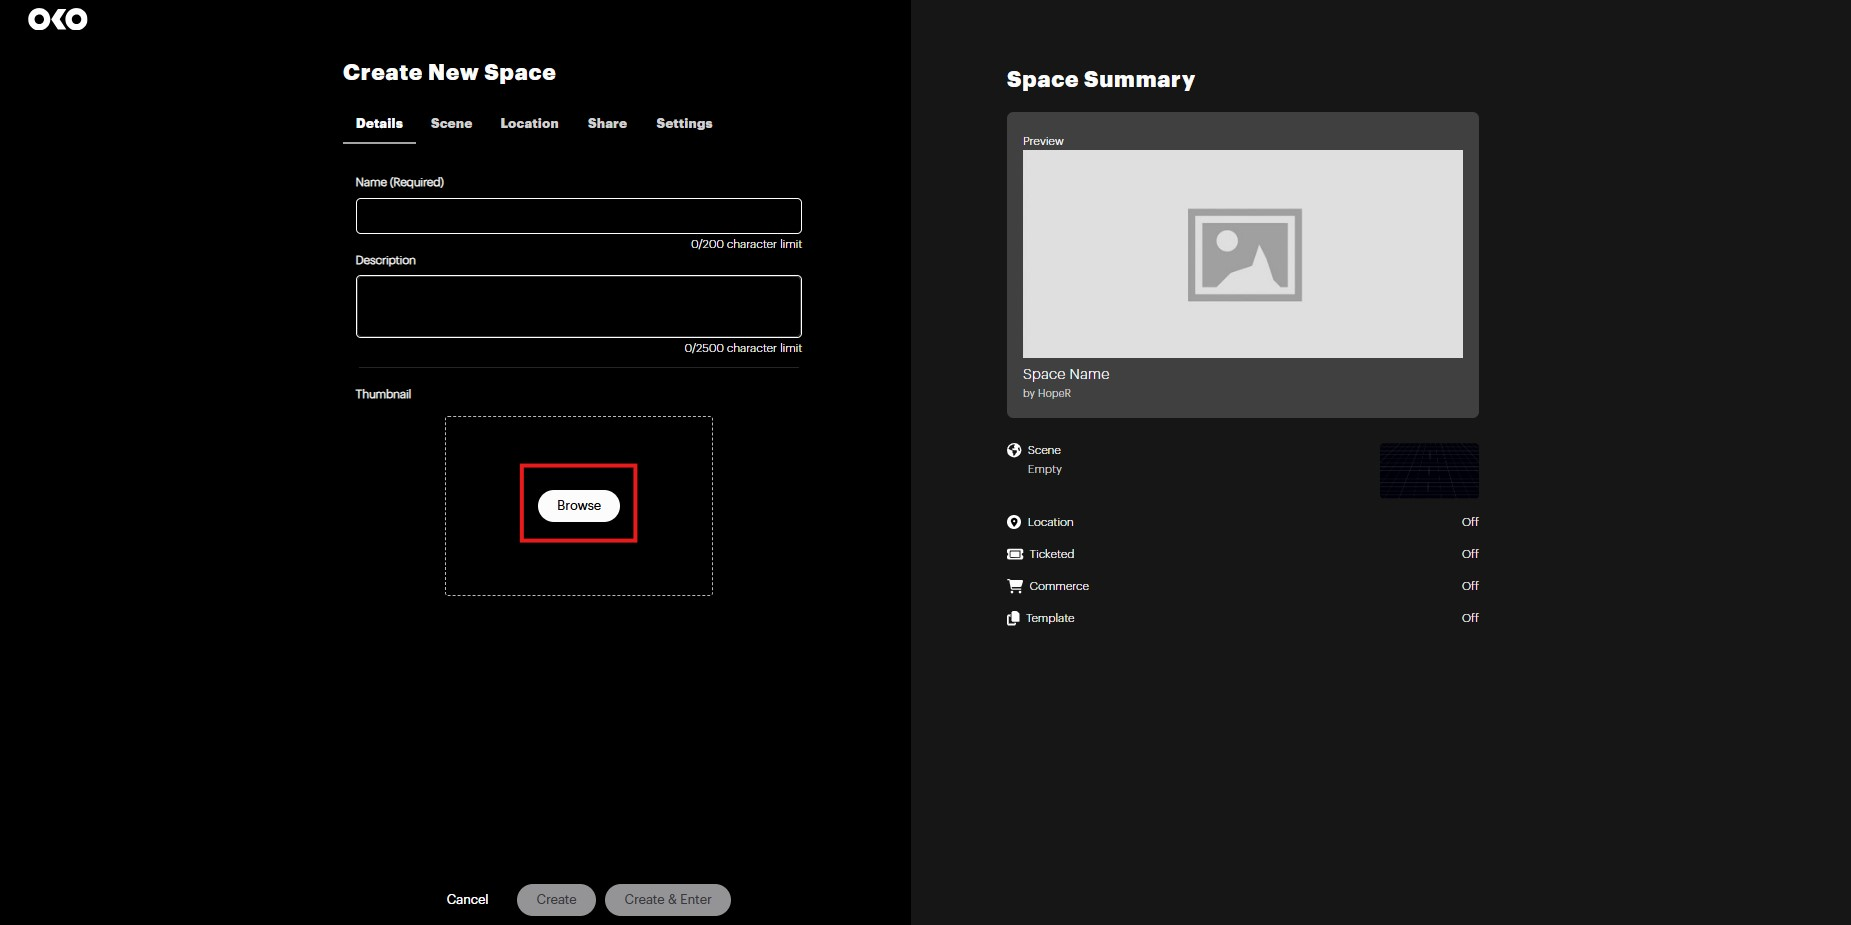
Once you upload your image, you’ll be able to see a preview on the right:
Selecting an environment
Next, you'll need to select an environment for your space.
To start, select Scene at the top of the page.
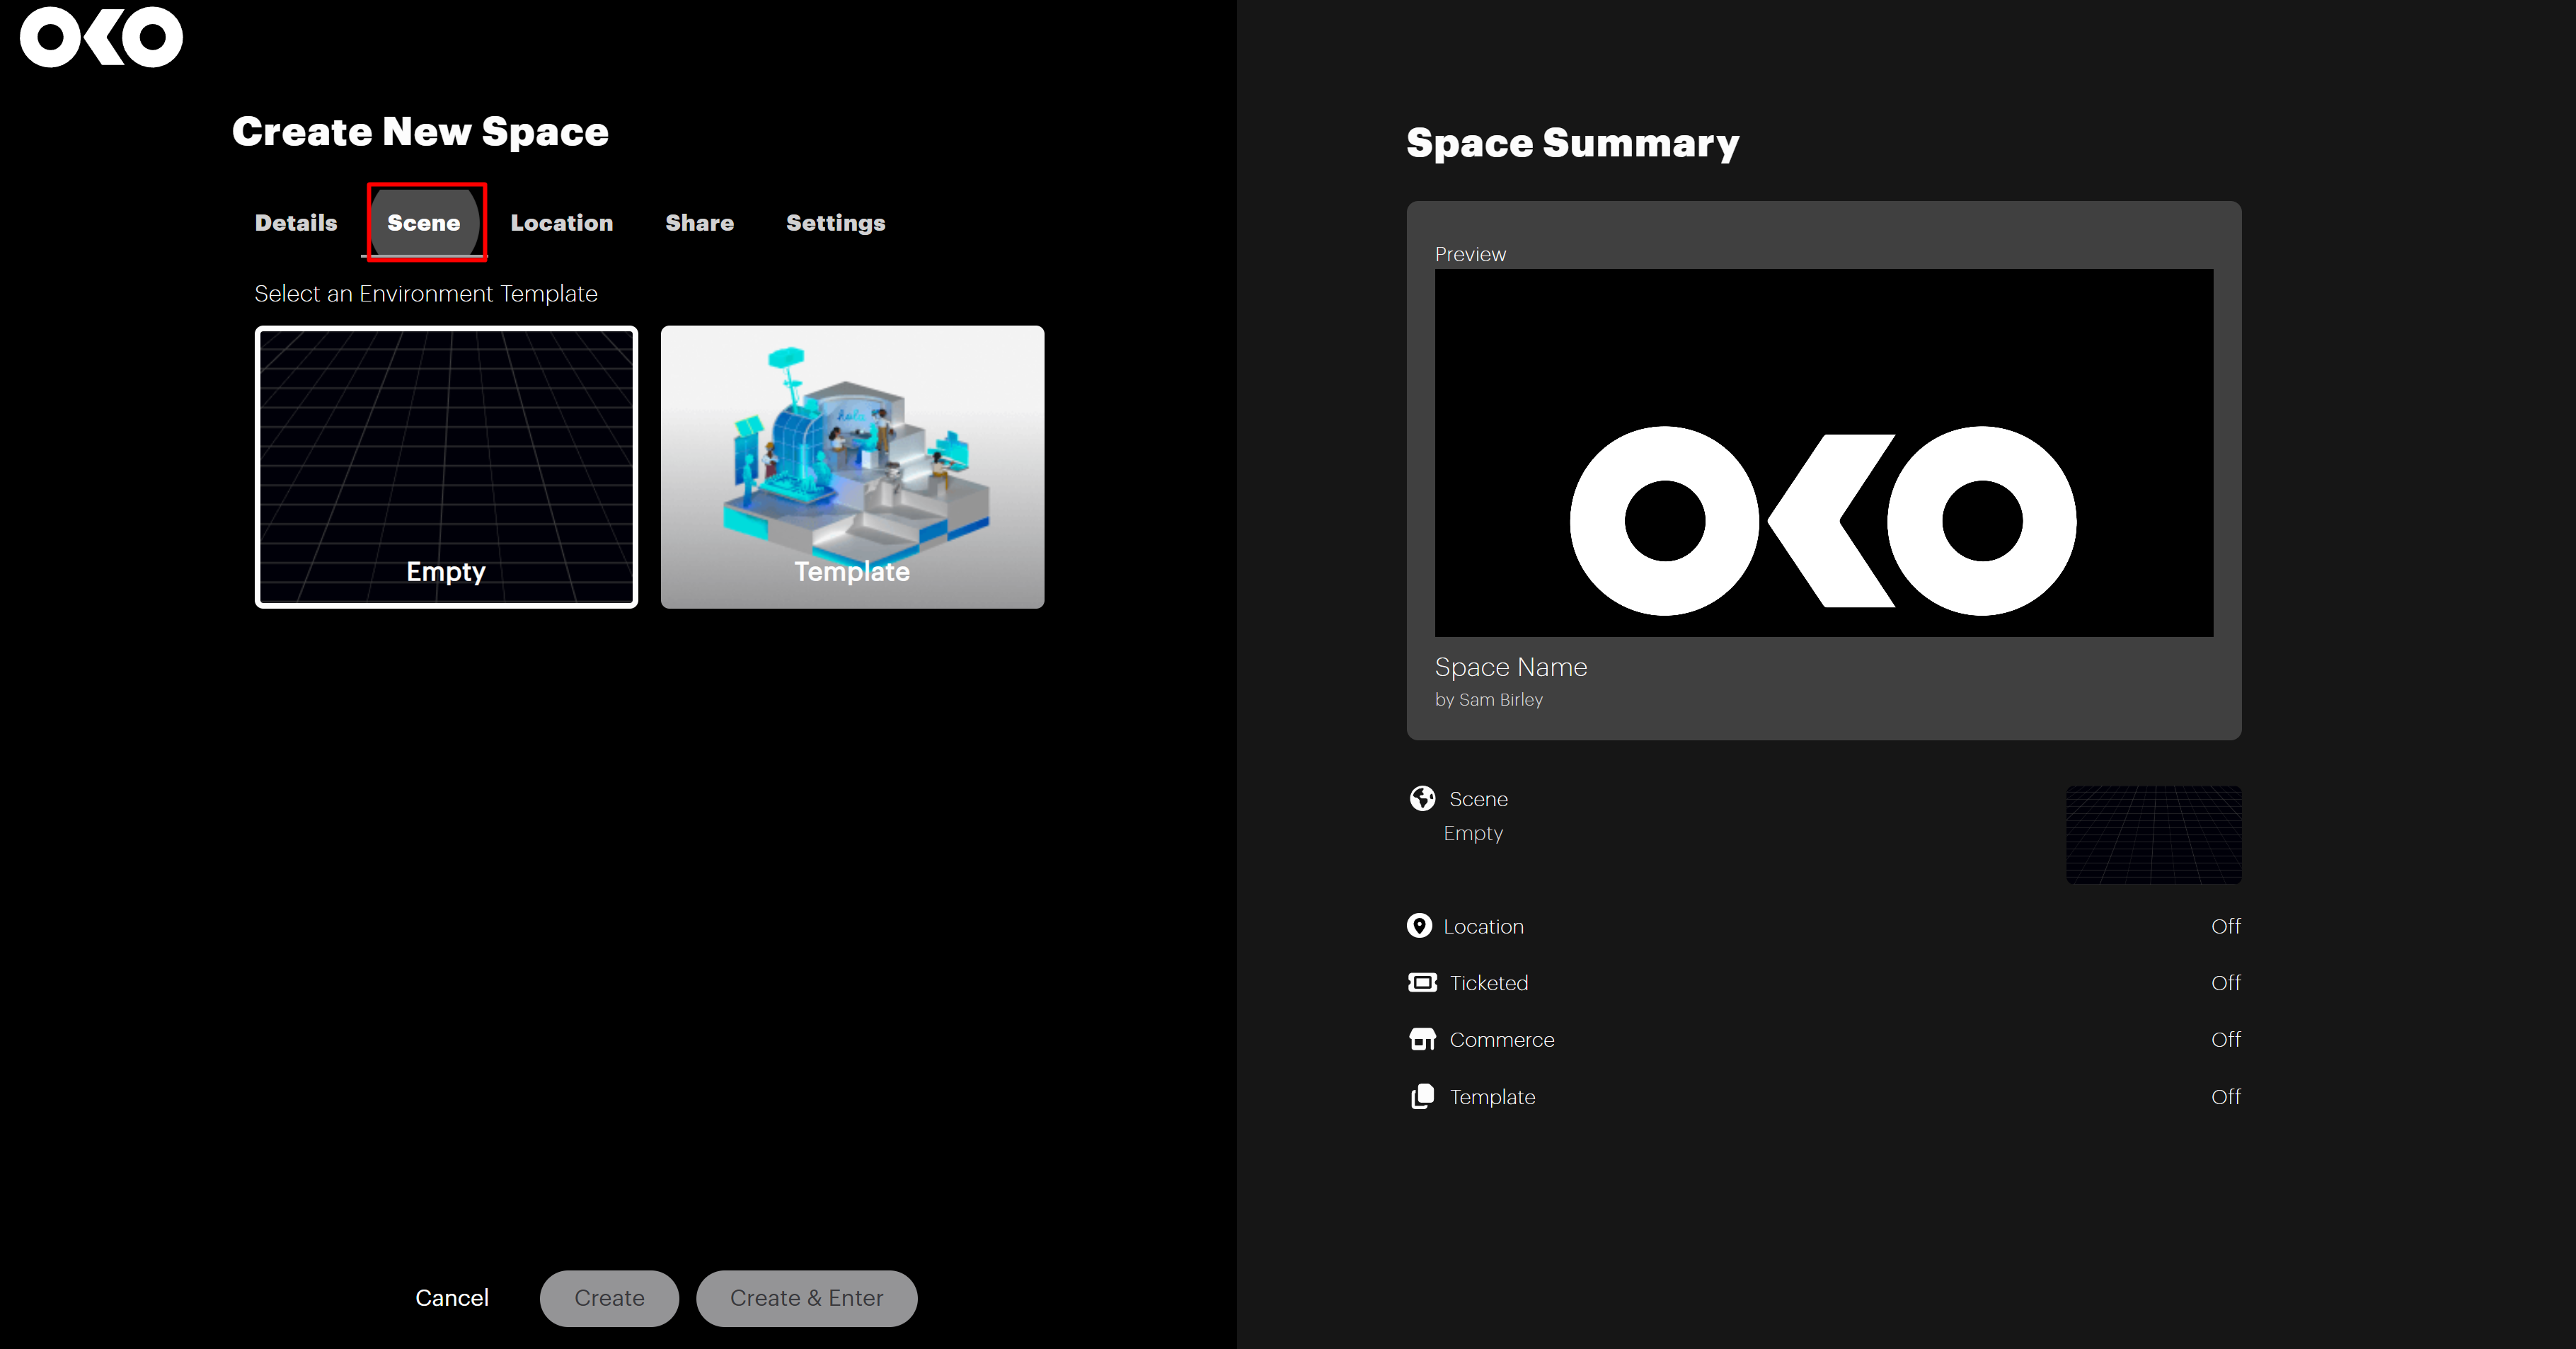
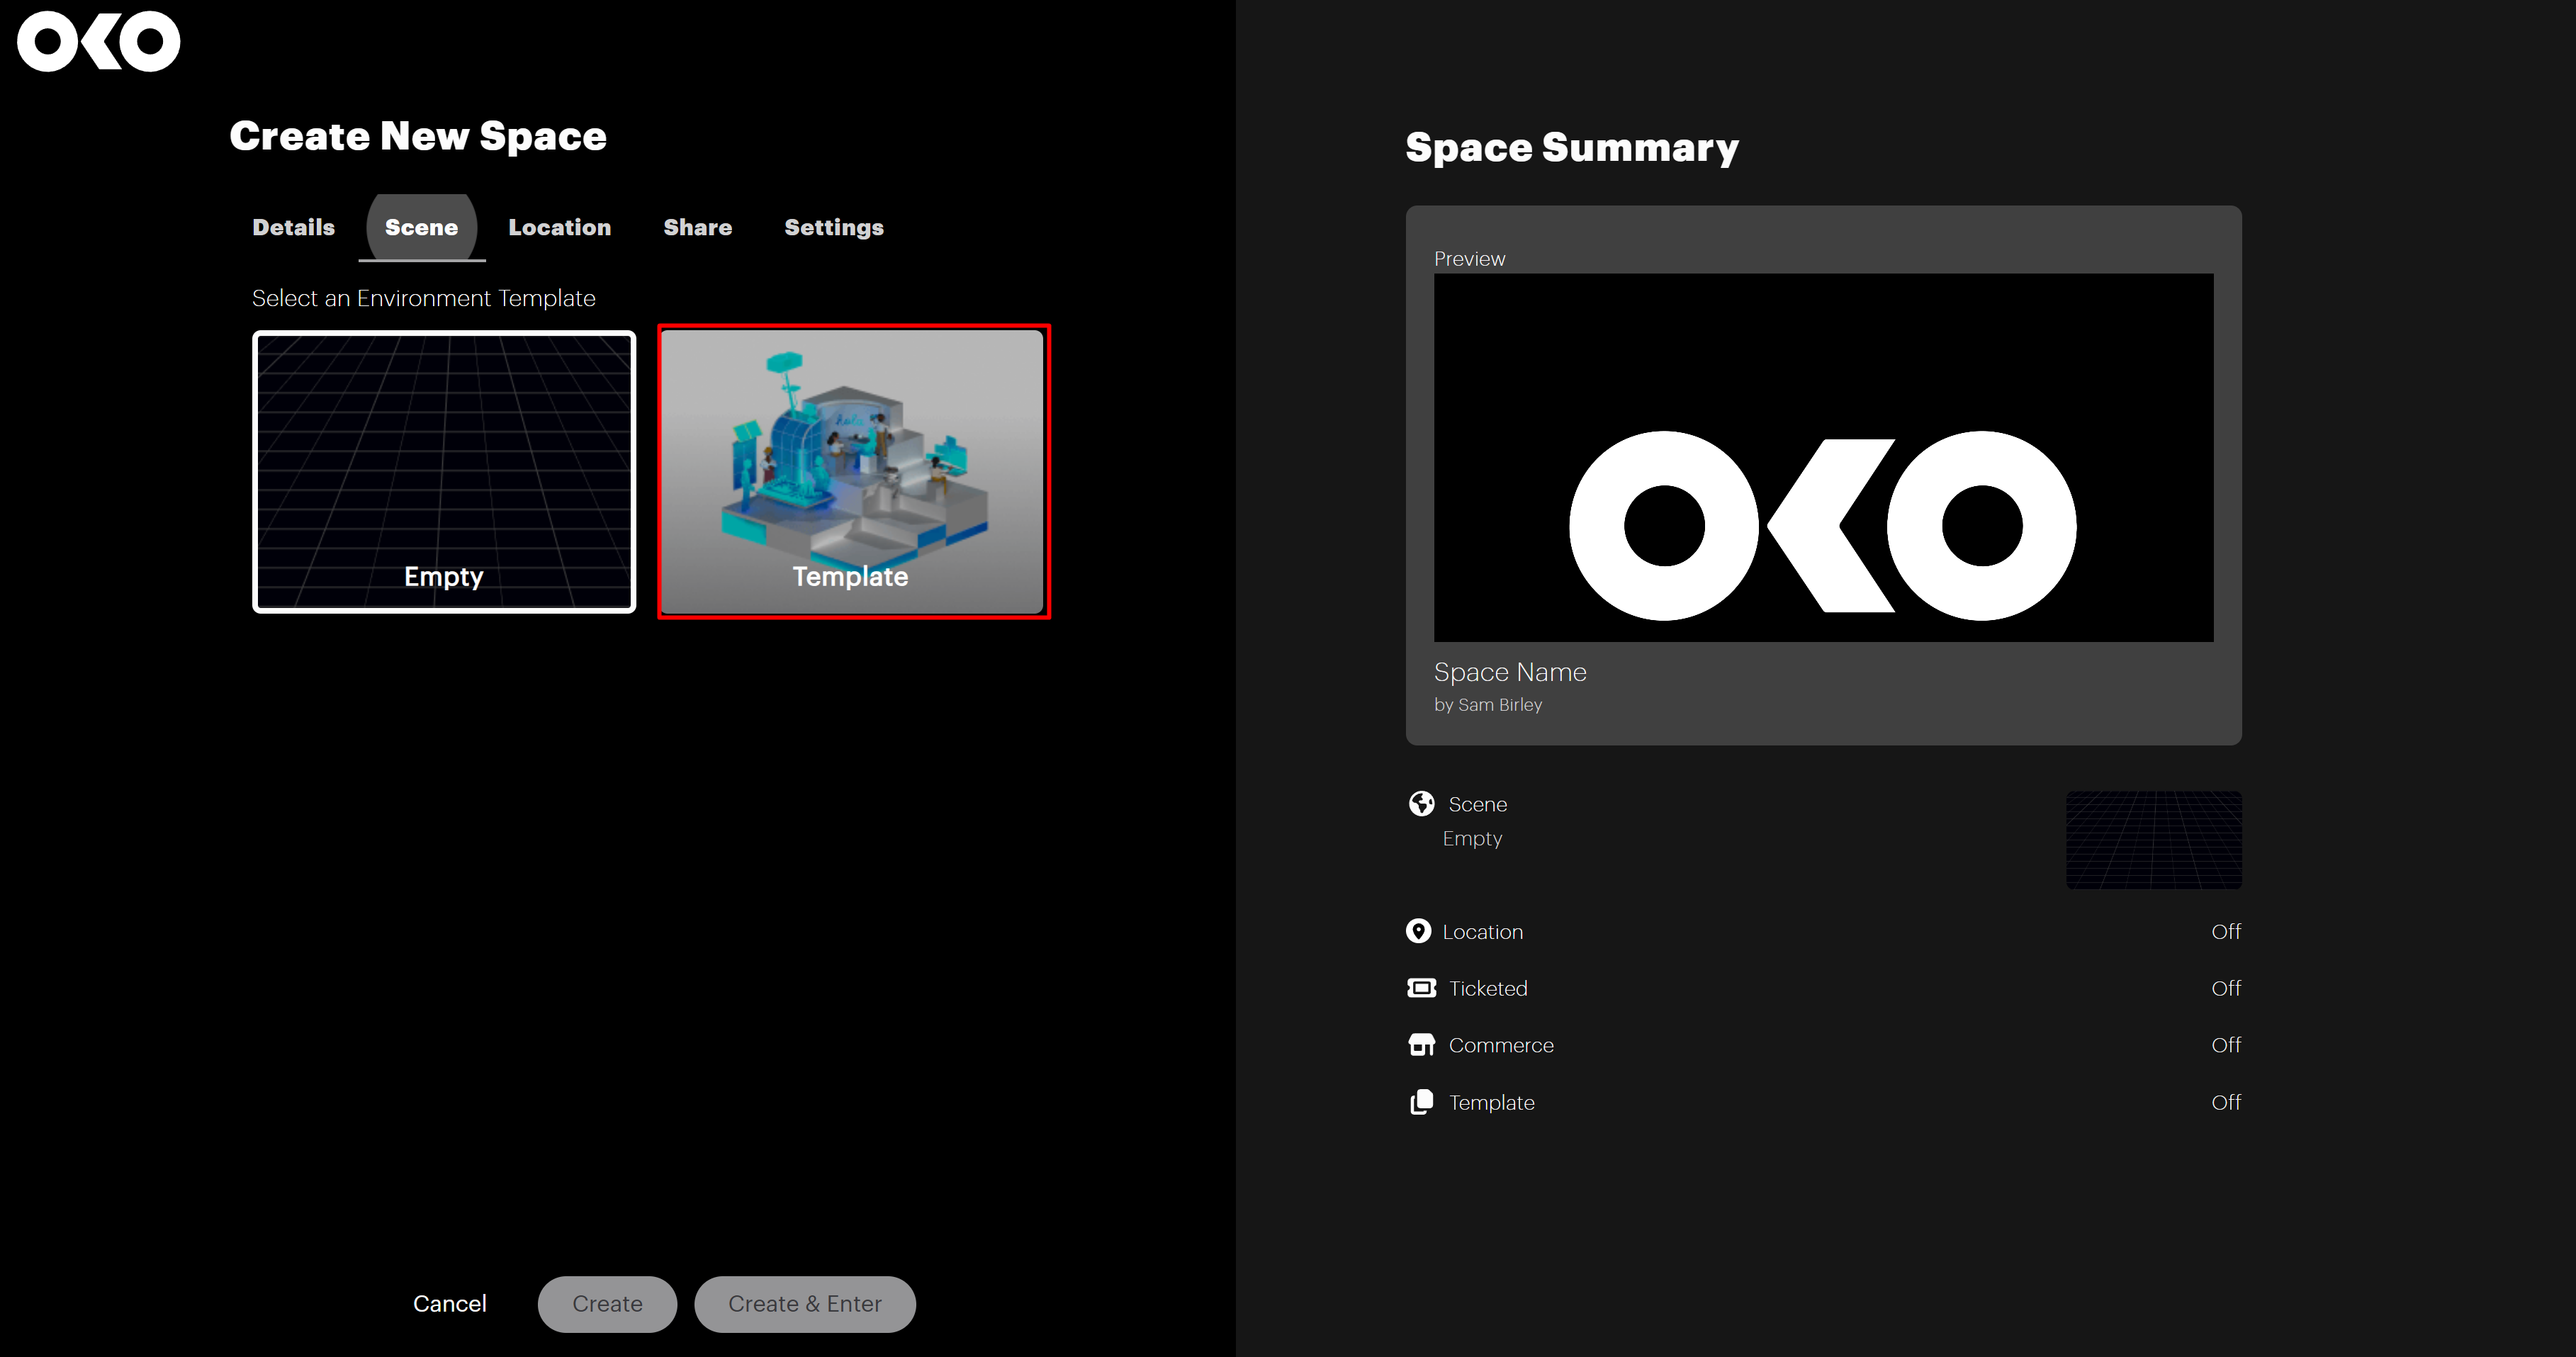
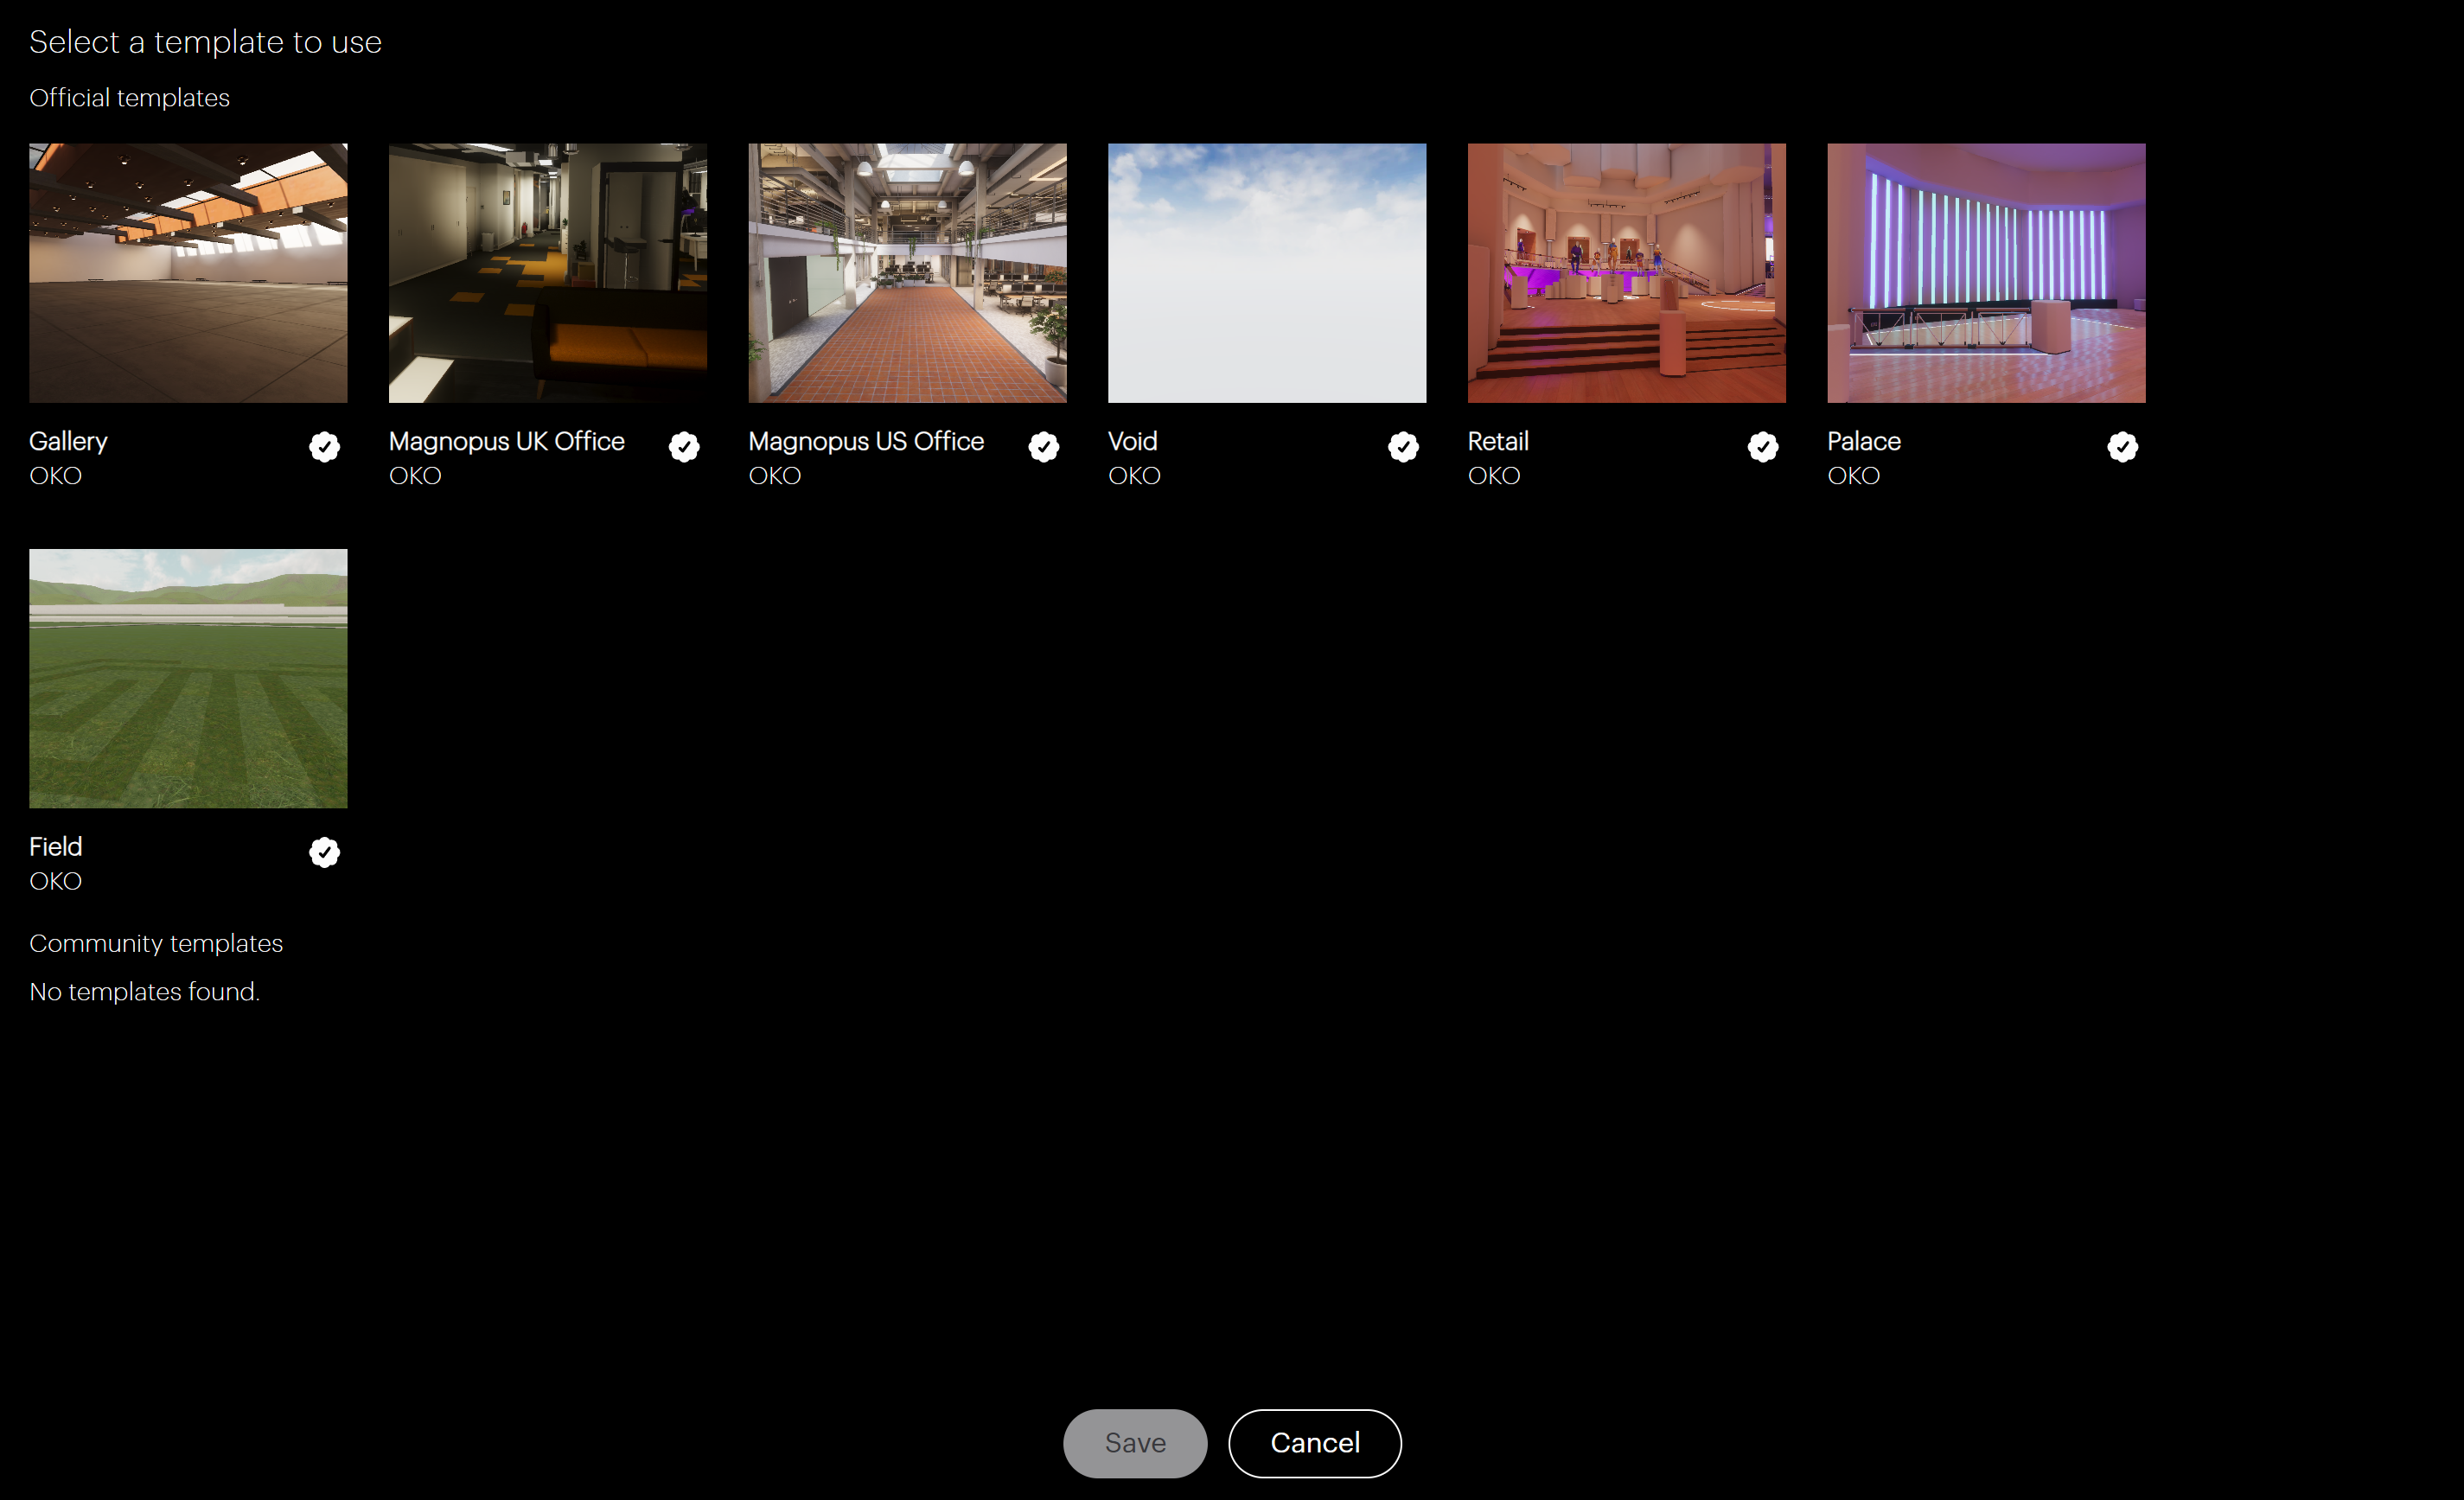
To simplify things, we've provided some templates to help you get started. These templates range from a basic empty space with default skybox and lighting settings to more complex environments like a gallery.
To pick a template for your space, select the Template icon.
Next, choose the option that suits your needs best, then click Save.
Geolocating your space
You can make your space geolocated by entering latitude and longitude coordinates to give it a real-world location. By making a space geolocated, it means it can be viewed by people at a specific physical location.
Geolocated spaces are great, for example, if you want to create an engaging augmented reality experience. Users who are physically at the same location will see each other represented in the virtual space and be able to enjoy the same virtual content combined with their view of the real world.
To start setting this up, select Location at the top of the page, then select Add Location.
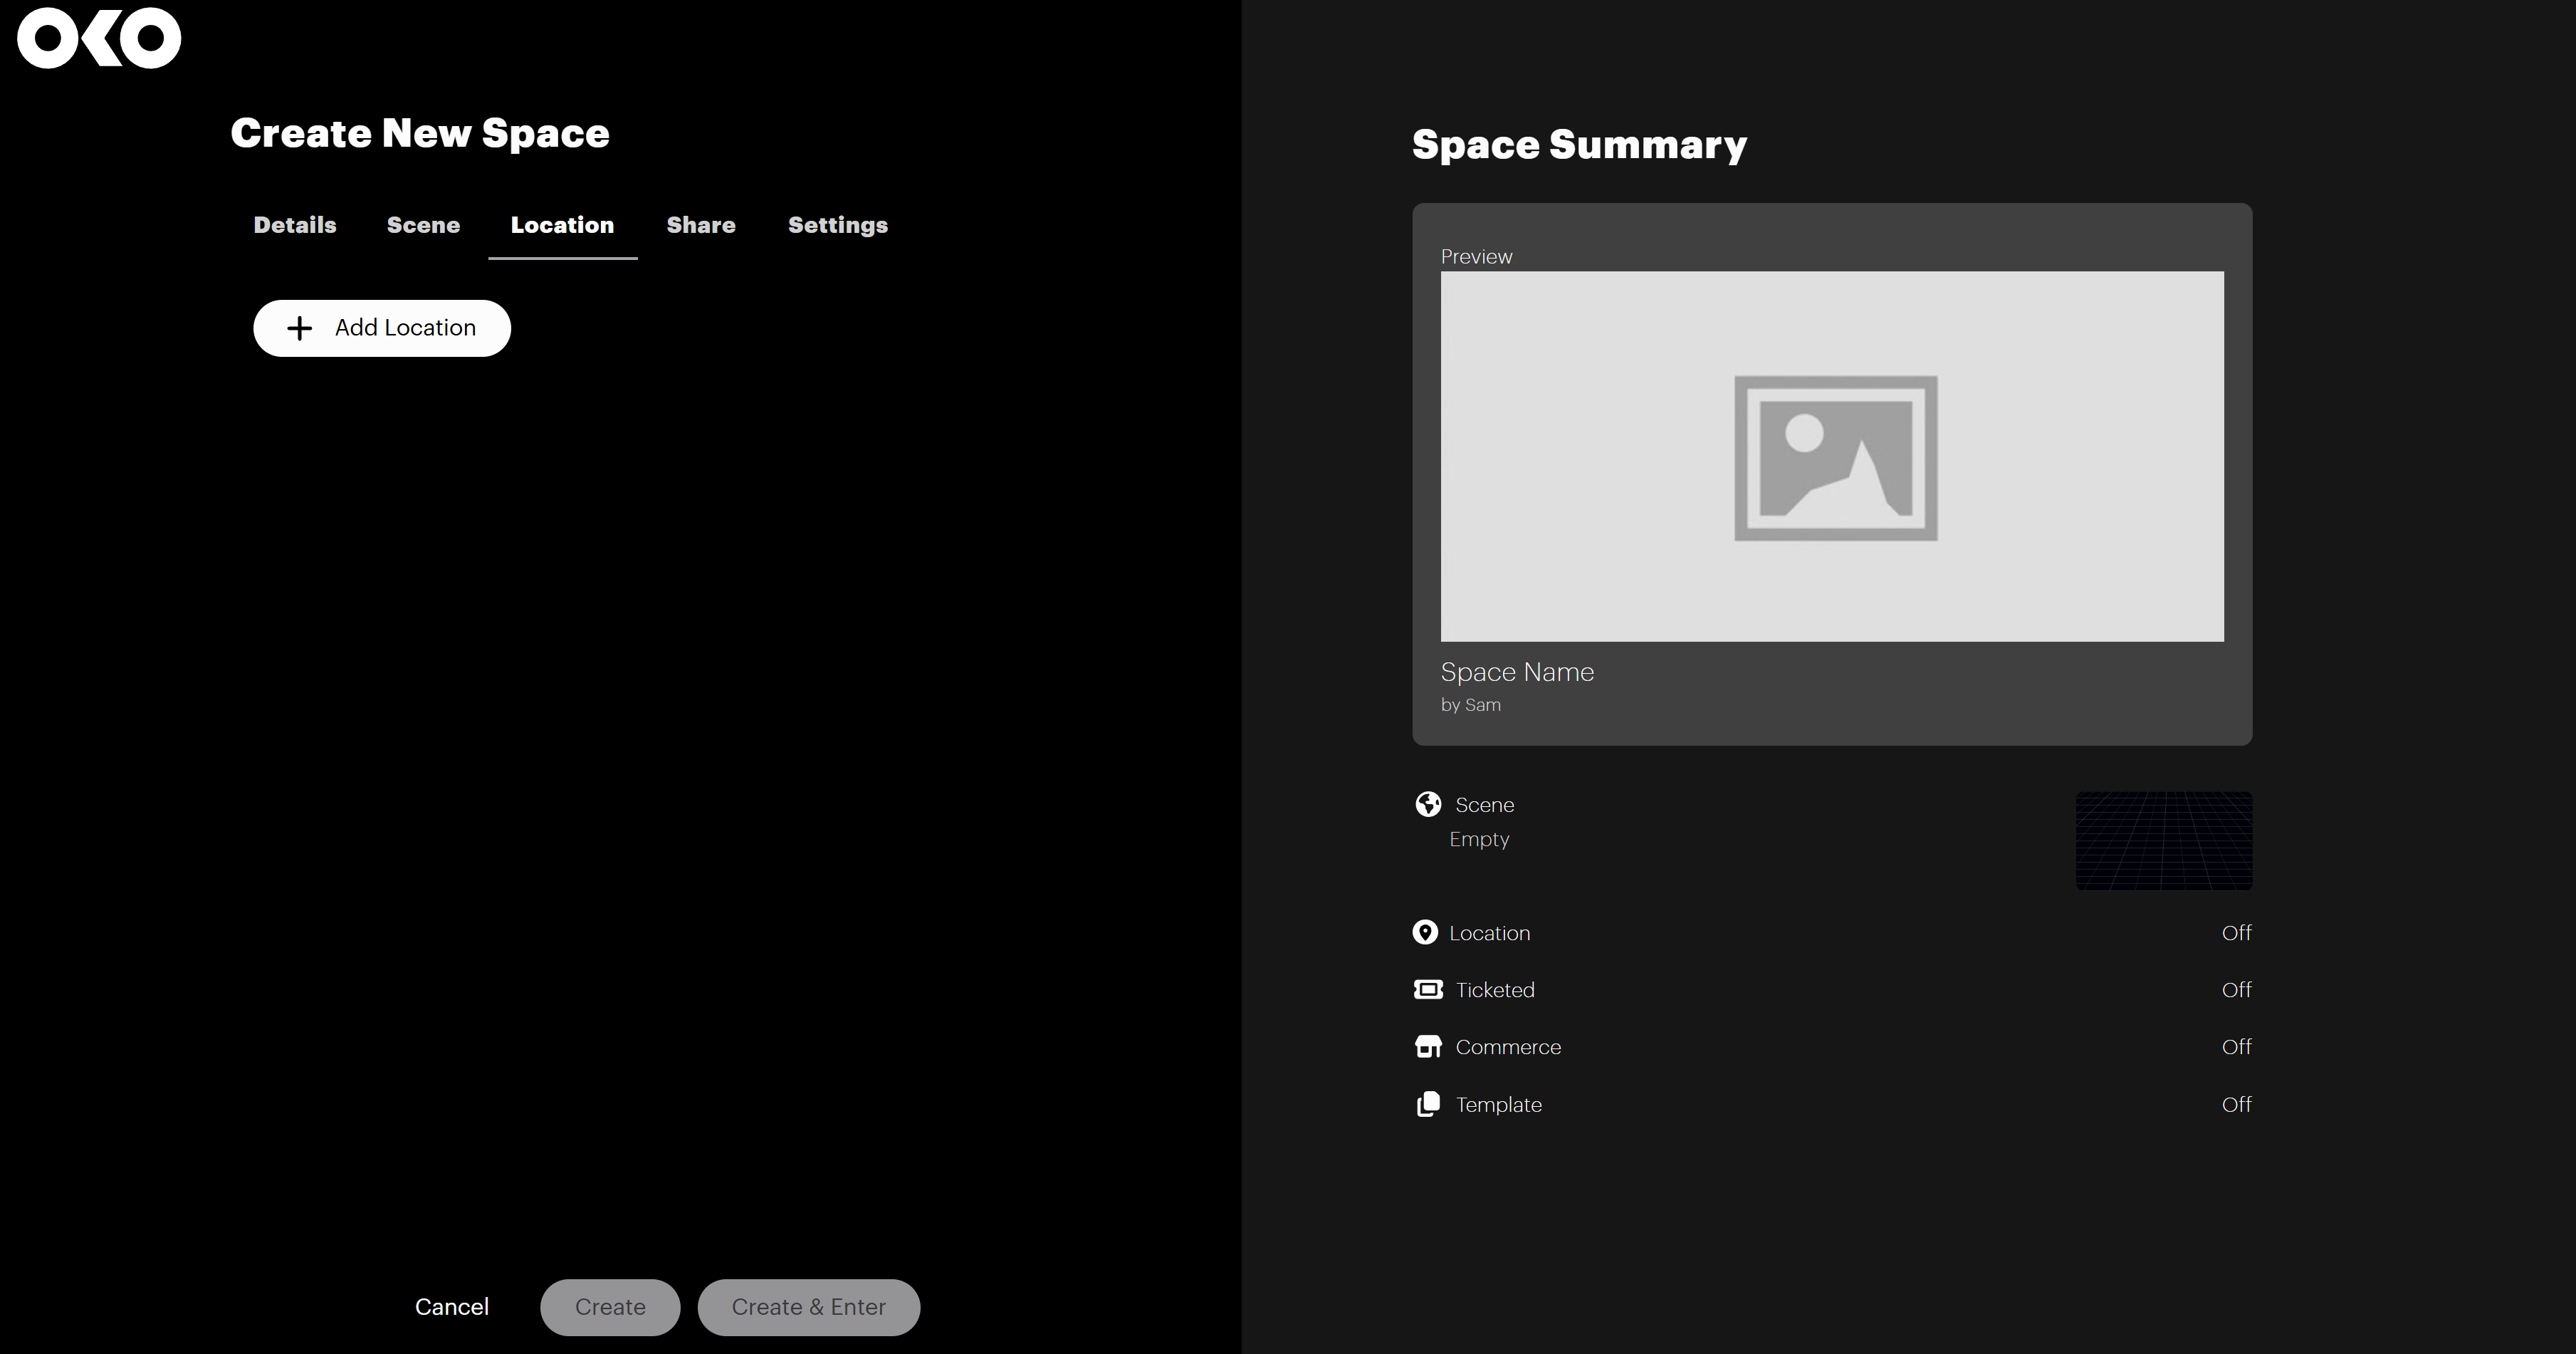
Here you can add the latitude and longitude coordinates of your space.
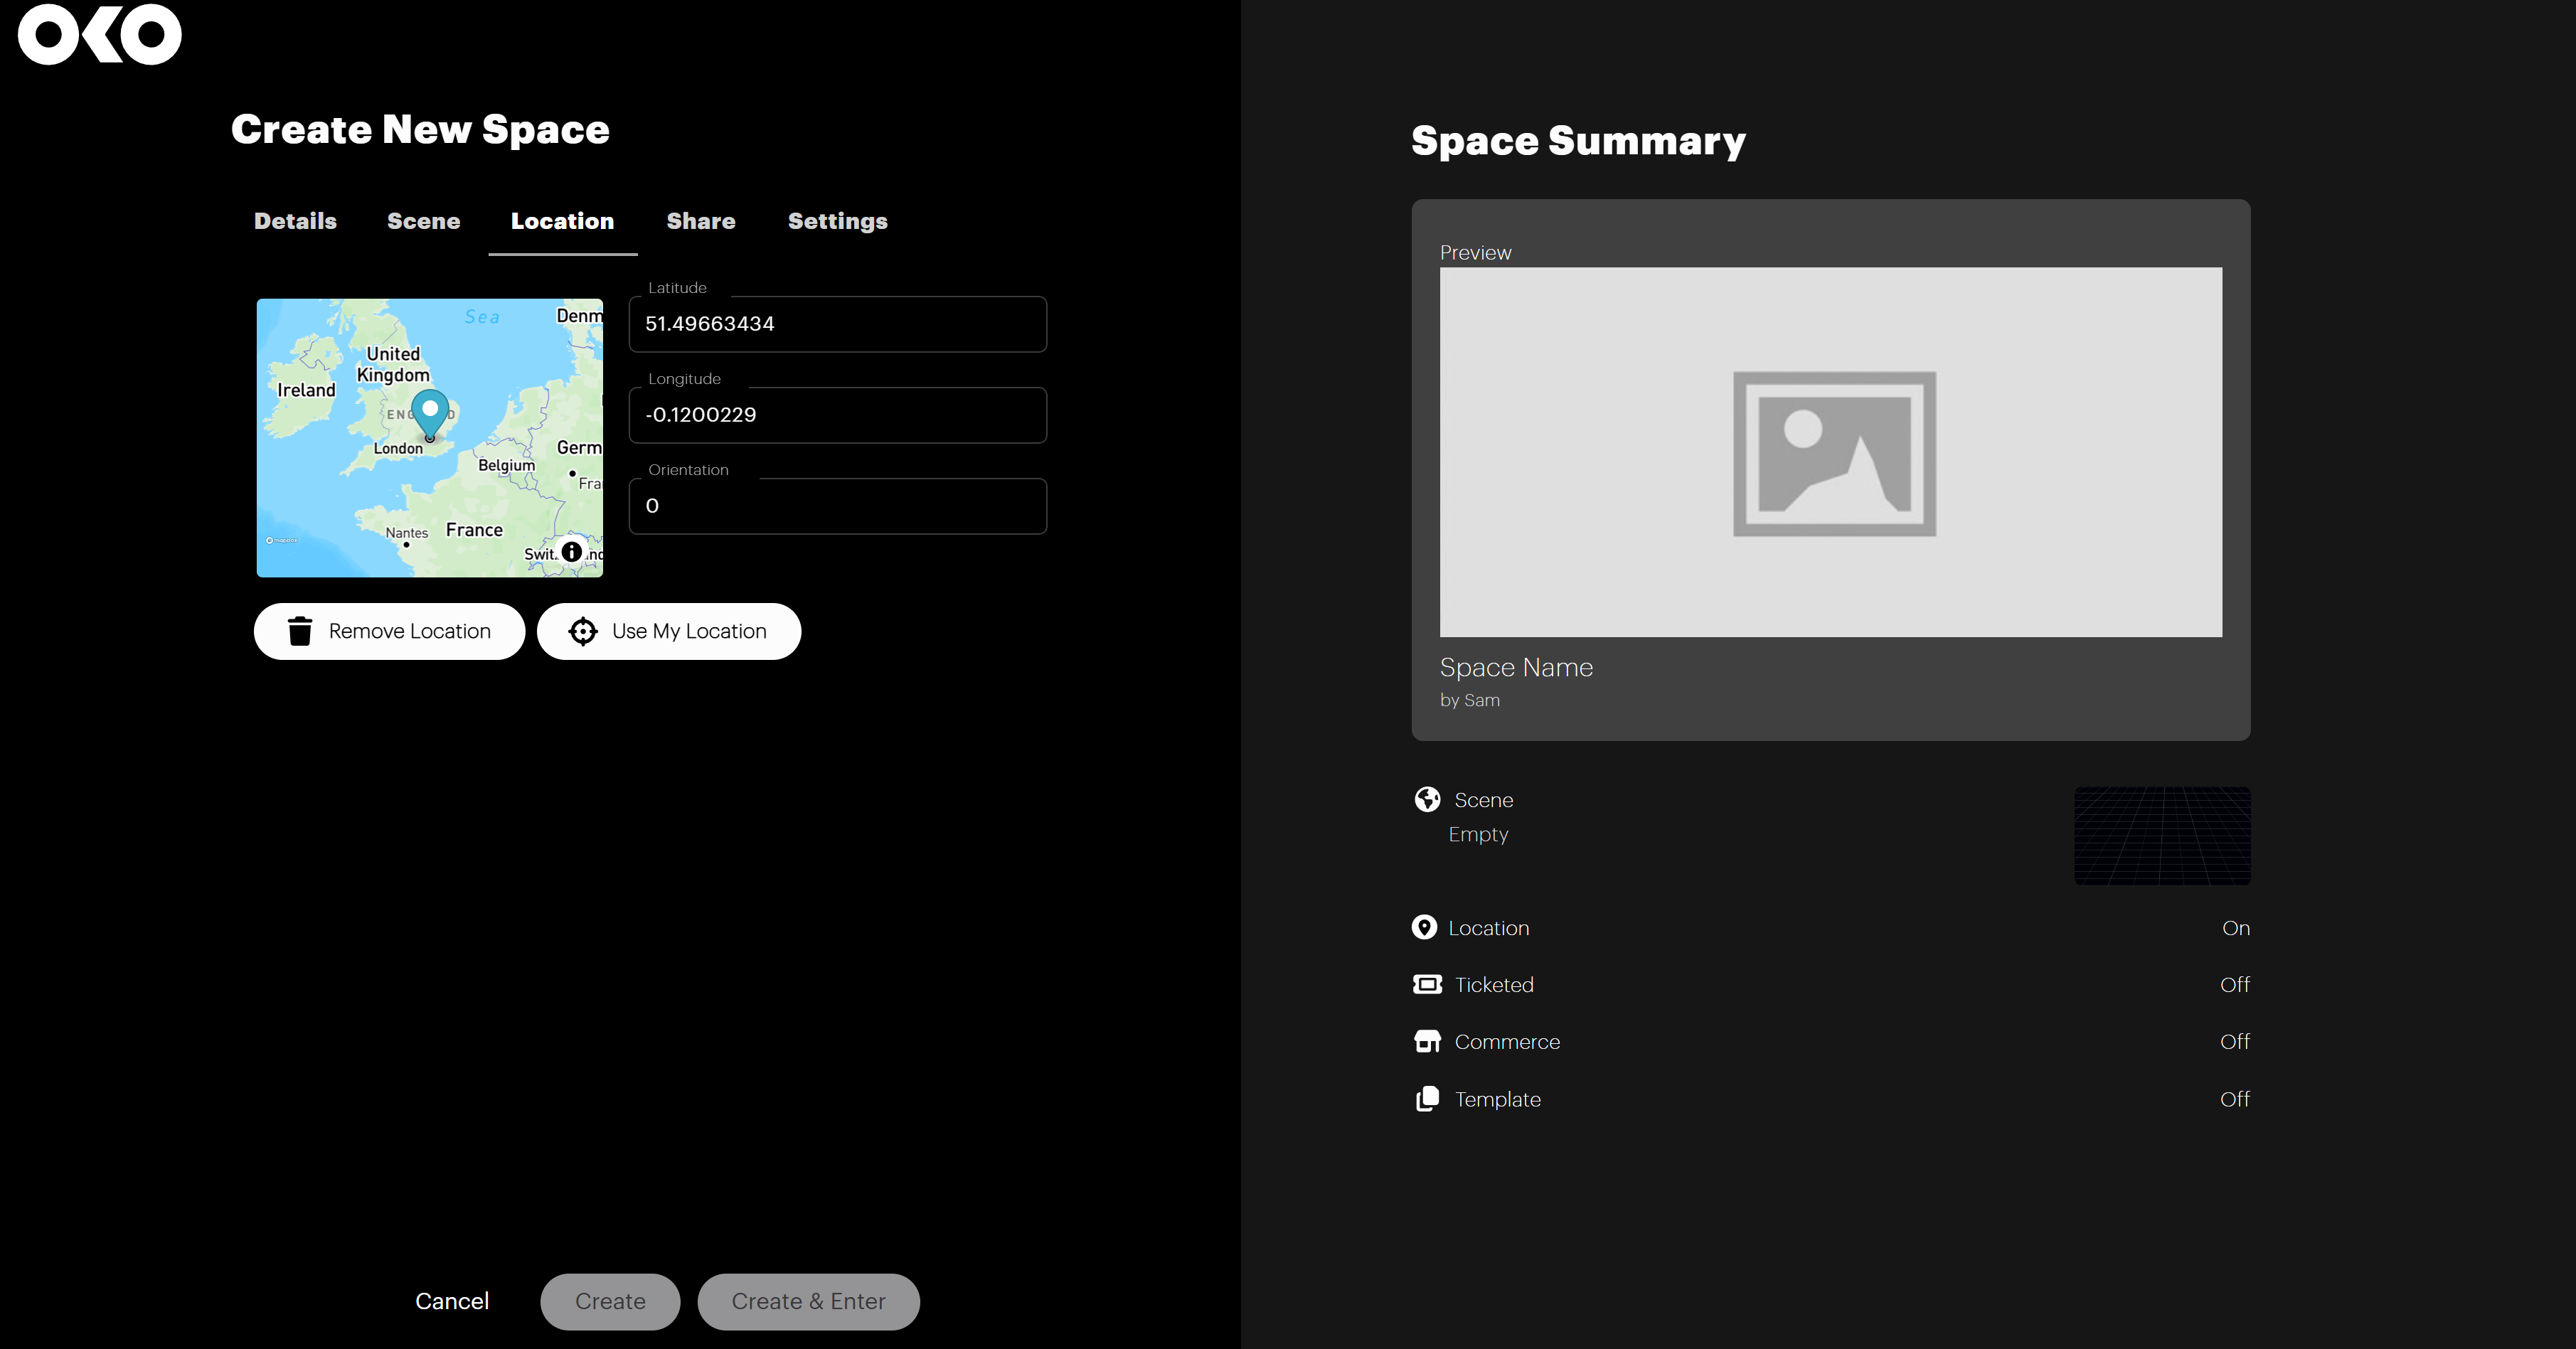
If you are unsure of the latitude and longitude coordinates of a location, you can find them easily via Google Maps. Simply find the location you want, right-click it on the map, and a pop-up will appear with the latitude and longitude of that location displayed at the top. These coordinates can then be entered into the fields provided.
Alternatively, you can find the location interactively using our Mapbox integration.
Click on the map to open Mapbox, as shown below.
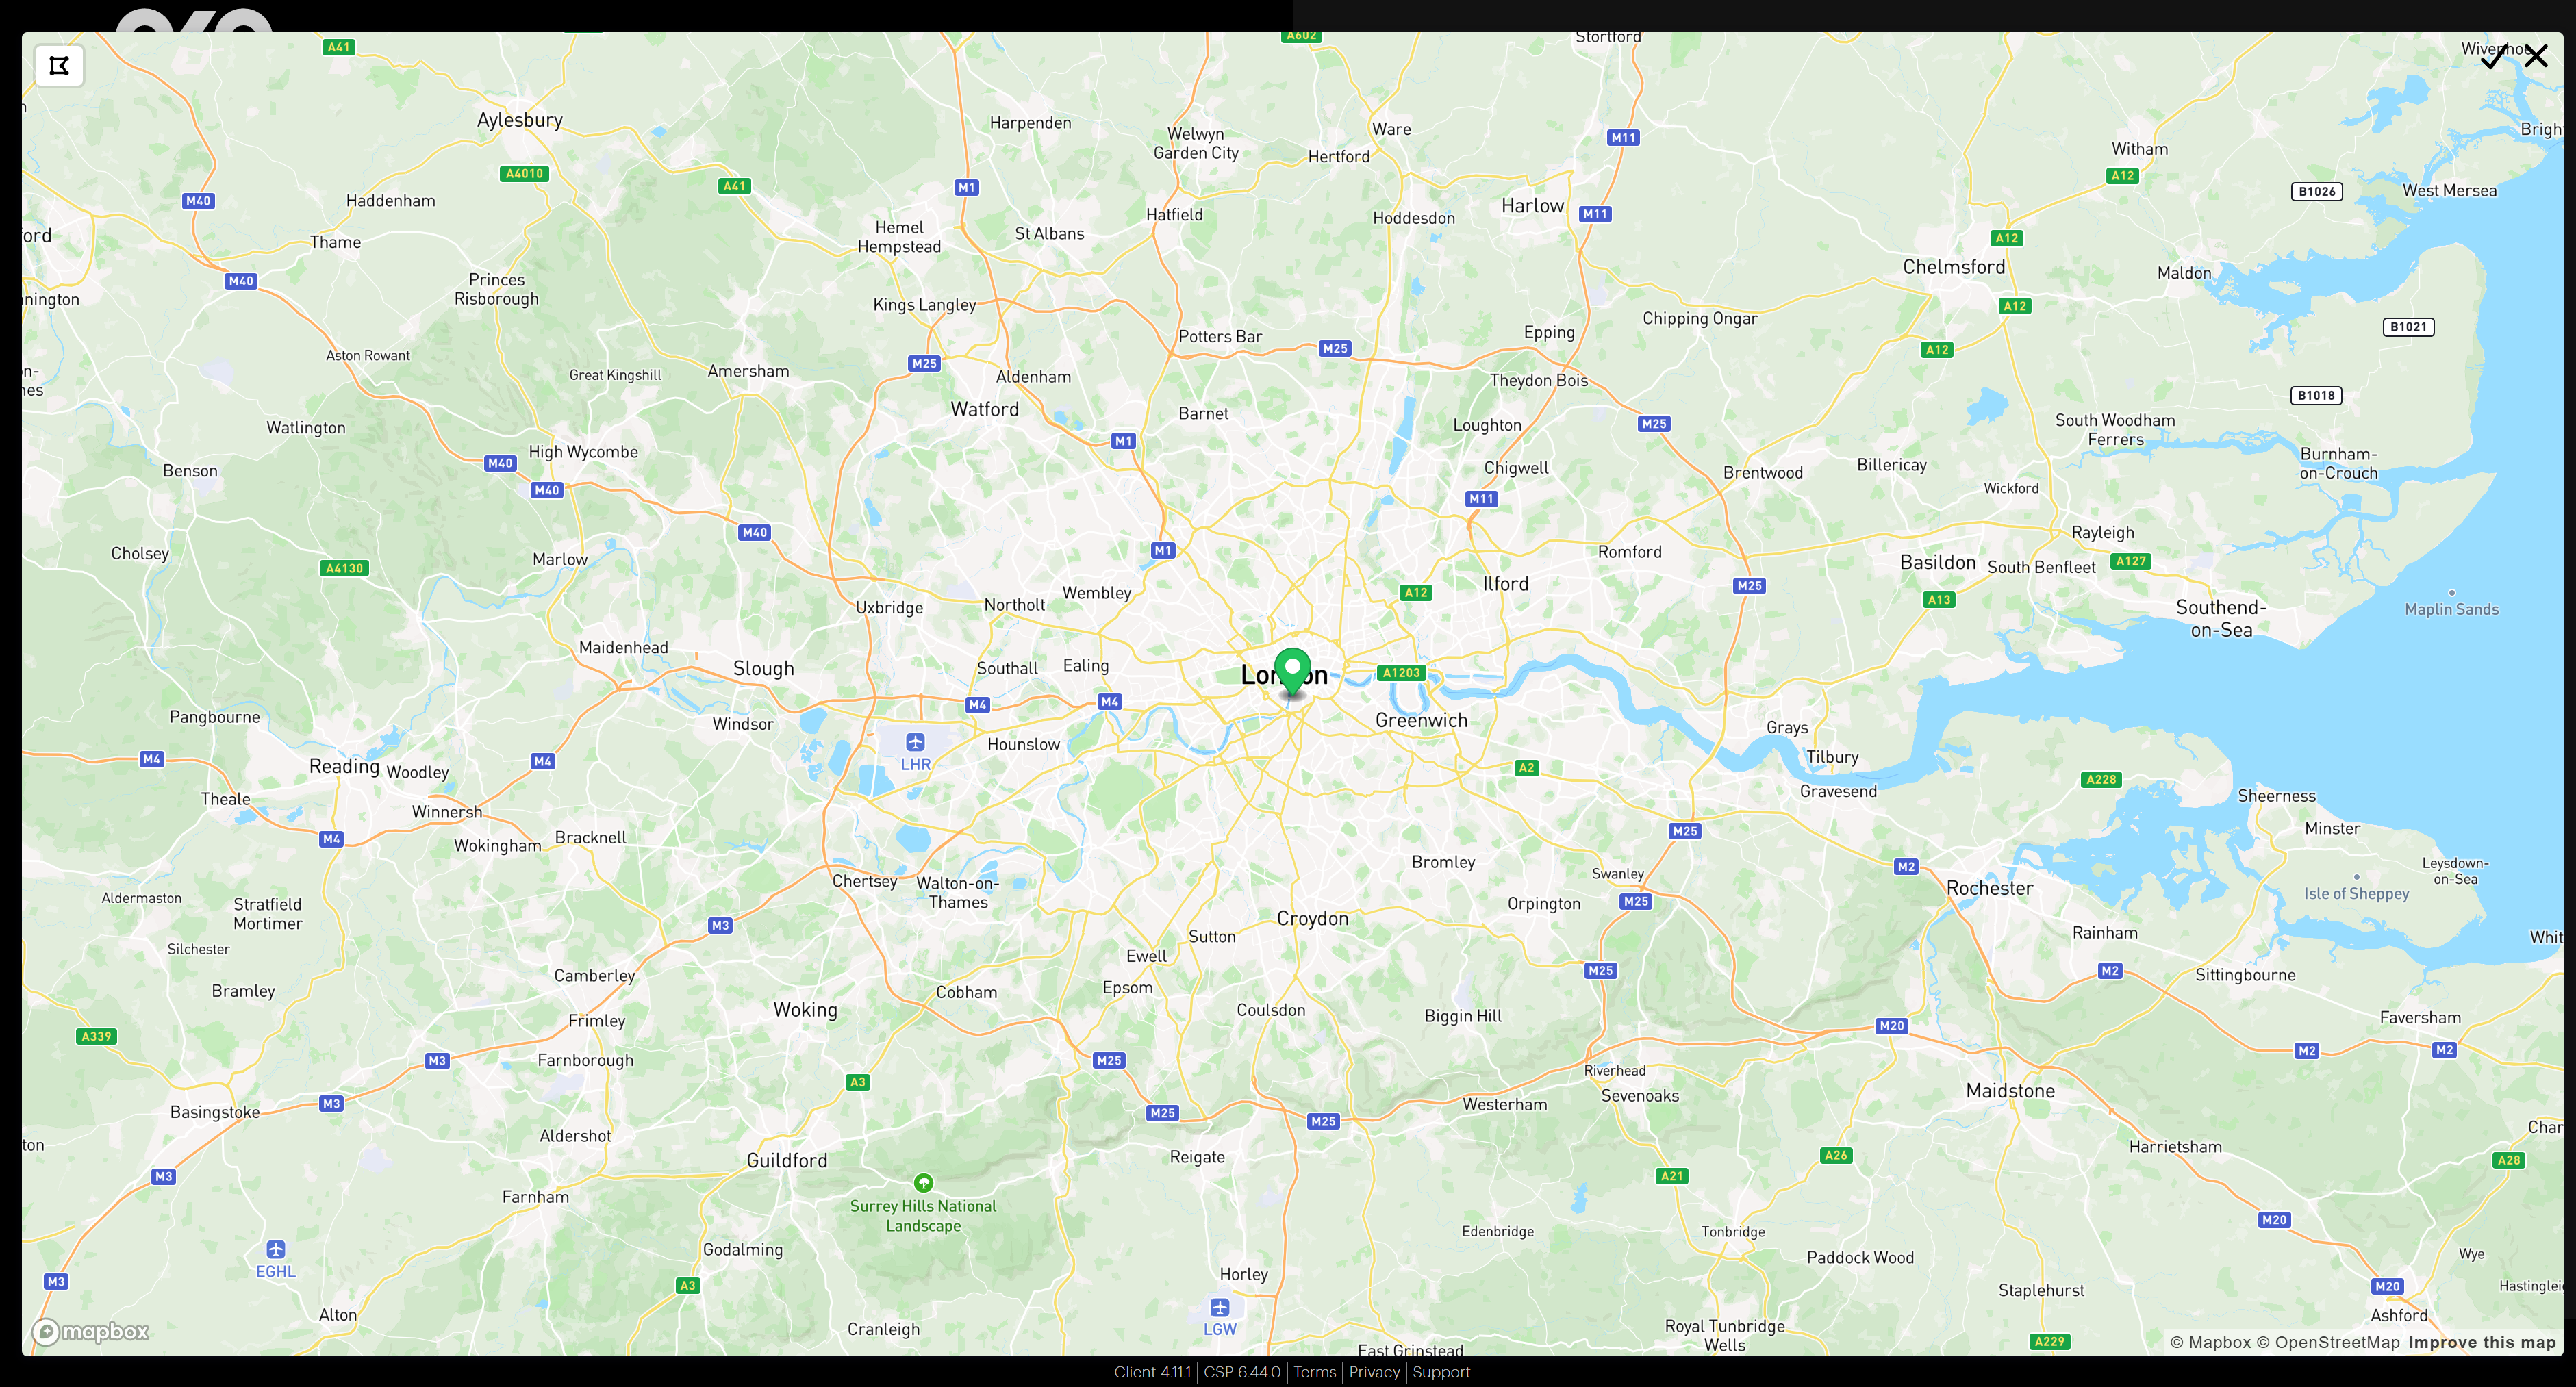
The pin at the center of the screen denotes the position at which your new space will be located. To update the position, left-click and drag to move the map view beneath the pin. You can also use your scroll wheel to zoom in and out for more precise placement.
Once you are happy with the selected location, click the tick to accept it, and the coordinates will automatically be added to the corresponding latitude and longitude fields for your space.
Share settings
Next, you can decide how you would like invited users to interact with your space. Select the Share button at the top of the page.
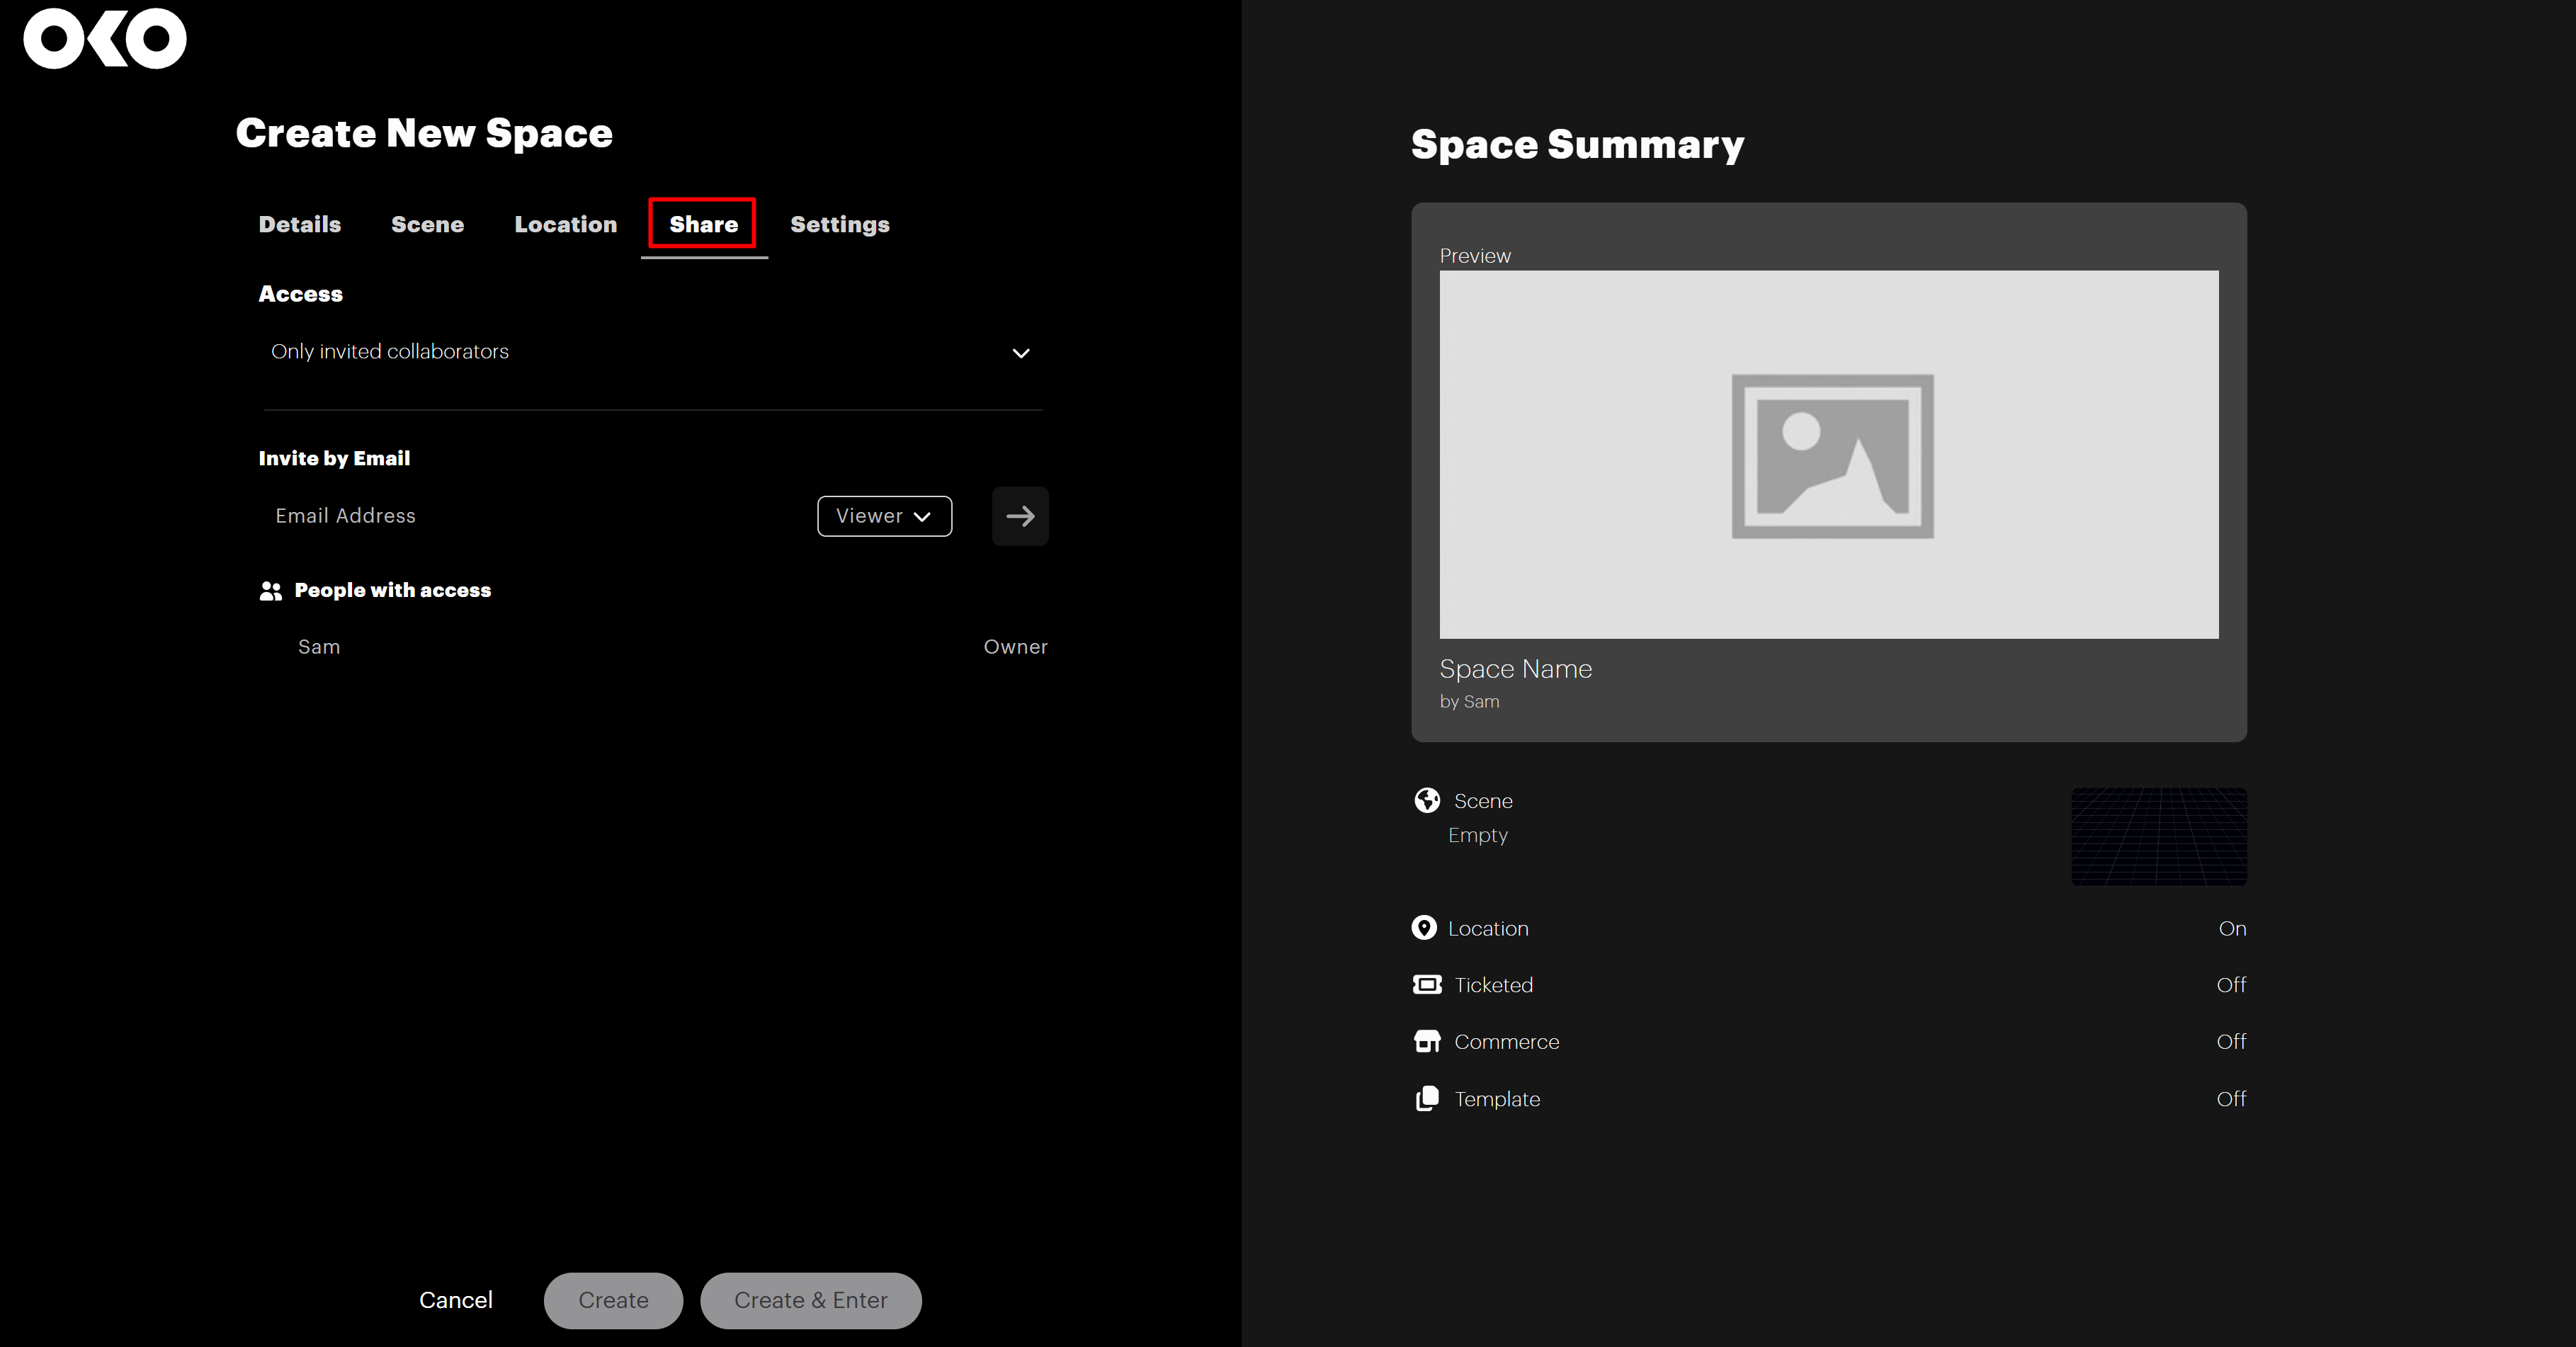
Invited users can have one of two roles: Creator or Viewer. Creators can edit and collaborate on the creation of the space with you, whereas a Viewer cannot make edits to the space.
Simply add their email address and choose their role, and they’ll appear in the list. You can come back to remove and add users and change their roles at any time.
Additional settings
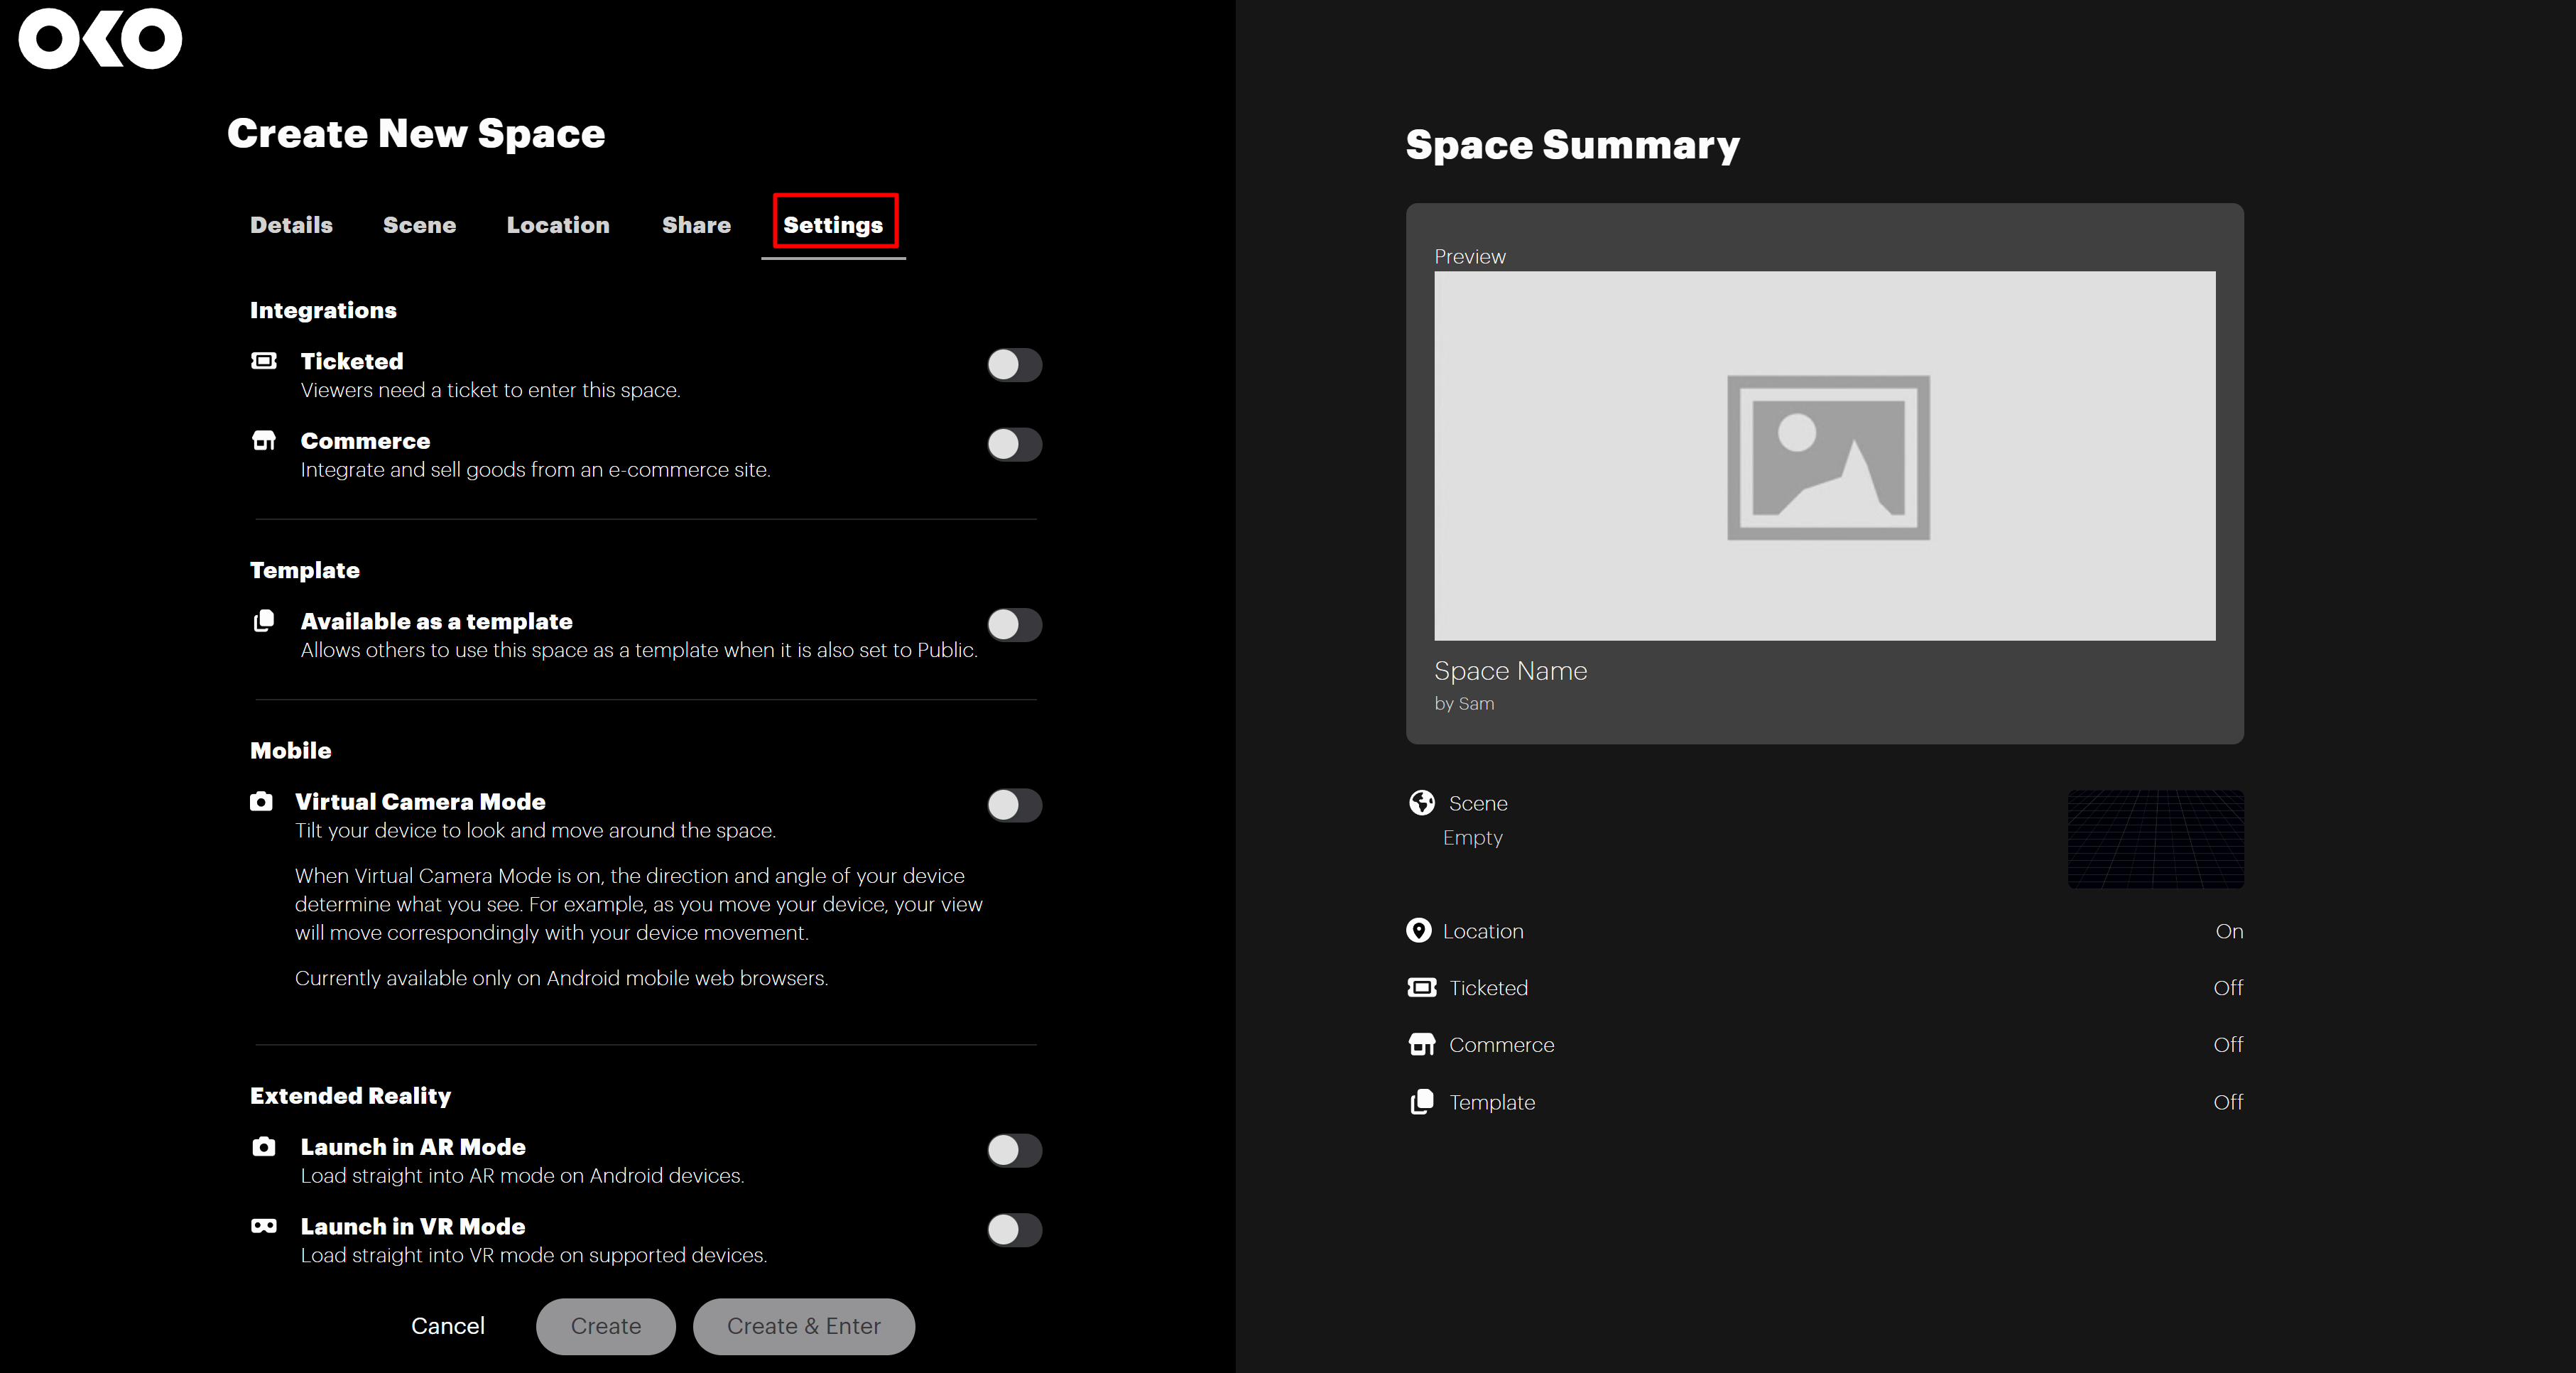
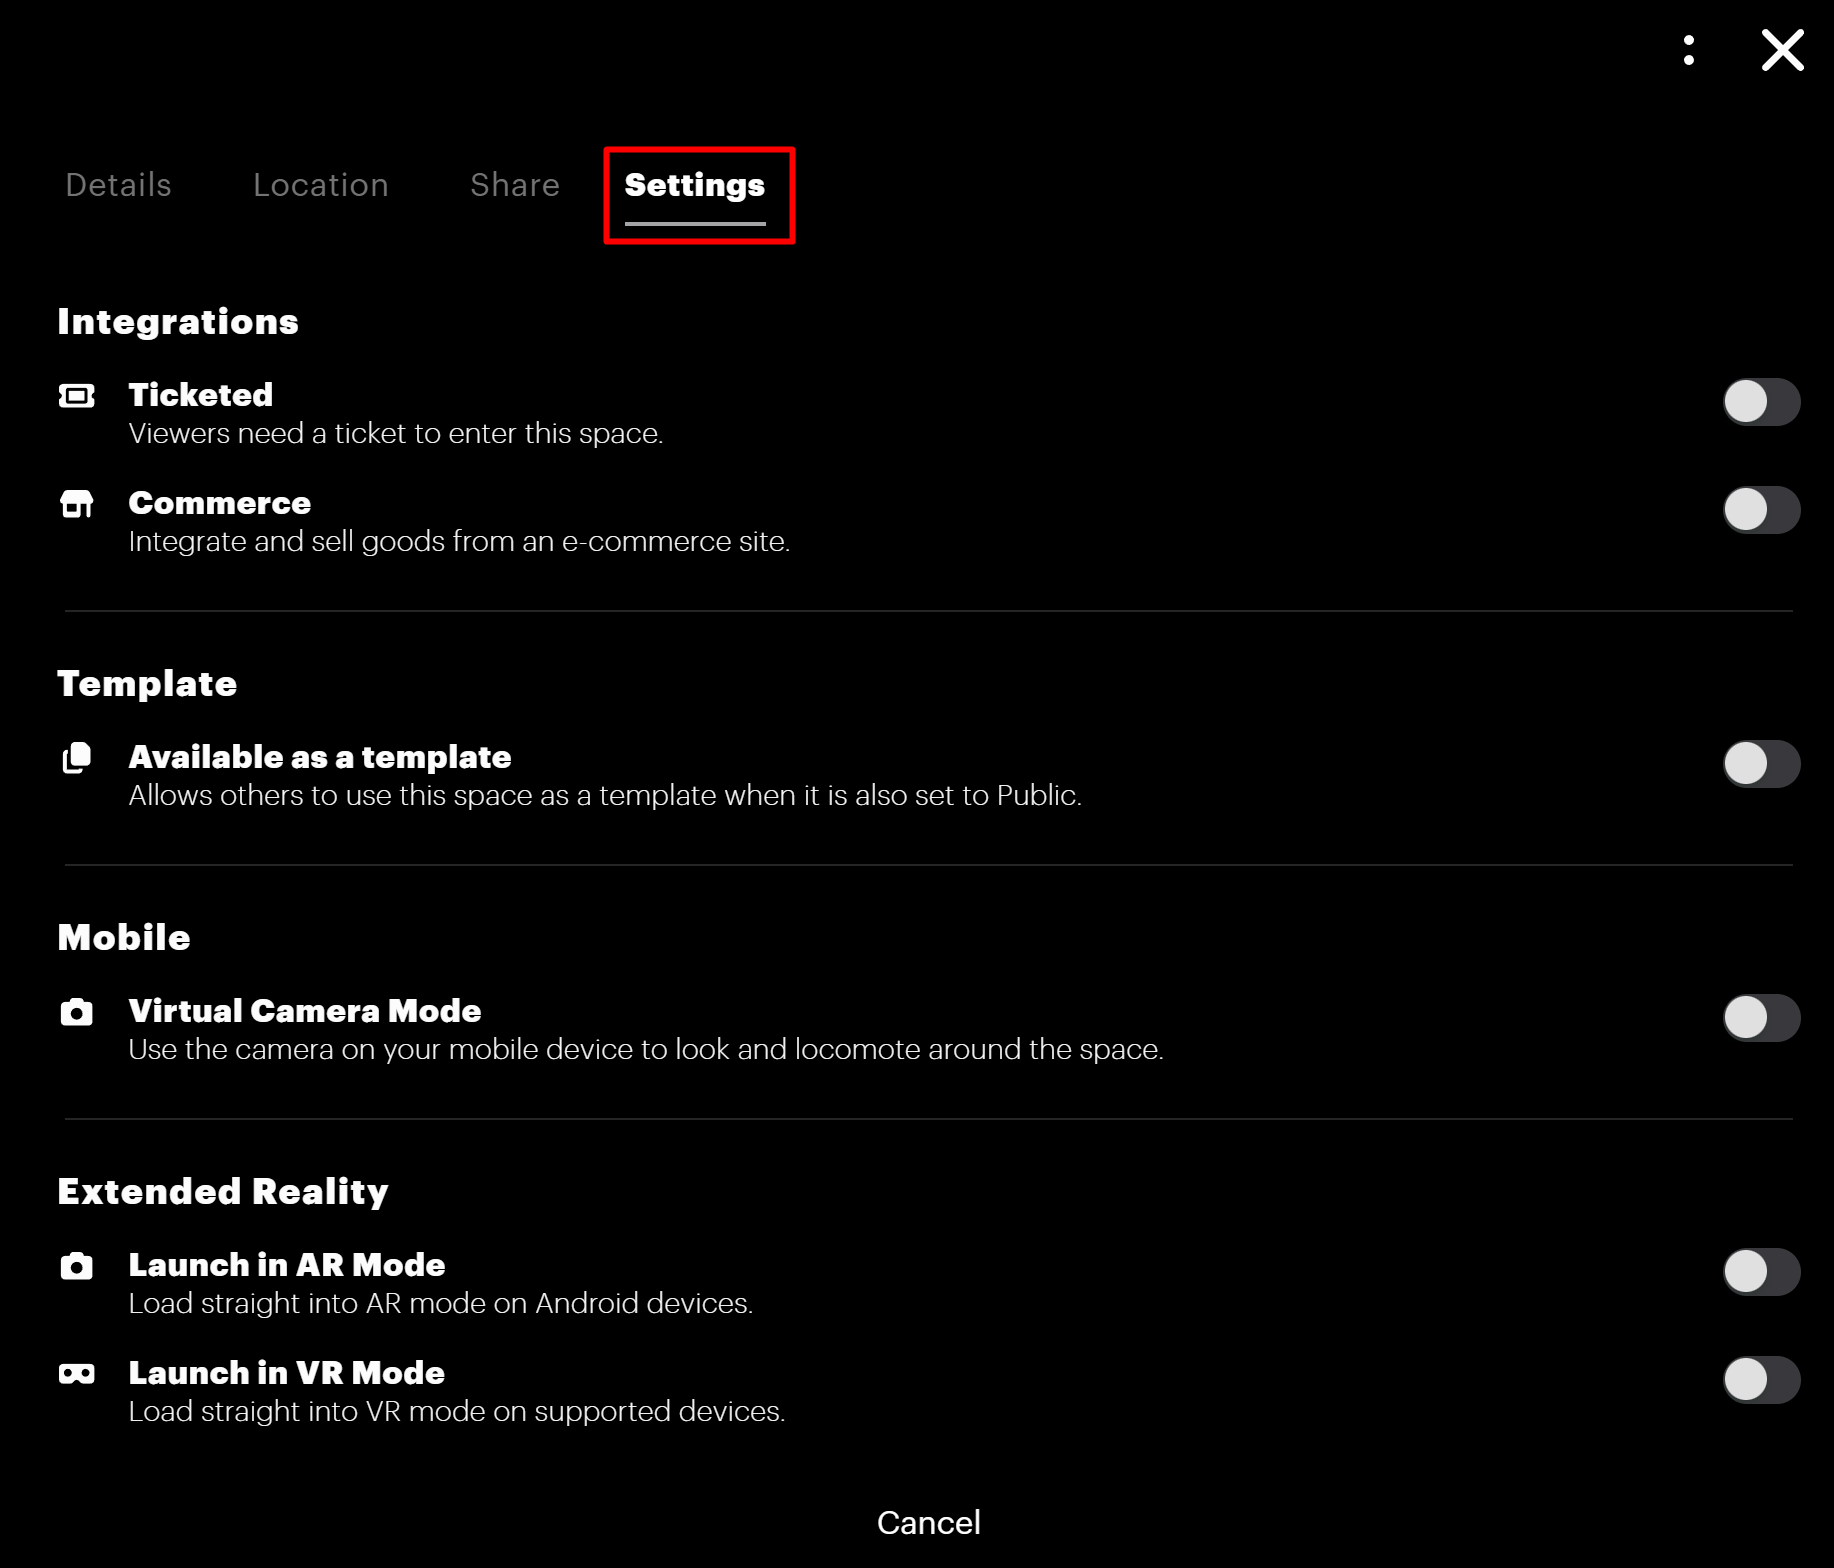
Finally, there are some additional settings you may want to explore for your space.
Select Settings at the top of the page to see the list below:
|
Commerce |
You can add e-commerce to your space via our Shopify integration. For more information, please refer to this link. |
|
Template |
You can make your space available as a template for other users. Note that the space must be set to Public for this to work. |
|
Virtual Camera Mode |
You can enable virtual camera style controls for Android devices. |
|
Launch in AR Mode |
You can enable visitors to be immediately placed in augmented reality (AR) mode. |
|
Launch in VR Mode |
You can enable visitors to be immediately placed in virtual reality (VR) mode. |
|
Visitor Settings |
You can enable visitors to be launched into an instanced space. Visitors will be able to be alone or invite friends. |
You are now ready to create your space!
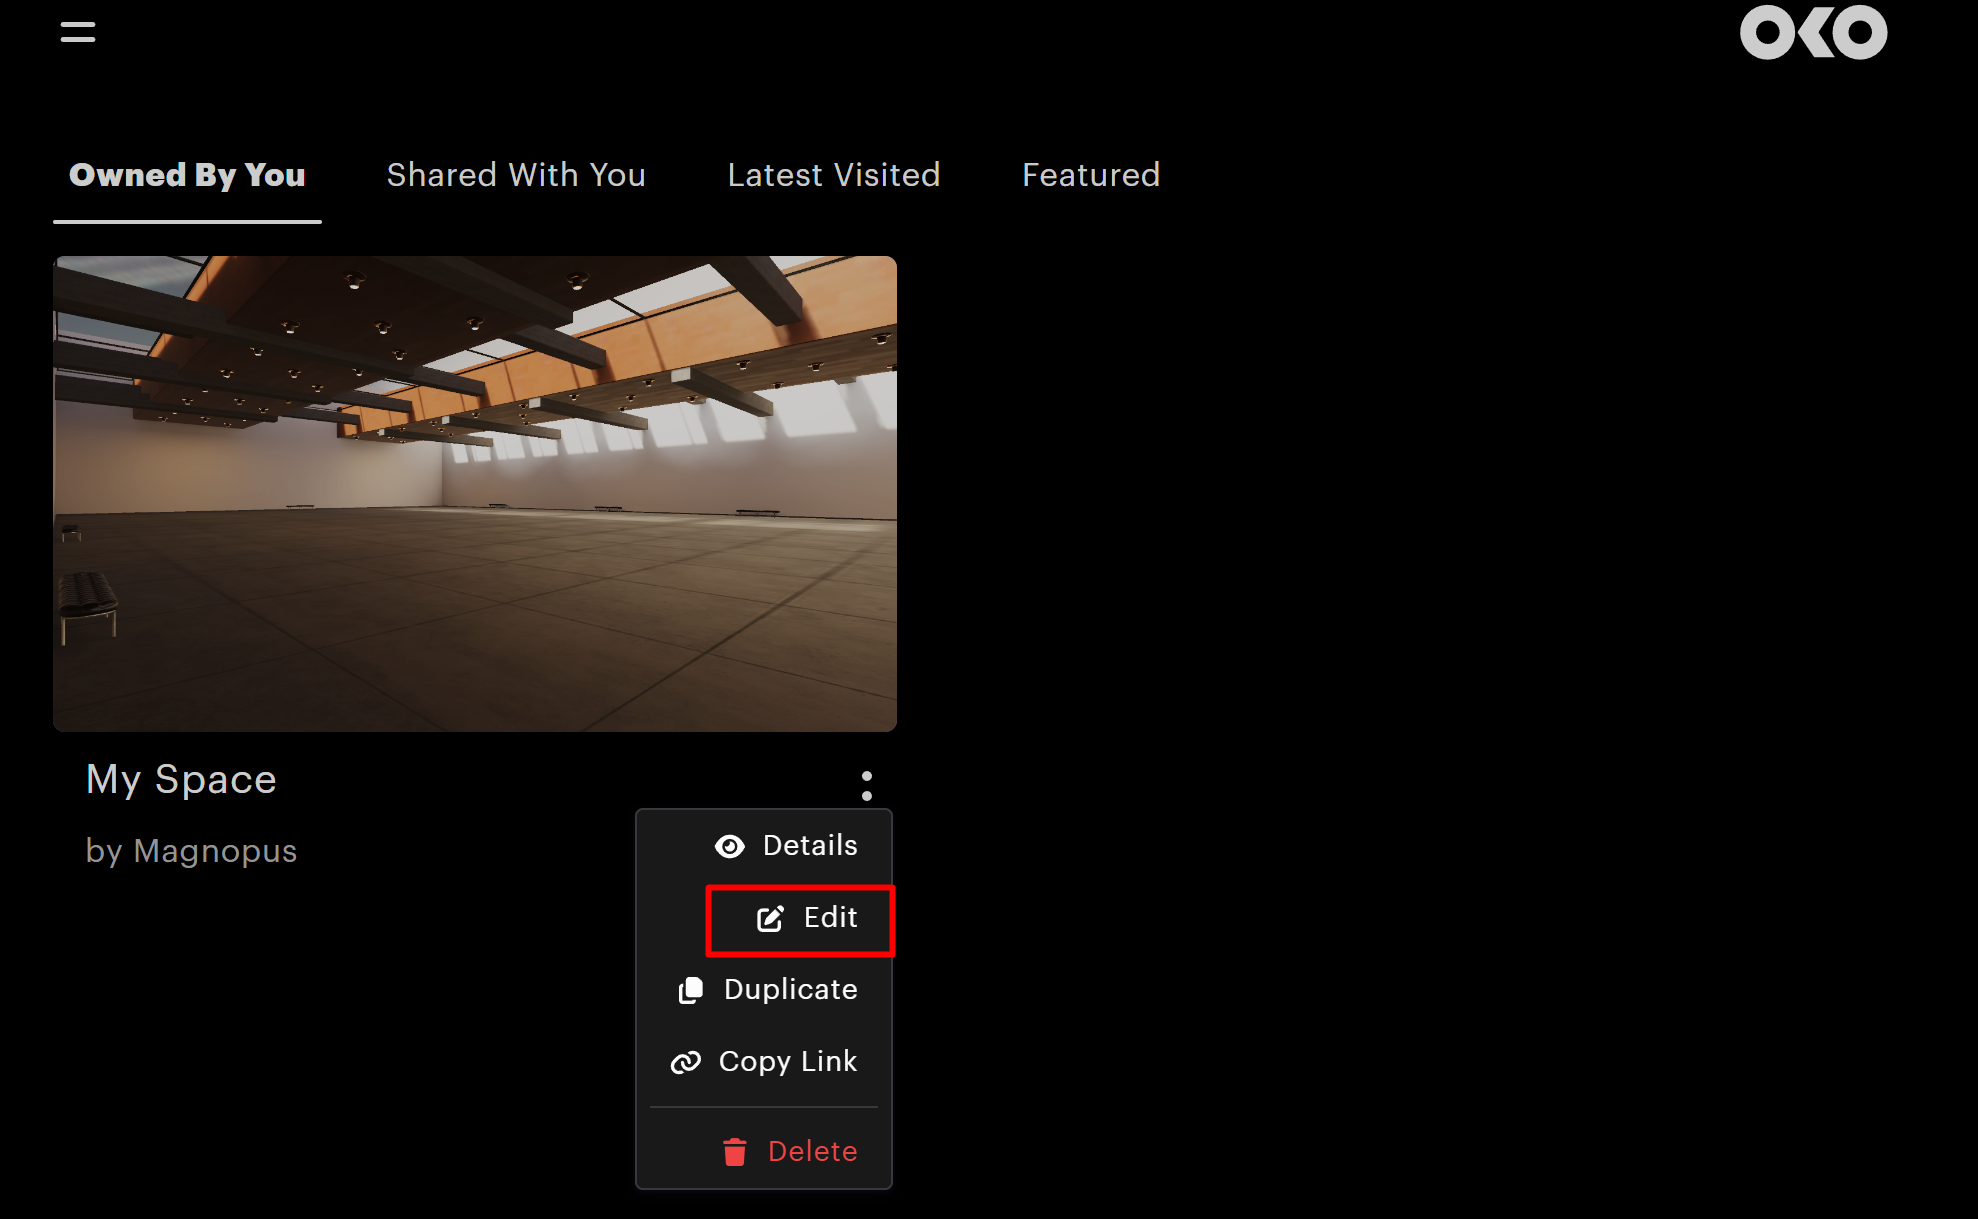
Note: Should you need to change any of the previous settings on your space, you can do this at any time from the main page. Simply select the two-dot menu, then click Edit.
Create and enter a space
Now that you’ve adjusted all your space settings, you can select Create to create the space and return to the main page, or select Create & Enter to immediately enter the space you’ve created.
Once you enter the space, you can find additional space settings on the left and right side of the page, as shown below.
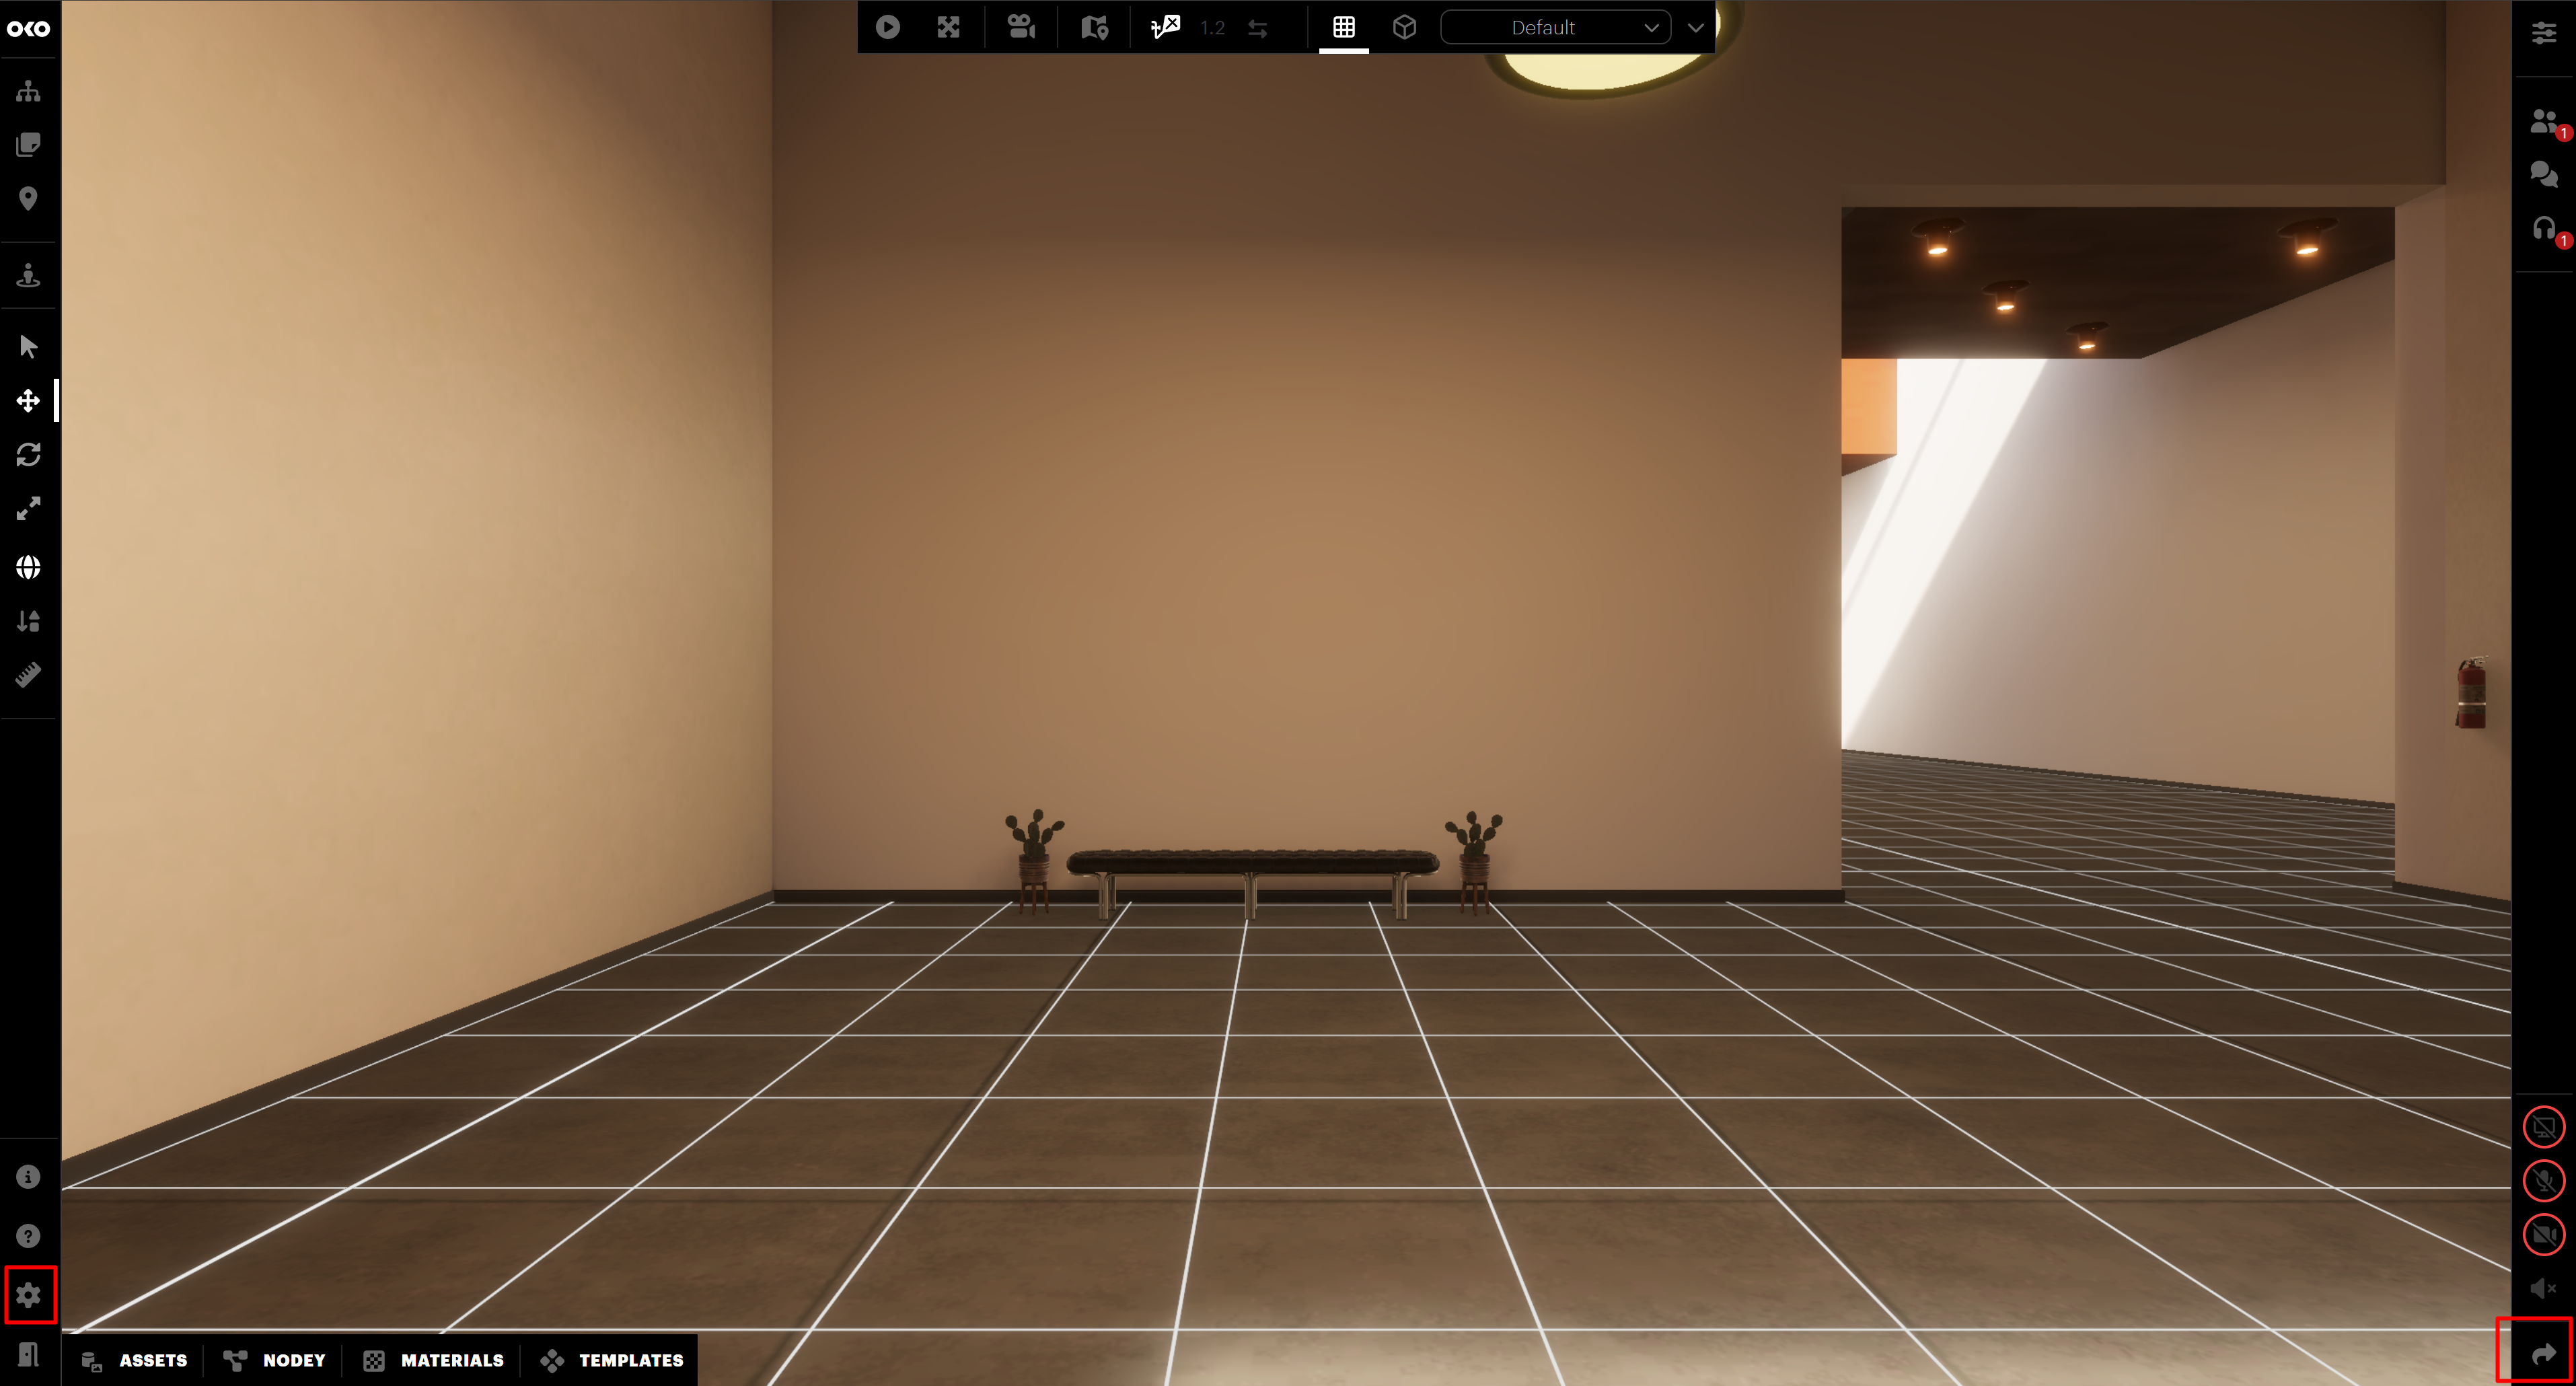
Click on Share to add additional users and decide if they are Viewers or Creators.
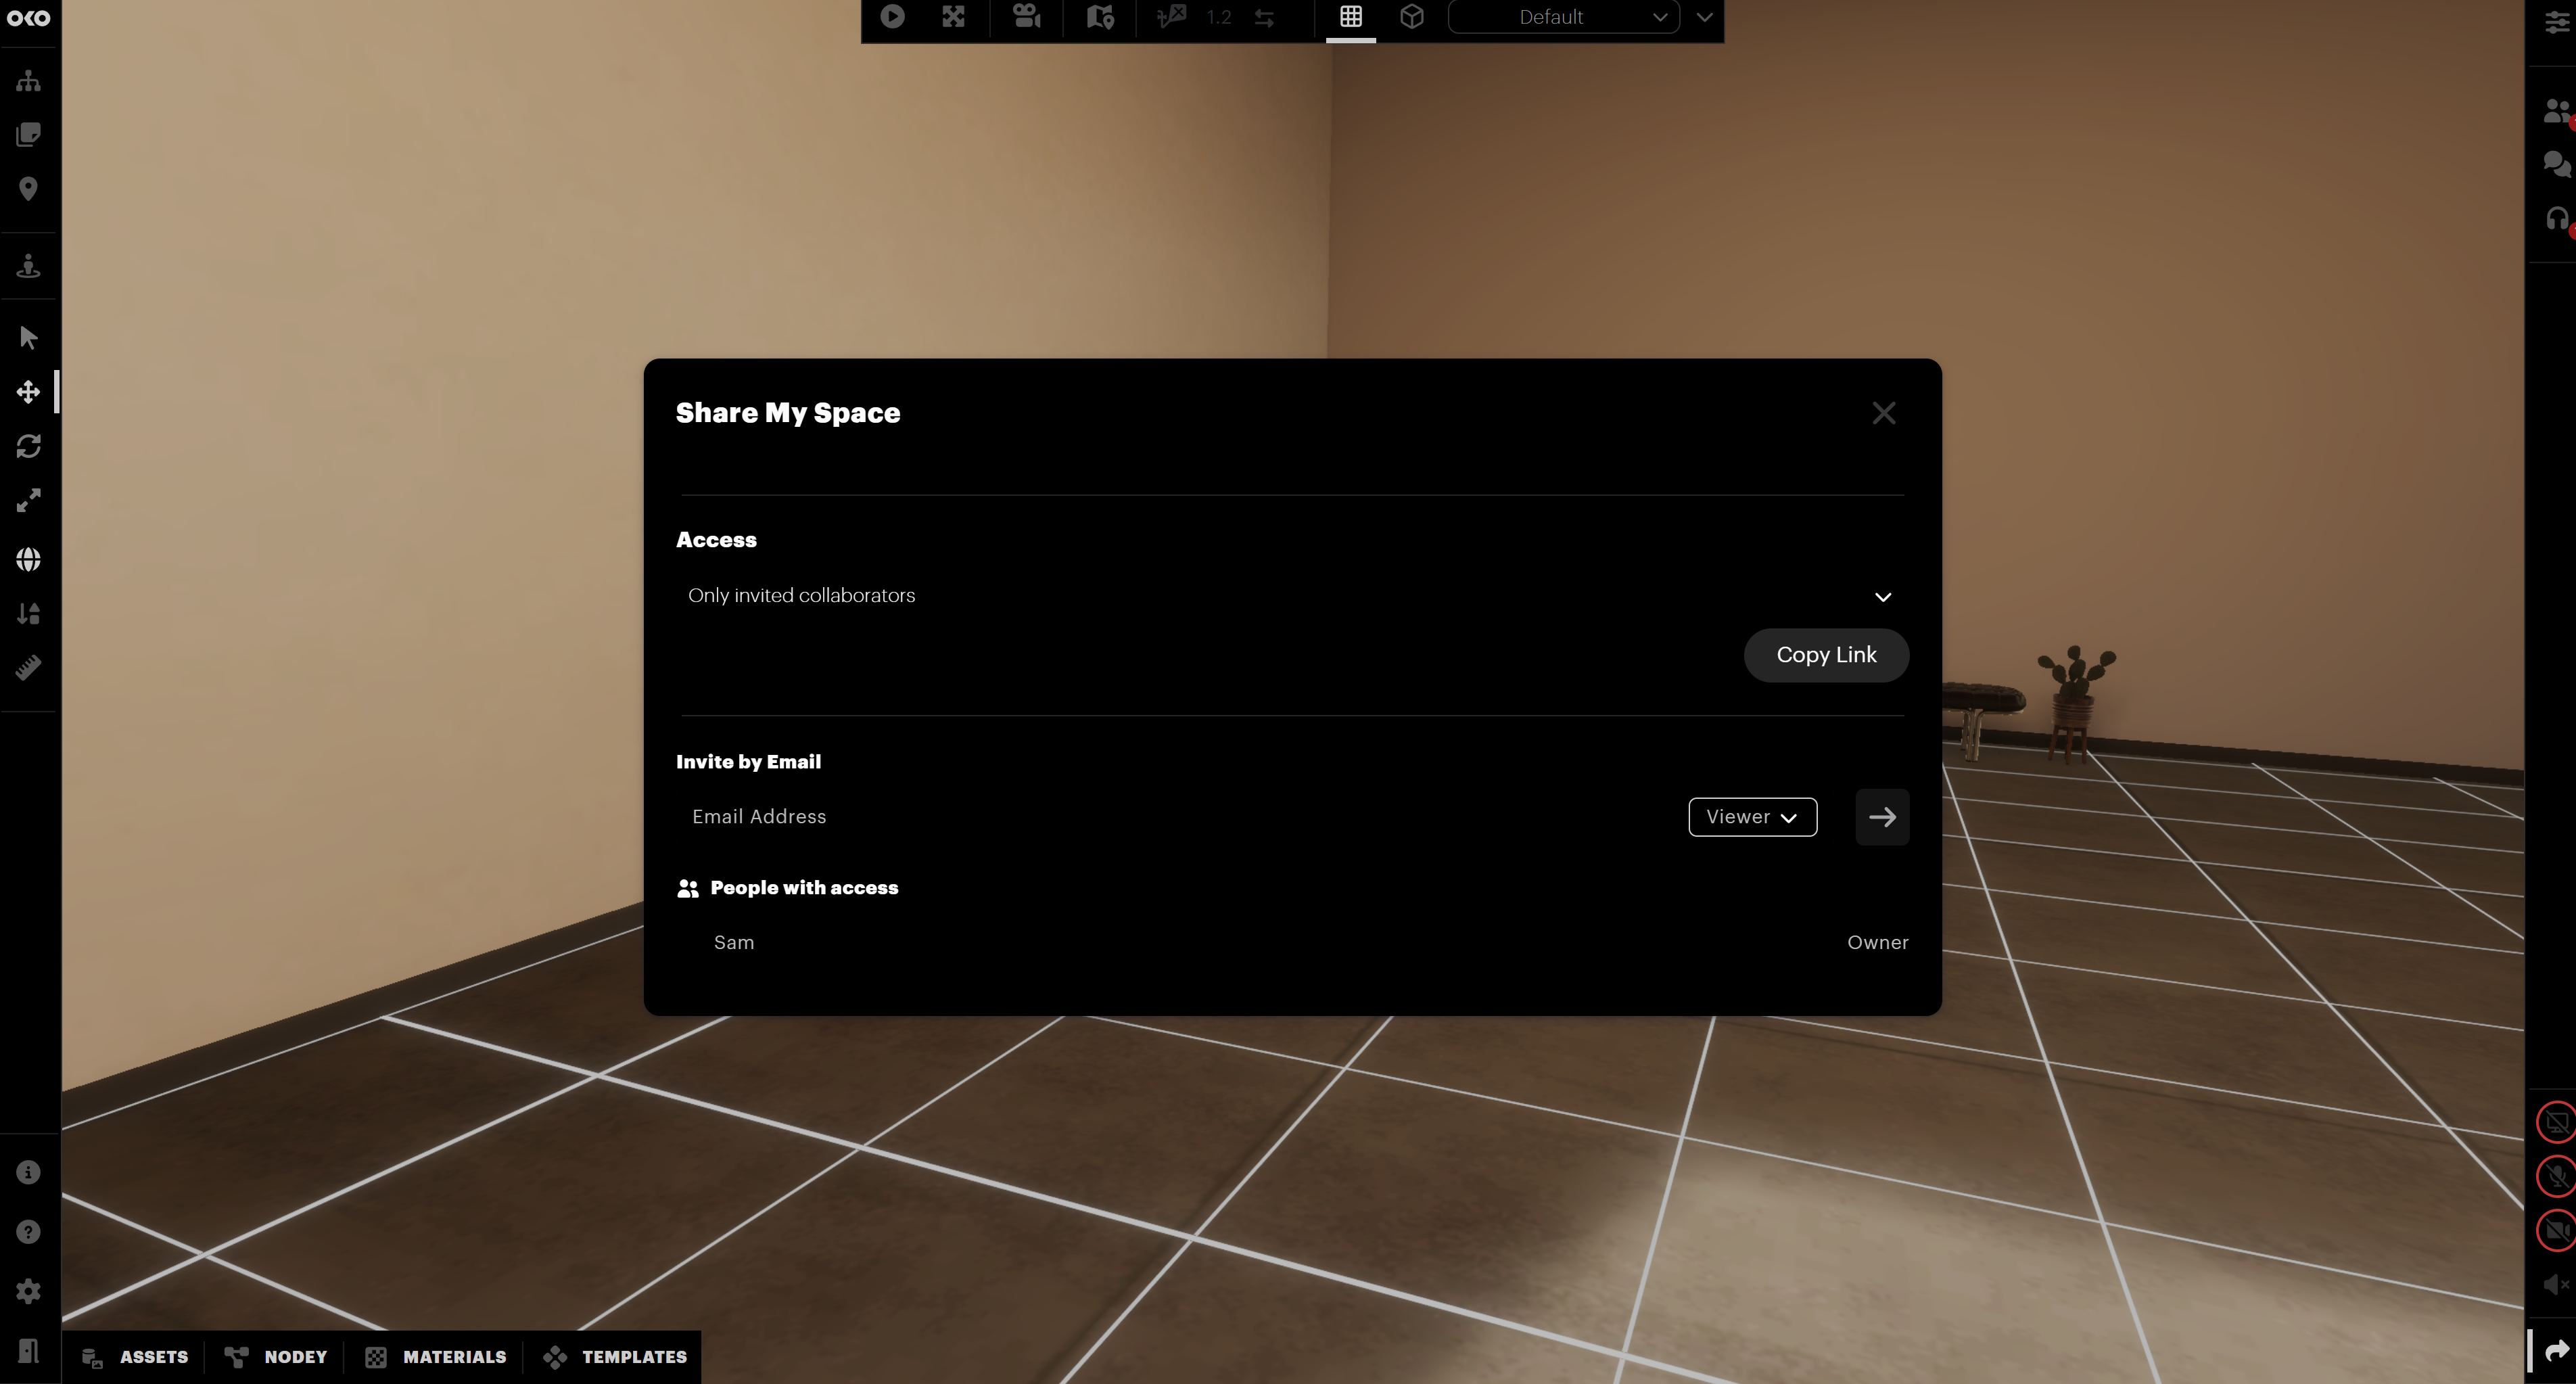
You can return to this section at any point to edit who has access to your space.
An alternative way to access your space settings
As mentioned earlier, if you return to the home page and select the Owned By You tab, you can search for your space, and then you’ll see two dots at the bottom right of the thumbnail:
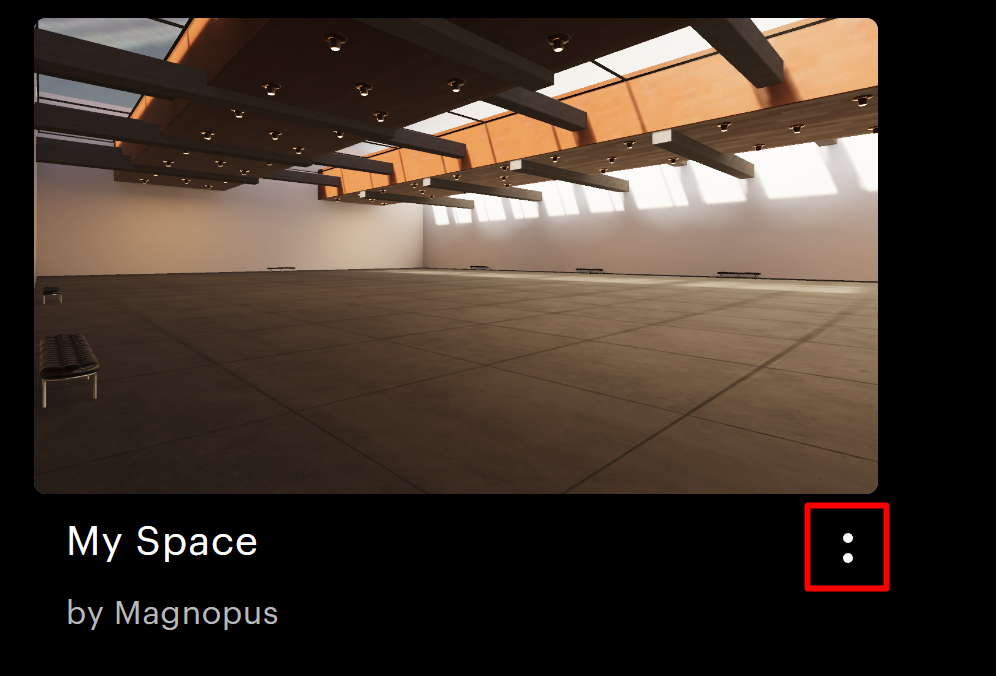
Click on it, and select Edit to open space settings, or select Delete to delete the space.
You can also share your space from here using either the Share or Copy Link buttons.
When opening the space settings, you will see all the same options as before. You can change the thumbnail, display name, and description of your space.
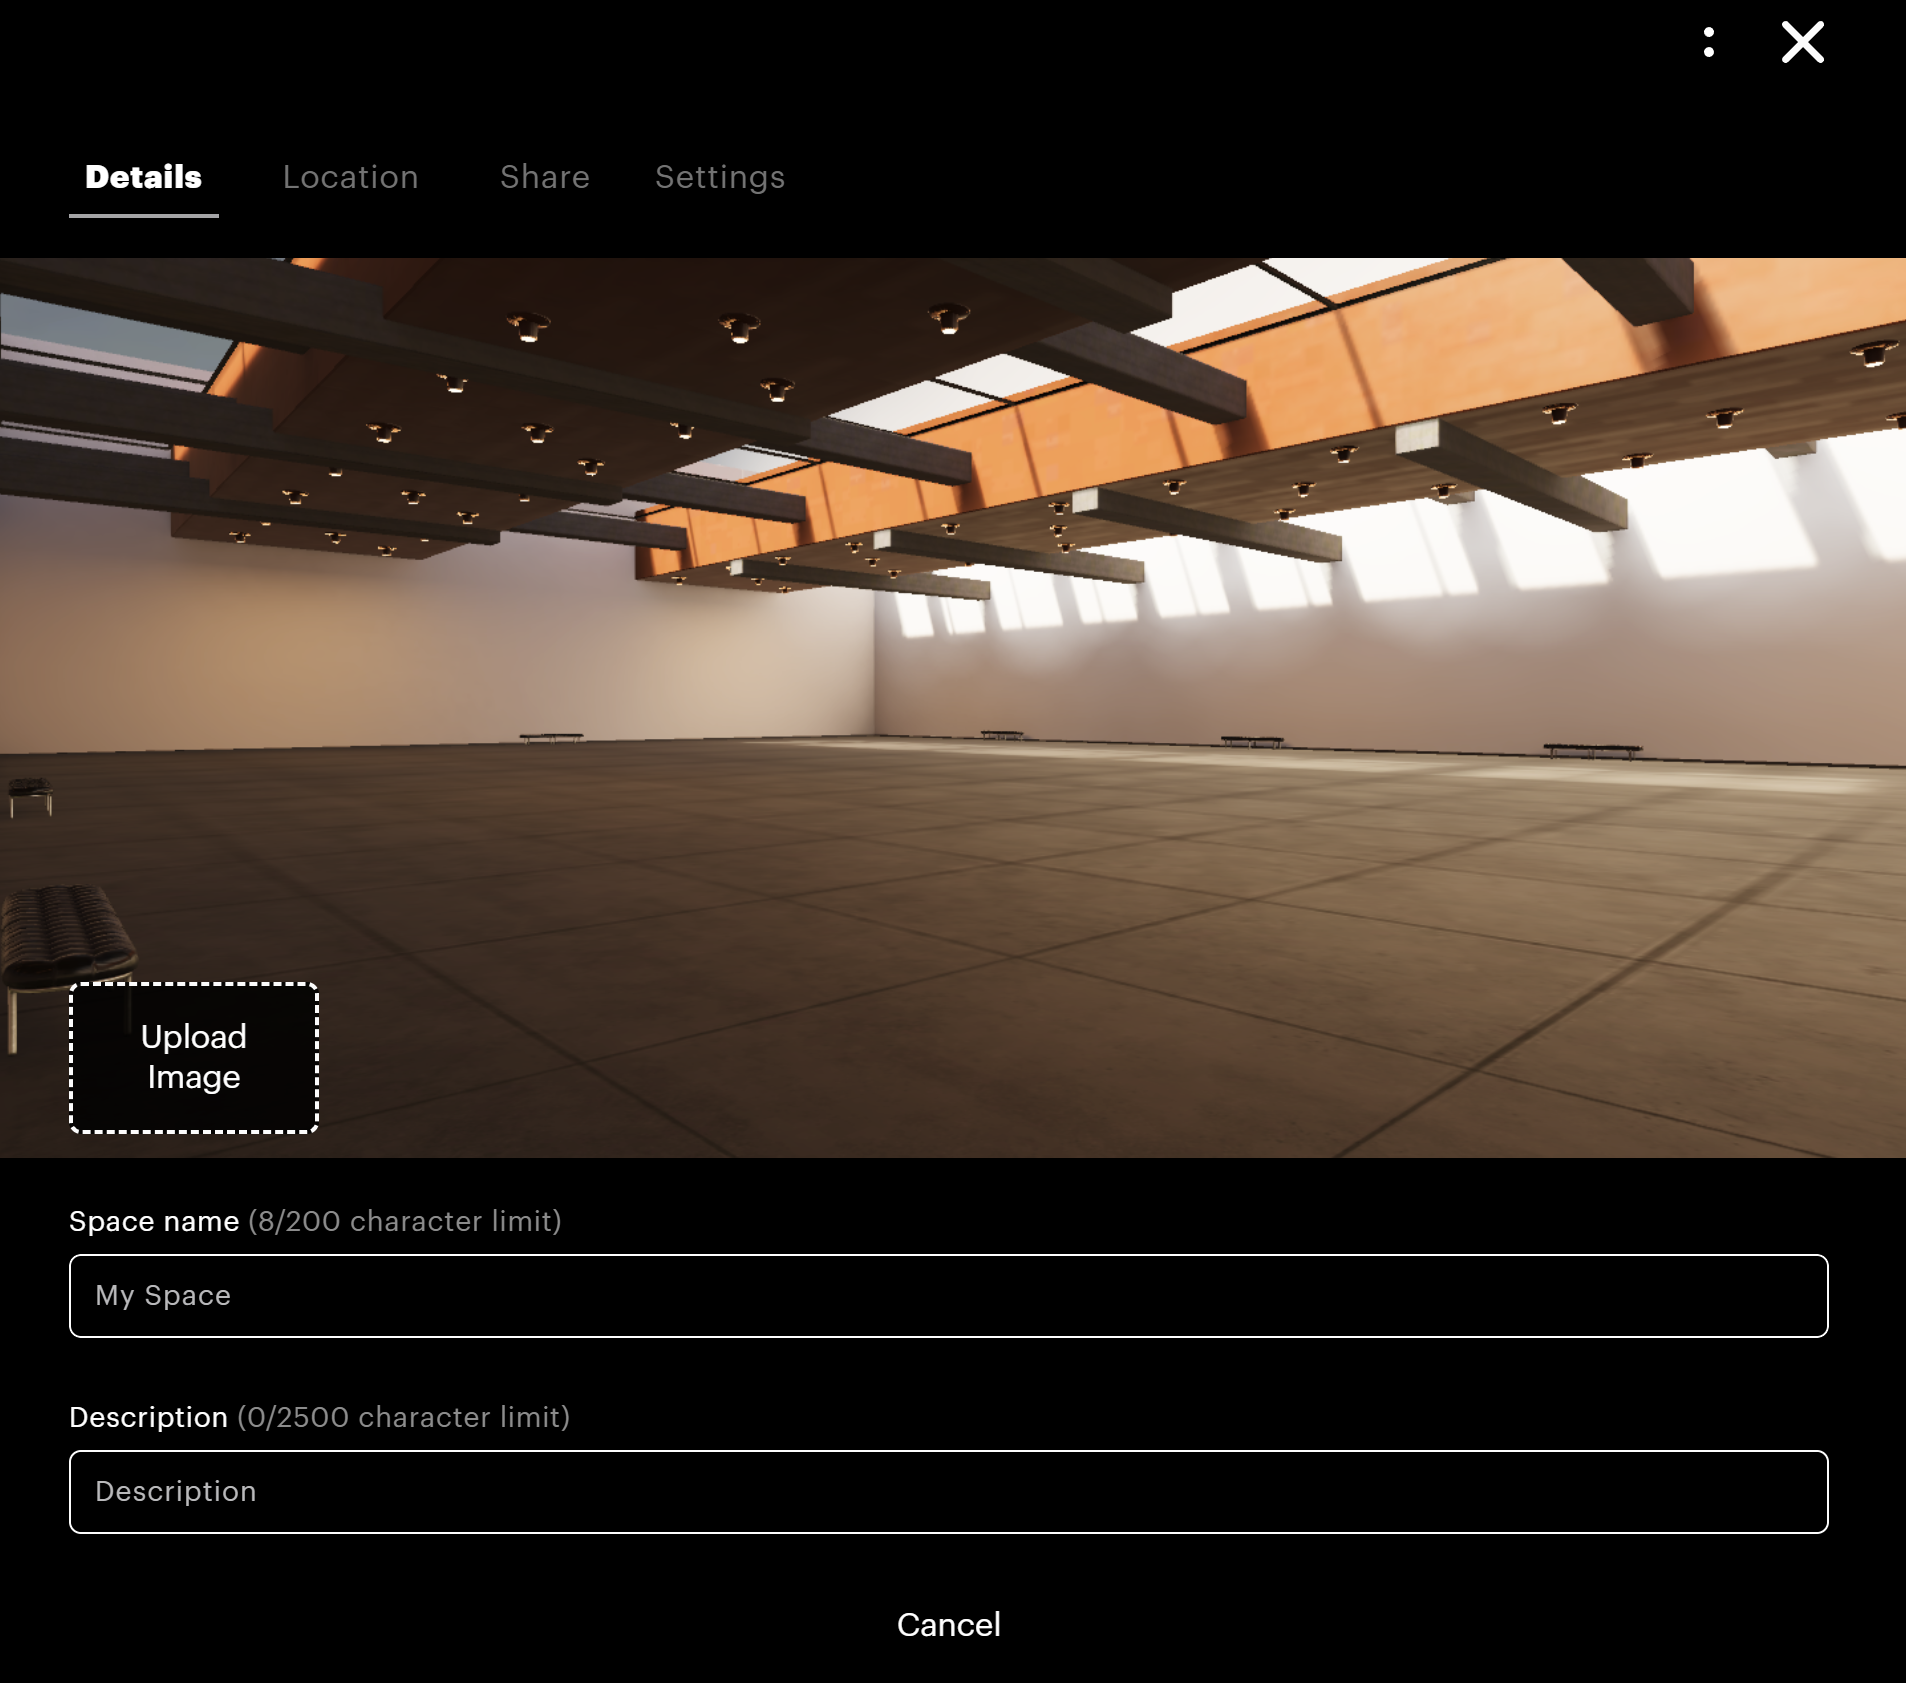
You can add a Location if you haven’t already using the Location tab.
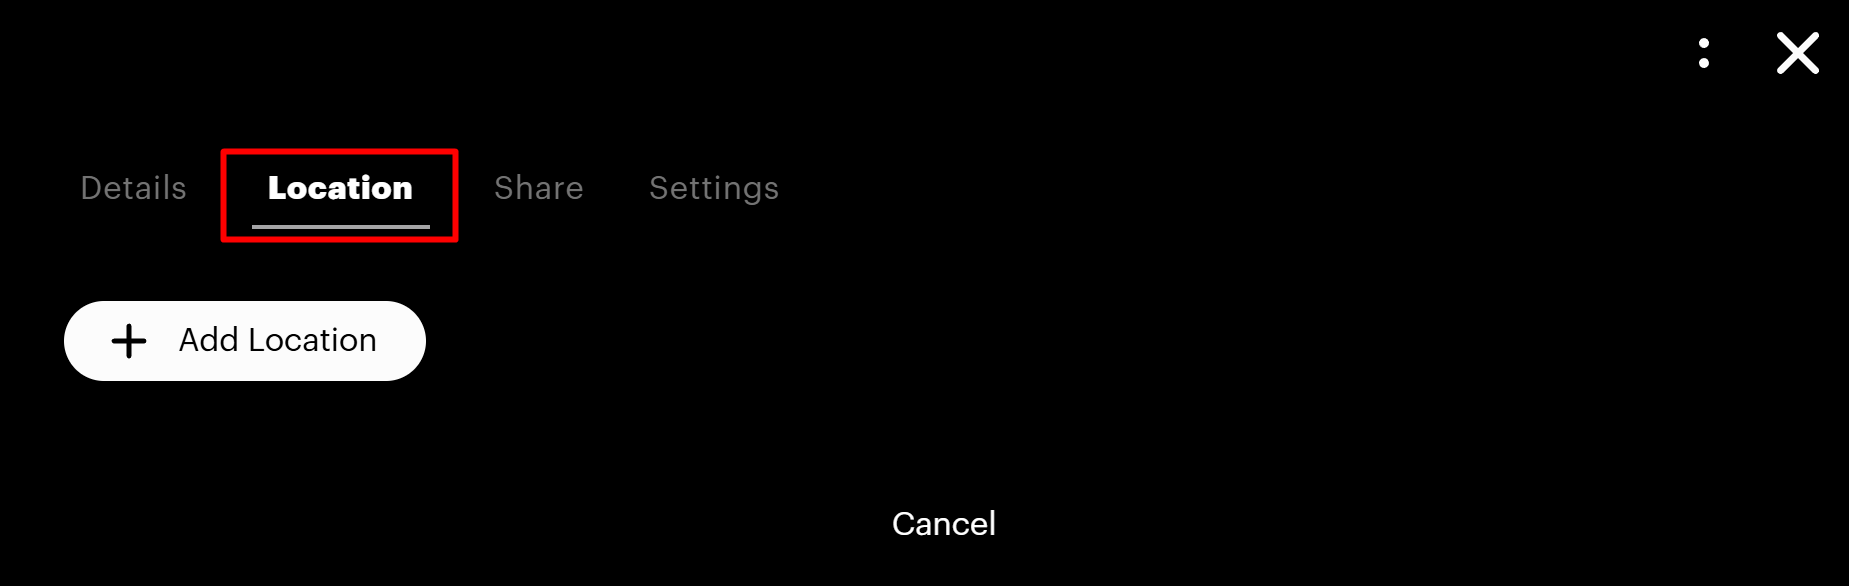
You can manage visitors to your space in the Share tab.
And you can make your space templated, commercial, or change anything else at any time.
We hope you enjoy creating spaces of your own!