
World-building fundamentals
OKO Web Client 4.7.1 | CSP 6.36.0
Entities
At the top left corner of your window, you will find the Hierarchy.
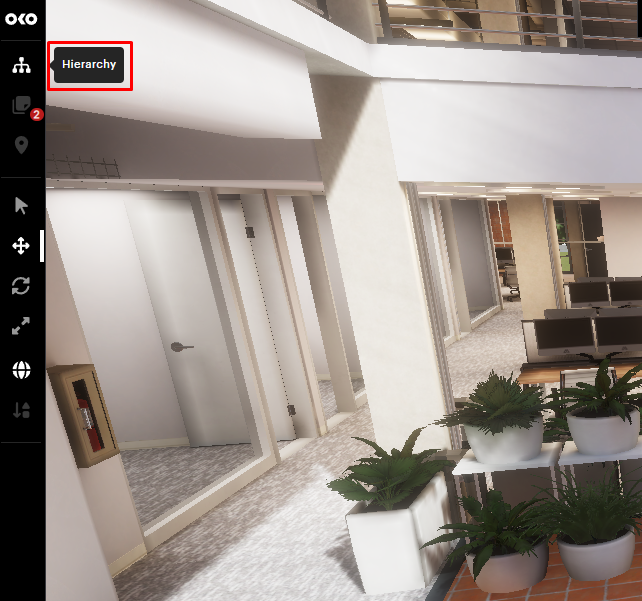
From here you can manage the entities in your space, select individual entities for editing, add new entities or delete old ones.
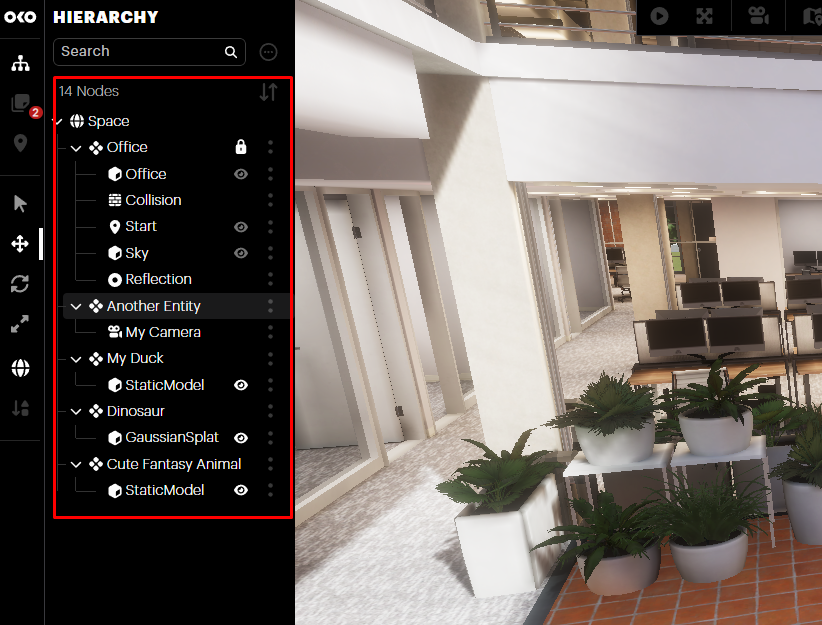
The Entity Hierarchy
An Entity can be thought of as a container, or a parent, with one or more Components (children) contained within it. Open the Hierarchy to see the Entity, and select the Plus (+) icon next to the Entity to see the Component underneath. When selected, the Entity will be highlighted in green within the space.
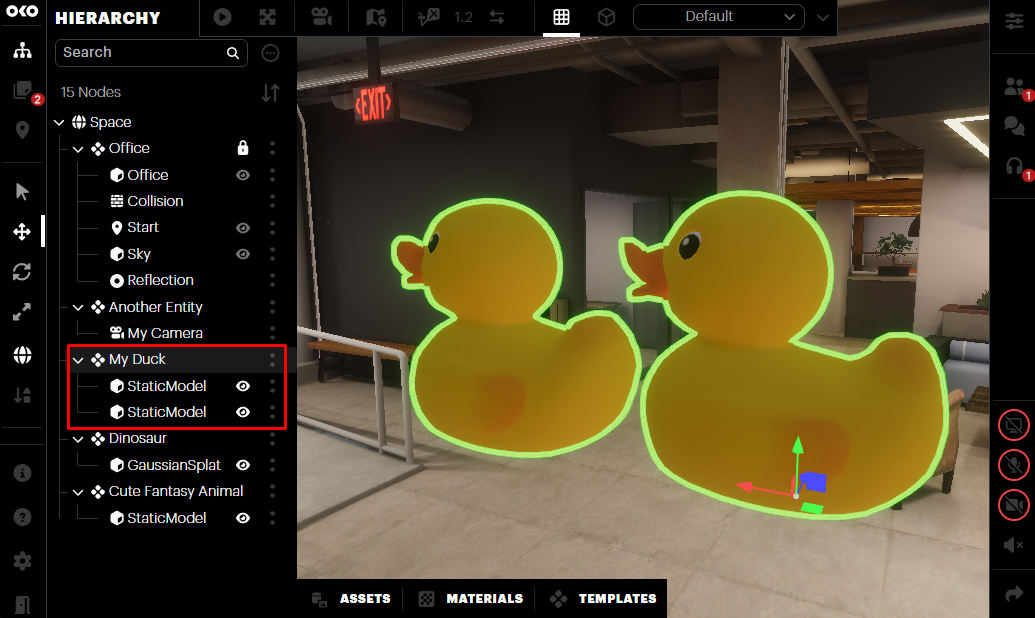
If you have added multiple Components to a single Entity, selecting that Entity allows you to move, rotate, and scale the Entity – and all Components within it – as a single unit.
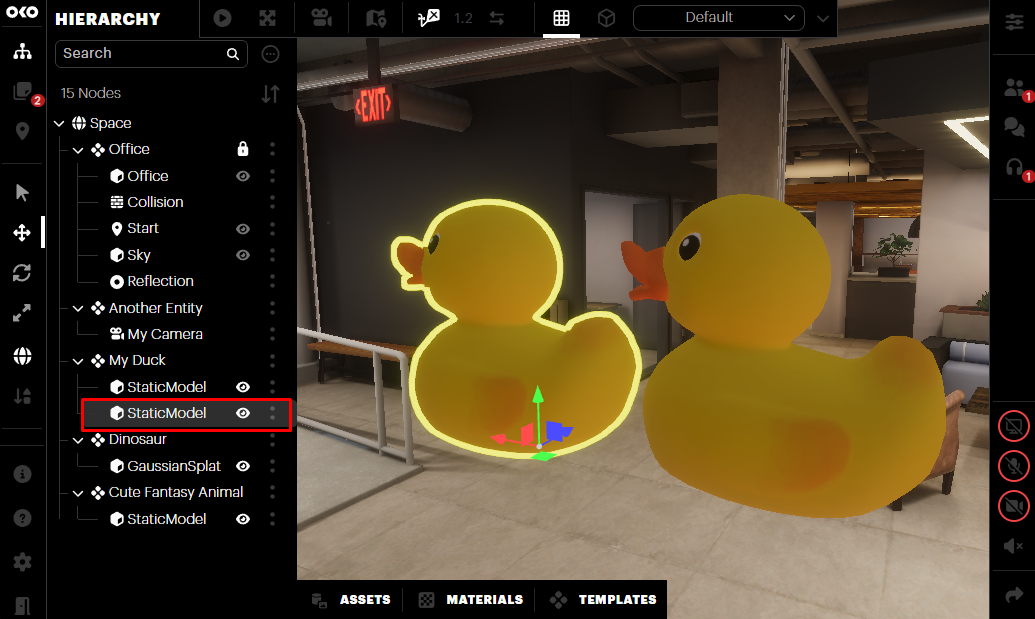
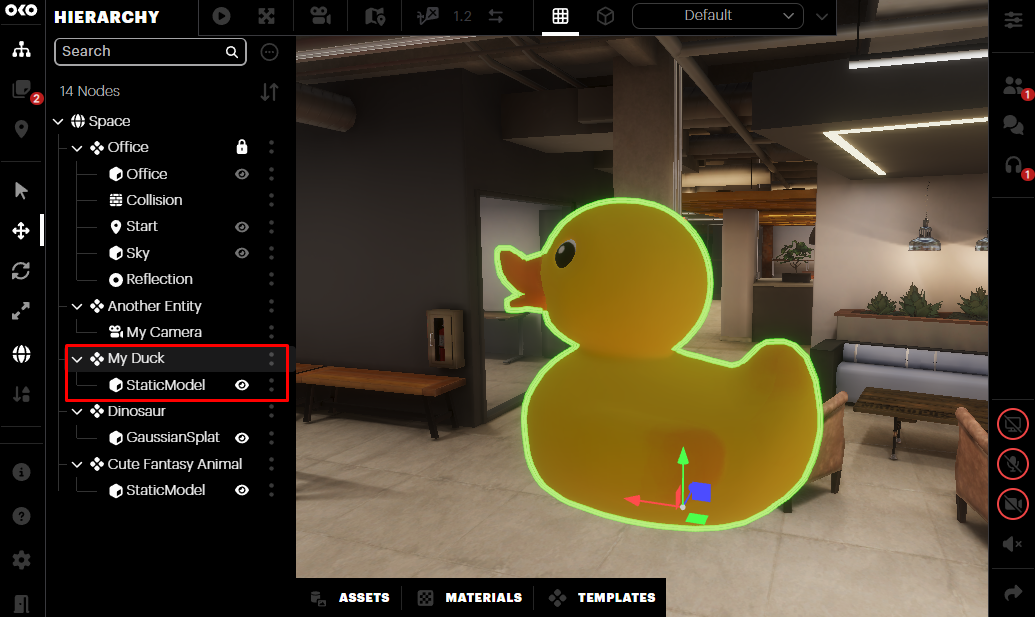
However, you still can move, scale, and rotate each Component individually by selecting it under the Entity. When a single Component is selected, it will be highlighted in yellow.
To move an existing Component from one Entity to another, open the Entity that contains it, and drag the Component to the desired Entity within the Hierarchy.
To reparent an Entity, drag it onto another Entity. It will maintain its world Transform after being reparented.
Using the Hierarchy Icons
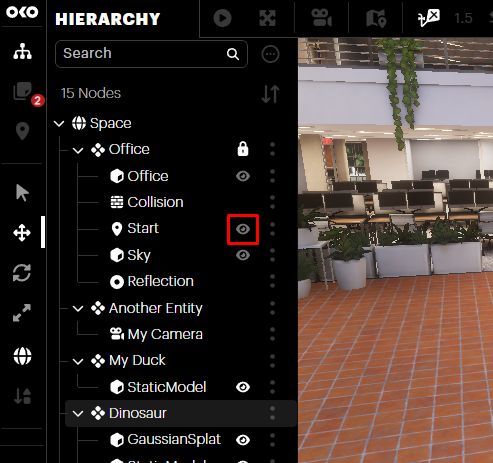
Beside each Component you will see an eye icon. This toggles the visibility of that particular Component.
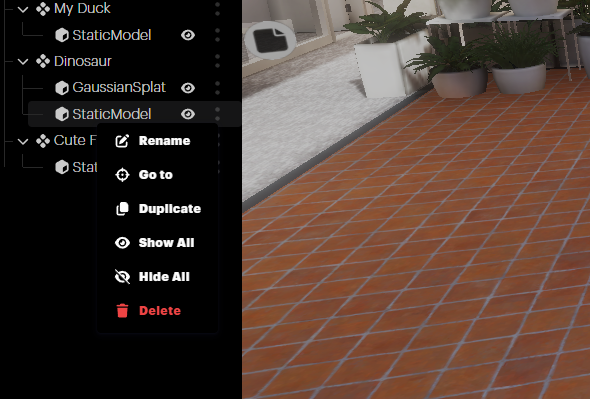
Additionally, selecting the Double Dots (:) icon to the right of an Entity or Component opens a new menu with additional options:
Go to: Your editor camera will get closer to the Component or Entity.
Duplicate: Generates a copy of a particular Component or Entity.
Delete: Removes the item from your space.
When deleting an Entity that has child Entities, they will not be deleted. Instead, they are reparented to the root level.
Only the Entity you selected for deletion gets removed, not its children.
The Properties Panel
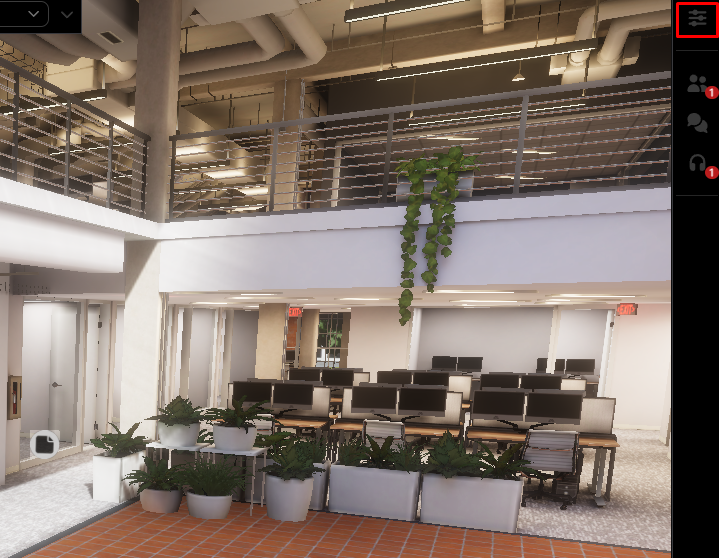
Near the top right corner, you will find the Properties panel.
Here you can edit the Entity and Components just like in the Hierarchy Menu, but also fine-tune their position, rotation, and scale and edit individual Component properties.
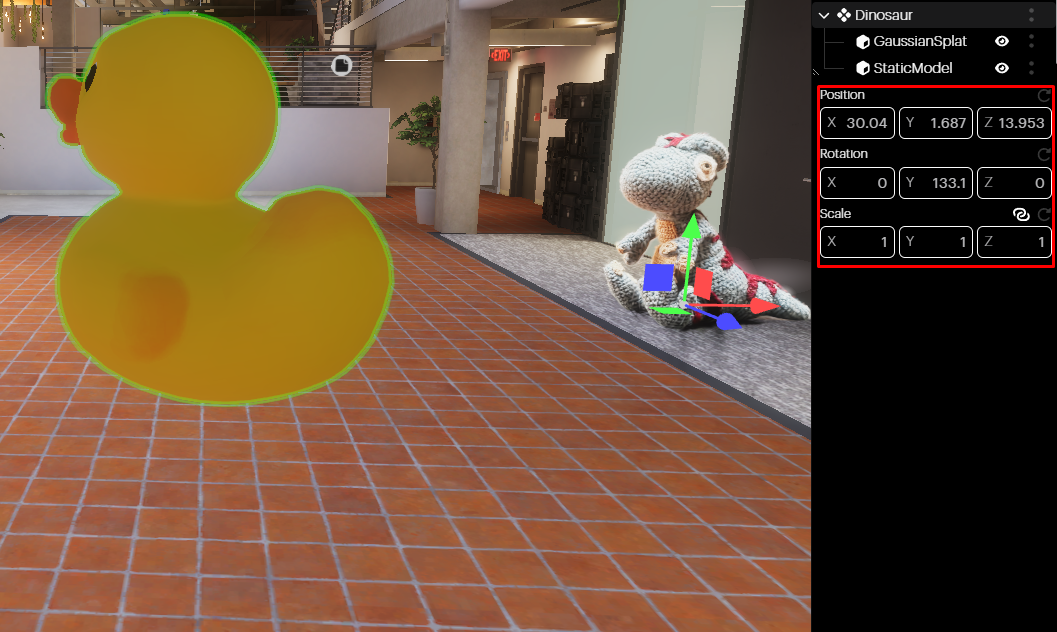
Transforms are numerical values assigned to the X, Y, and Z axes of each (position, rotation, scale), and can be adjusted on both the component level and the entity level (affecting all components within the entity).
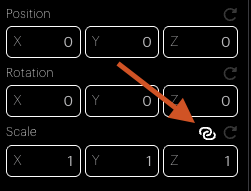
These values can be increased/decreased by selecting the X, Y, or Z icons and sliding right/left as shown in the screenshot below, or numerical values can be entered directly into the fields.
By default, Scale is linked, meaning the object will be scaled uniformly across all axes simultaneously. Click the Link icon next to it to scale each axis individually.
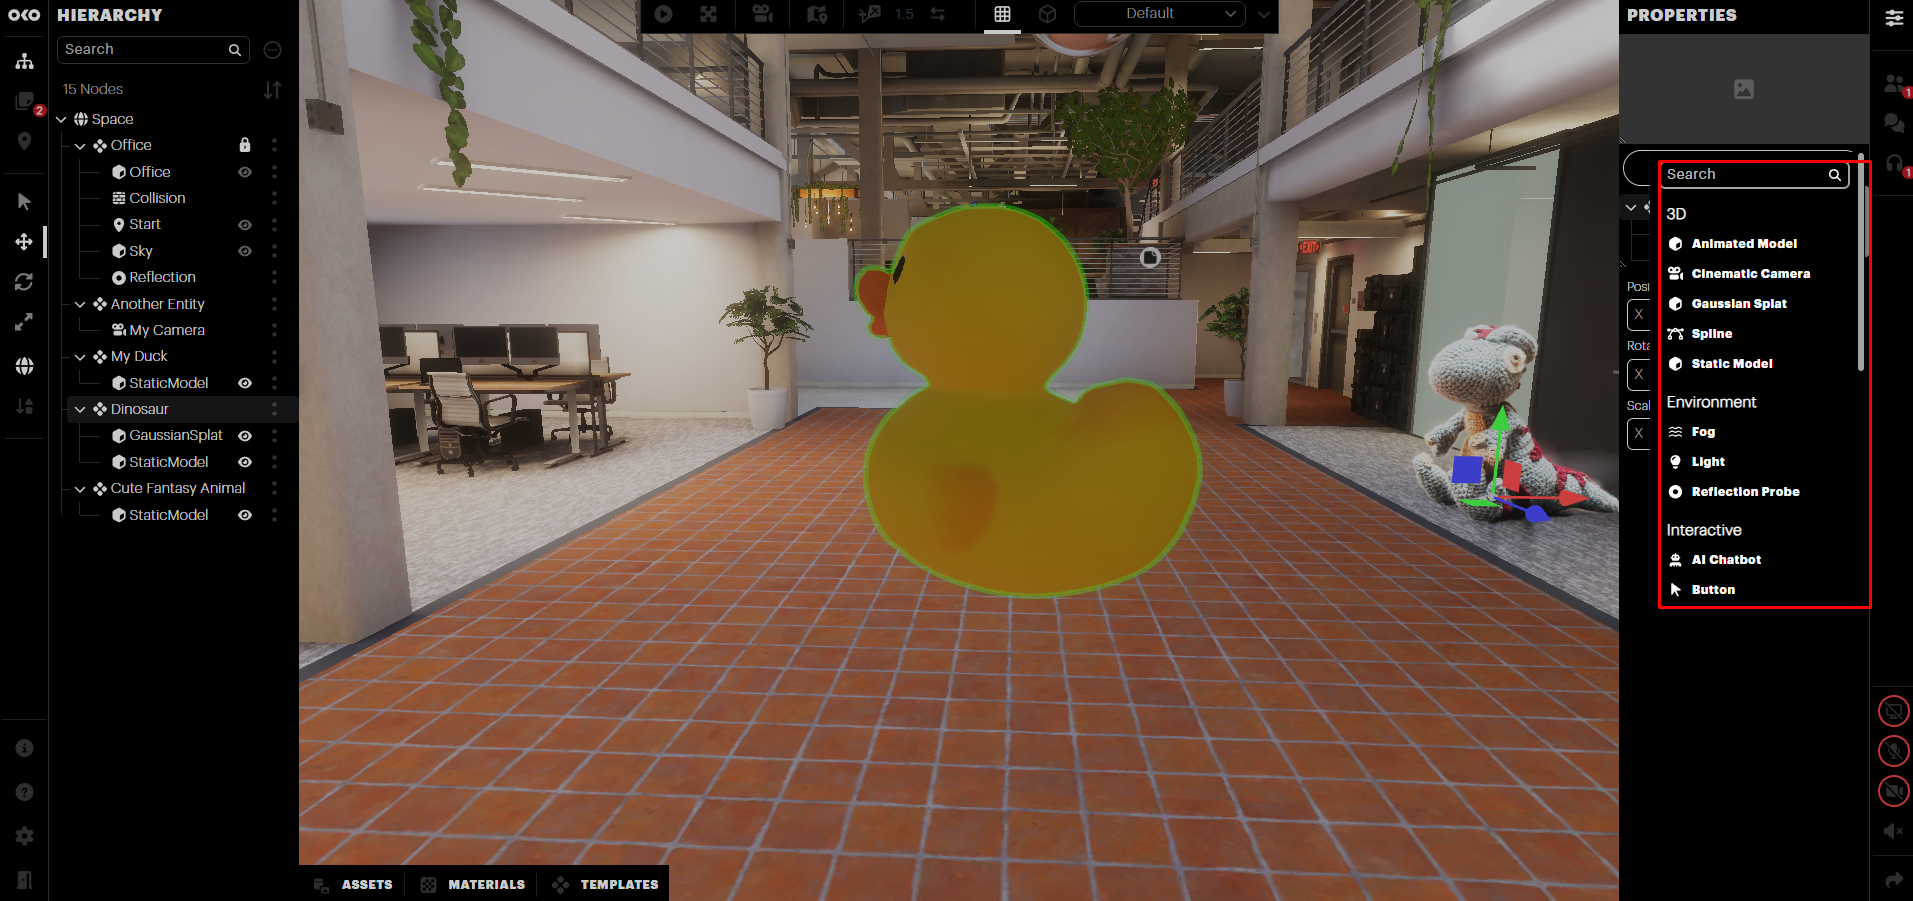
The Properties panel also allows you to add new components to the entity. Just select the Add Component button (+) next to the entity to display the component list.
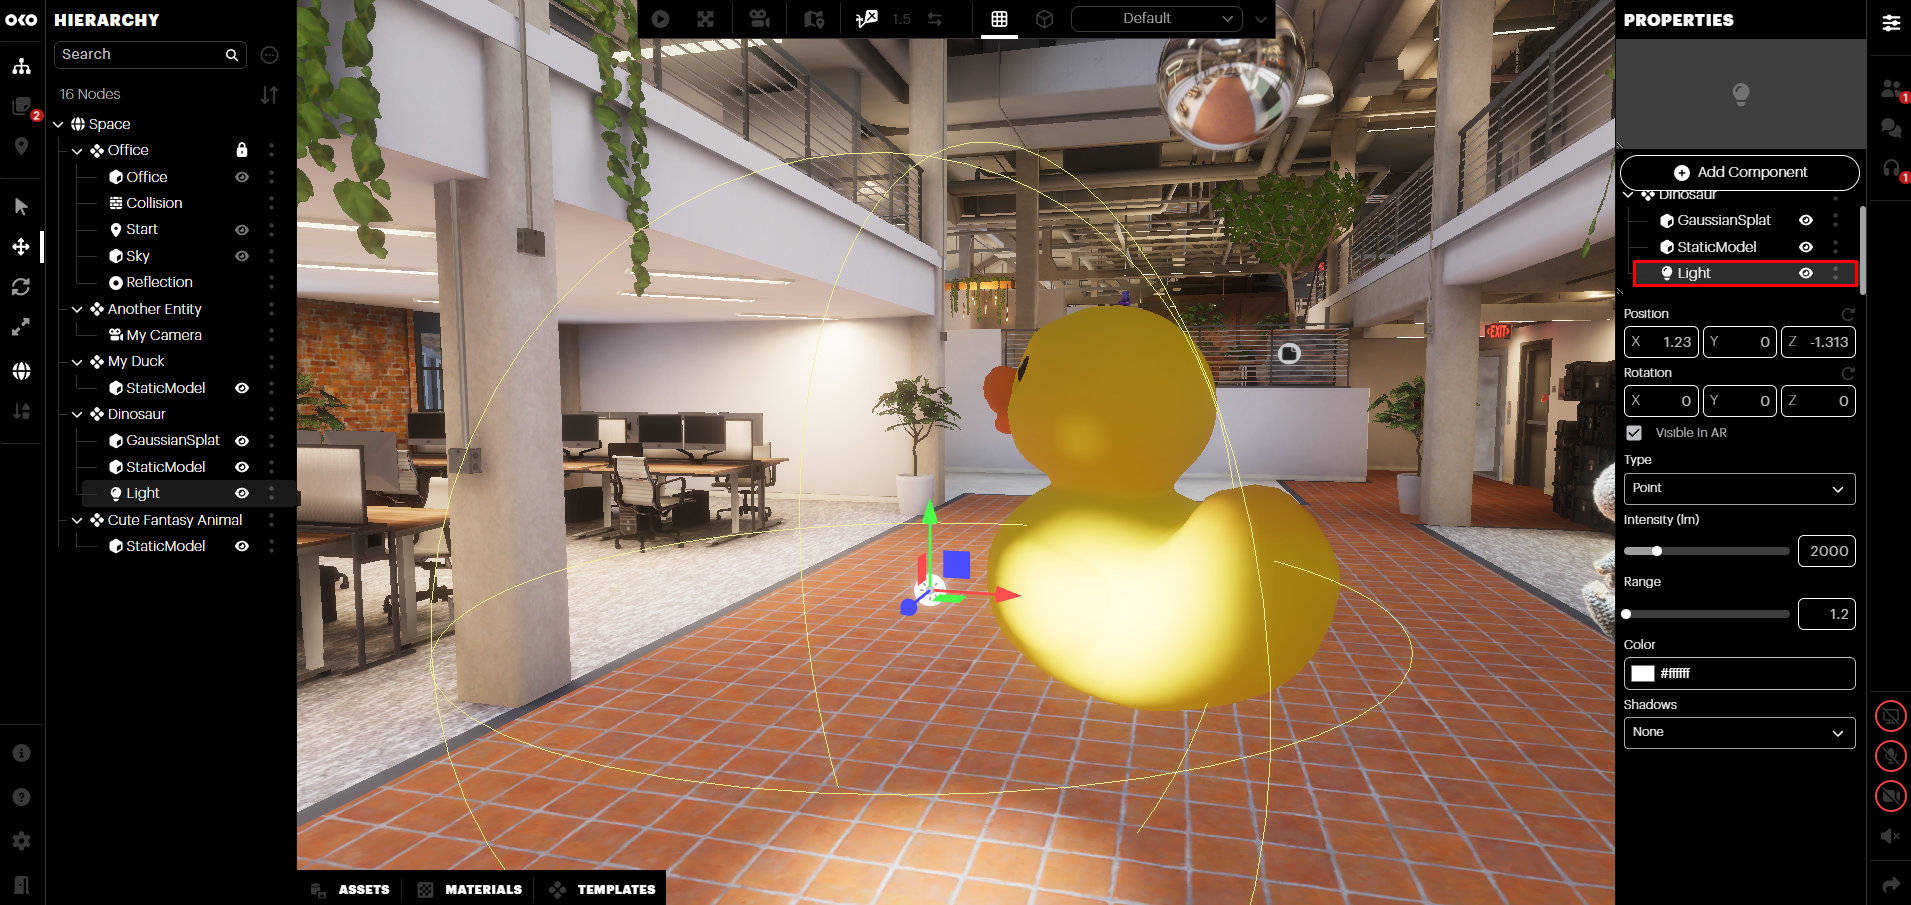
When adding a new component, such as a point light, it will become part of that entity.

You can add a new component either from the Entity Properties panel or by right-clicking into the scene and choosing the component type.
This will create a new entity at that location and add the component to it.
Choosing a Cinematic Camera, however, will add it at your editor camera's location instead.

Component properties can be adjusted individually to suit your needs, with component properties naturally varying based on their type.
For some types of Components, such as Static and Animated Models, or Image, Audio and Video, you will be presented with a dropdown in the Properties panel. This will list all assets currently available in your asset library that match the type of component you selected.
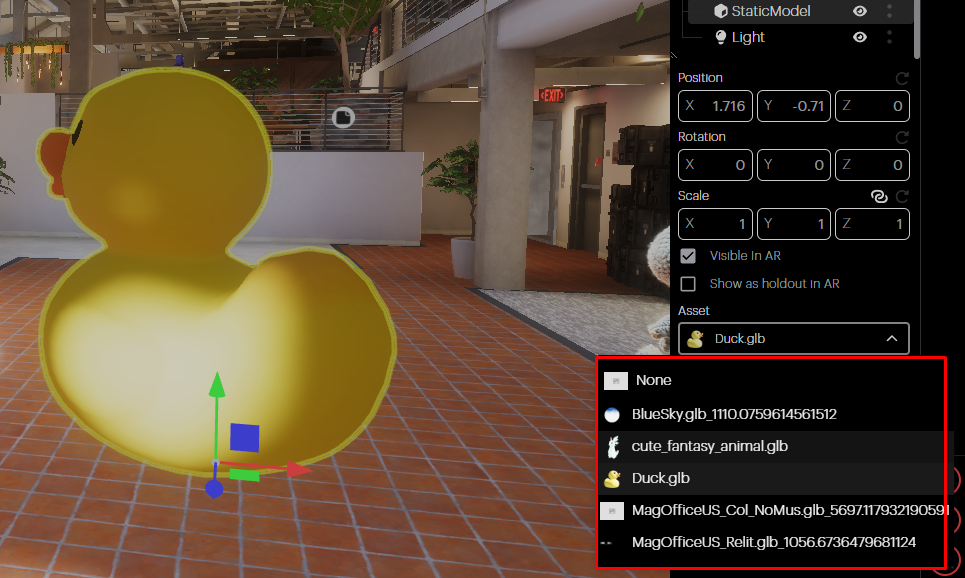
For example, Static and Animated Model Components will list all GLB files in your library.
Image Components will list all JPG and PNG files, Audio all MP3 files, Video all MP4 files, etc.
Selecting the appropriate file from the dropdown will then assign an instance of that asset to the Component. Once that is done, you can adjust the various properties for that Component.
Assets

You will find the Asset tray at the bottom of the window. This is where administration for all content used in the space happens.
To bring an asset which has already been imported to the space, simply drag it from the Assets tray and drop it in the viewport.
For more information on how to import an asset, please check out Importing Assets.