
Importing assets
OKO Web Client 2.24.1 - CSP 4.19.0
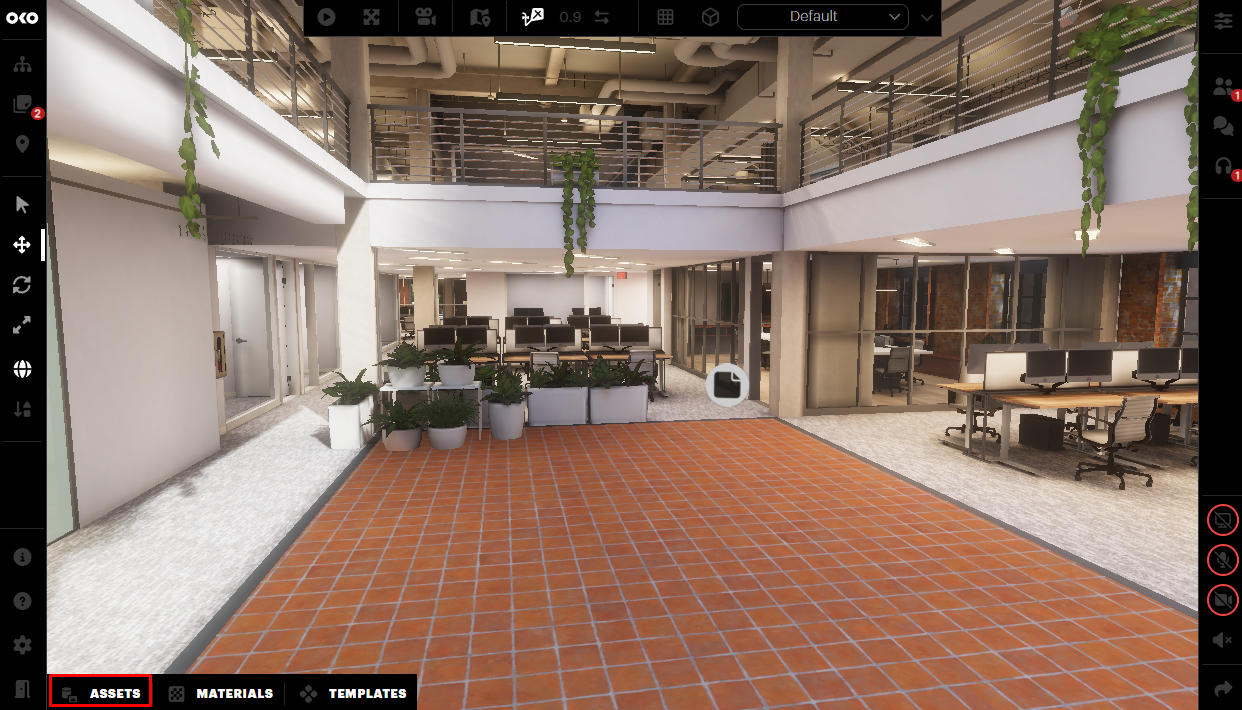
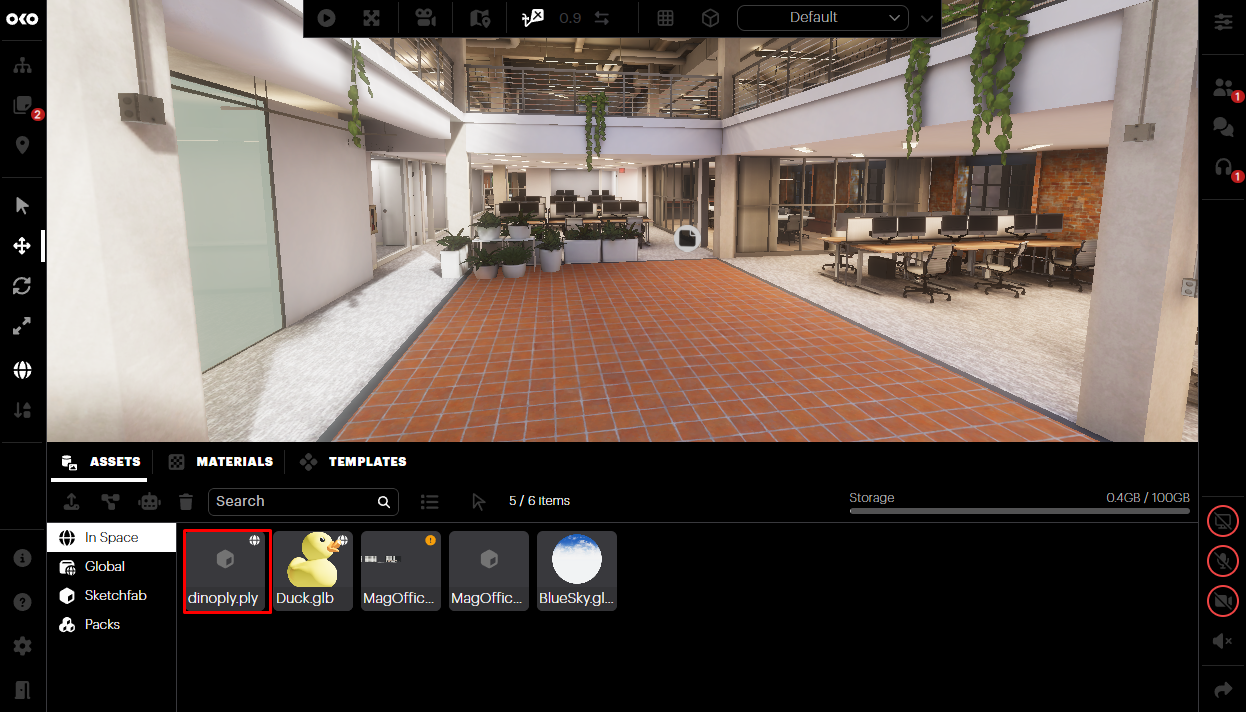
All assets can be accessed and added through the Asset Library. To access the Asset Library, switch to Creator Mode and click the Assets button.
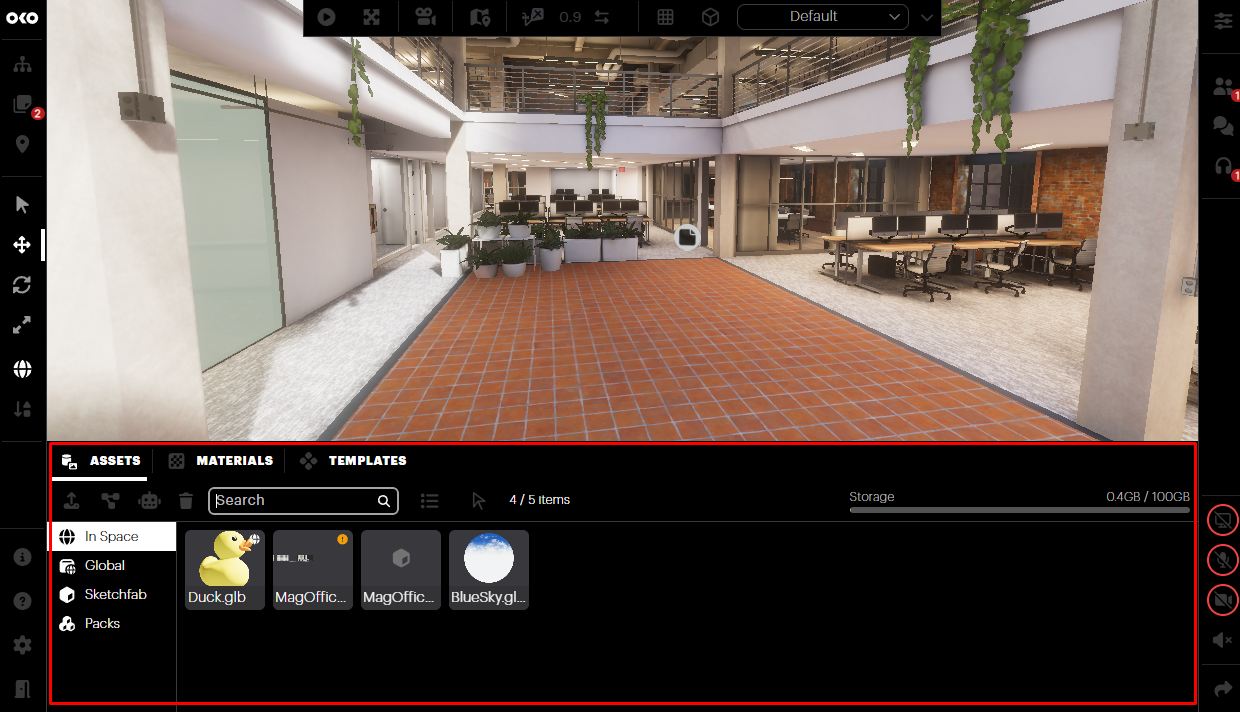
This will display the library of assets associated with the space.
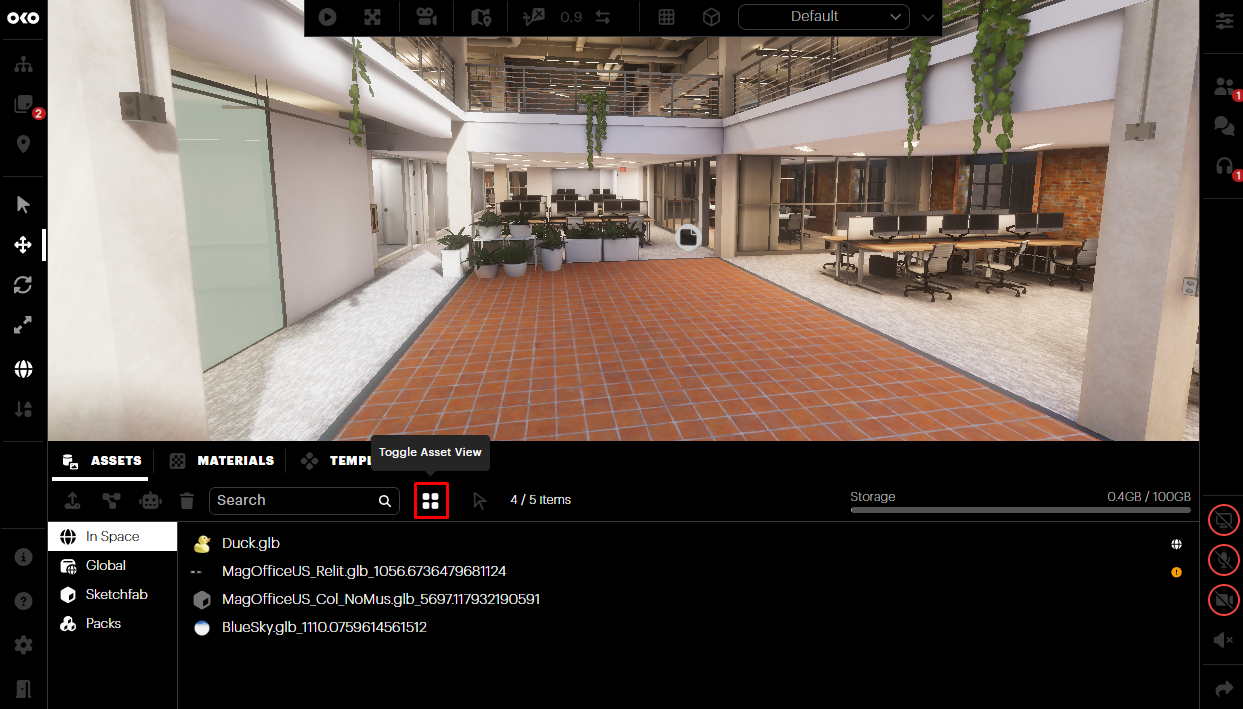
You can toggle between list and thumbnail views of the assets by selecting the list/thumbnail icon.

To add a new asset to the Asset Library, select the Upload button.
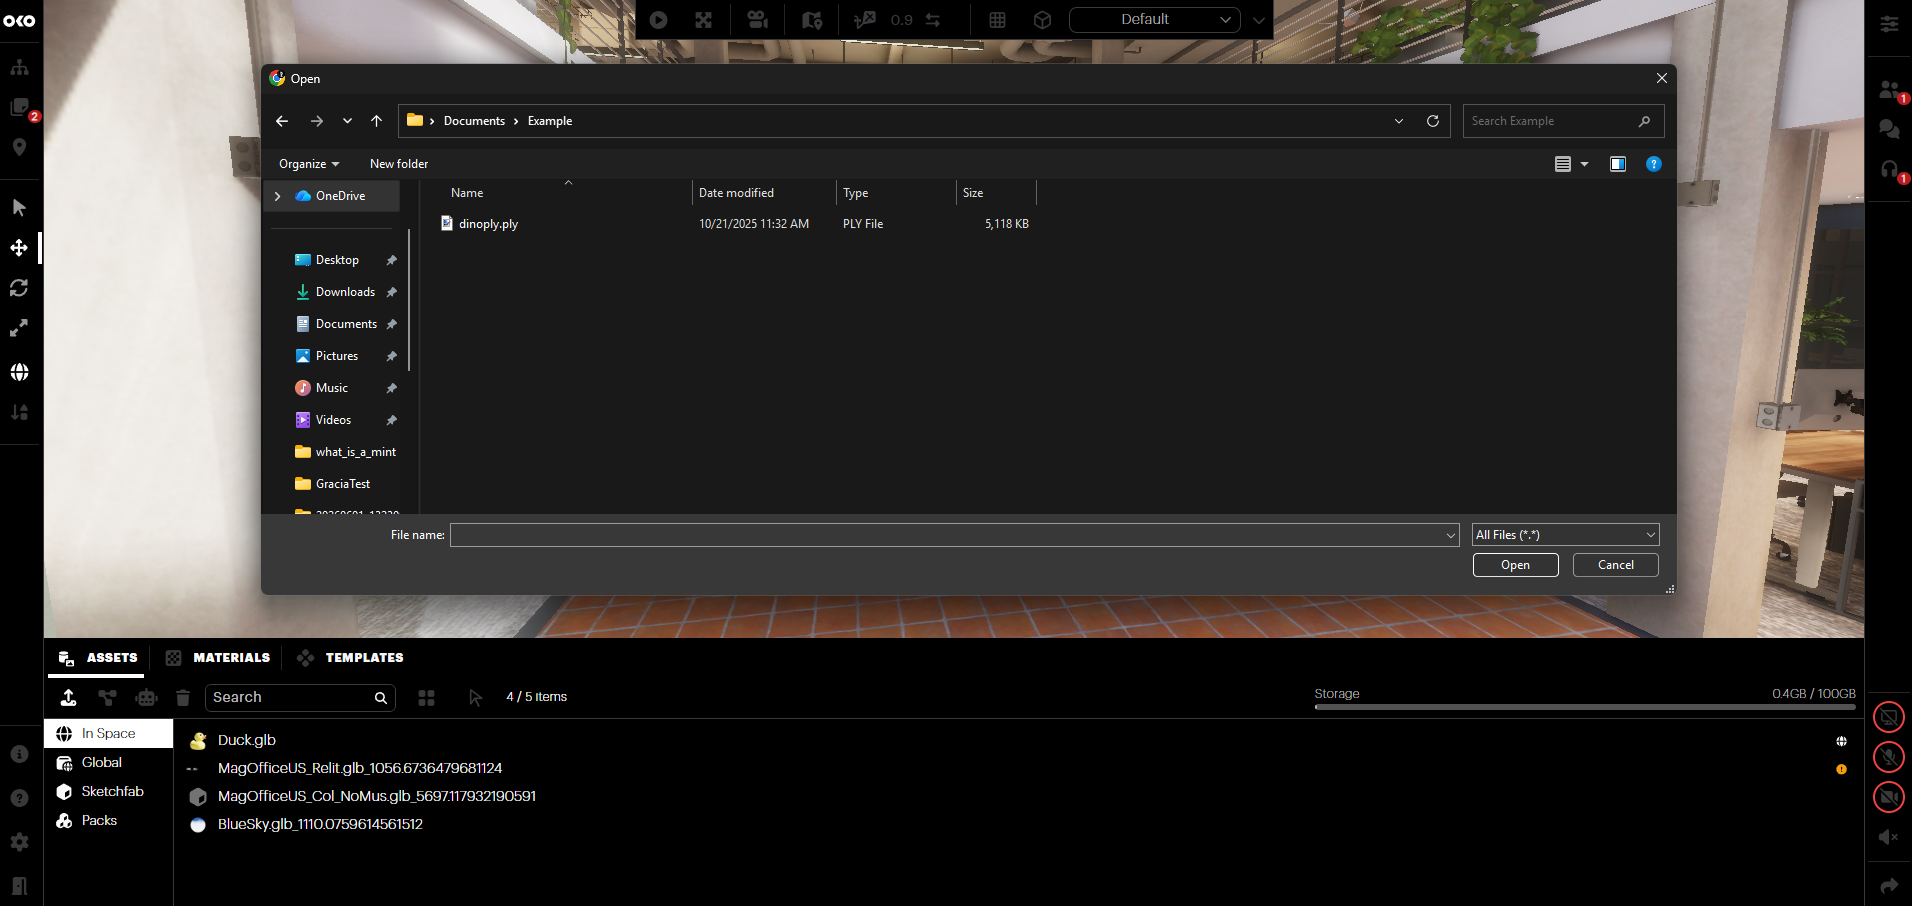
Select the asset you want to upload and follow the flow.
You’ll notice that a new thumbnail will be added to the Asset Library. After a brief processing period, you'll see the image of the imported asset appearing in the library as a new entry.
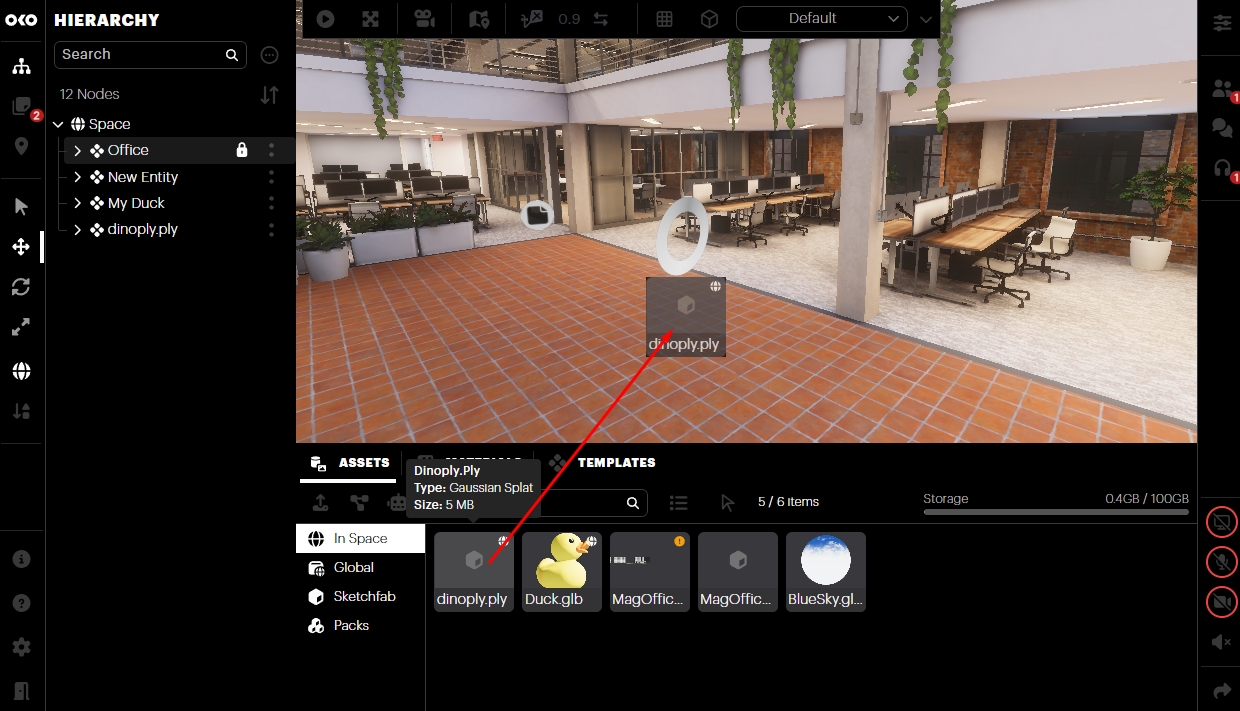
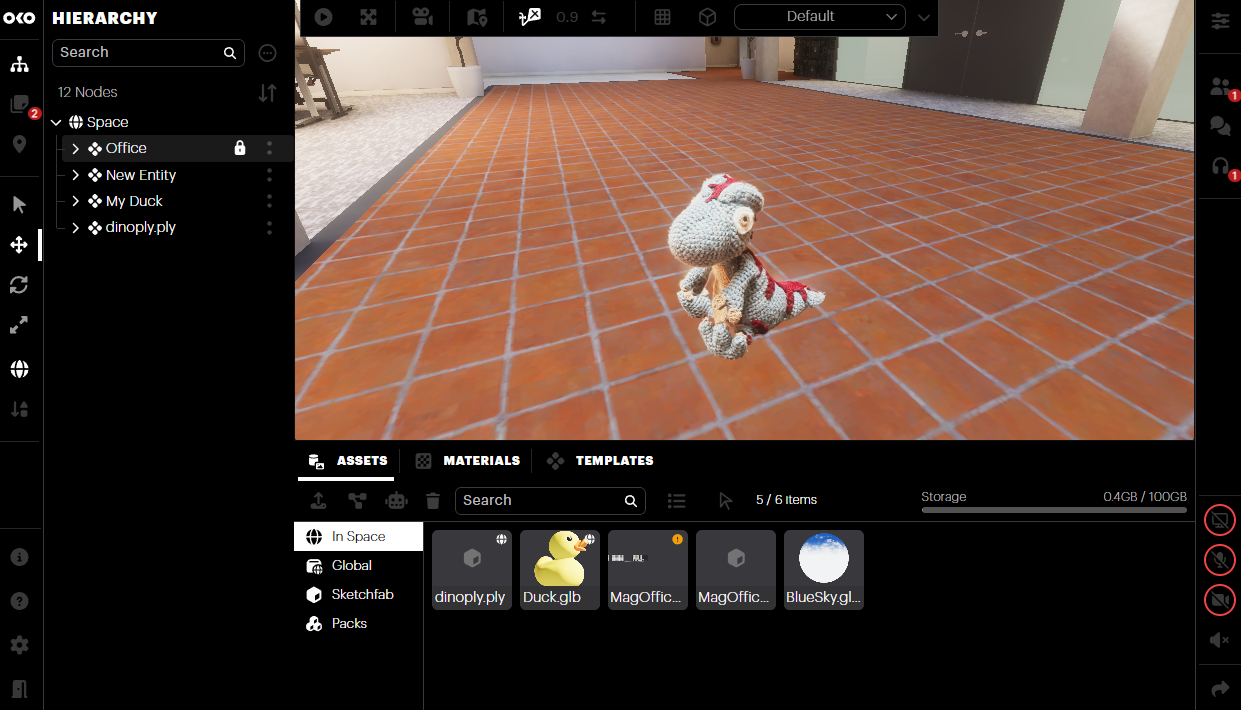
Once your asset has been successfully imported, you can easily add an instance of it to the 3D Viewport by selecting it and dragging and dropping it in.
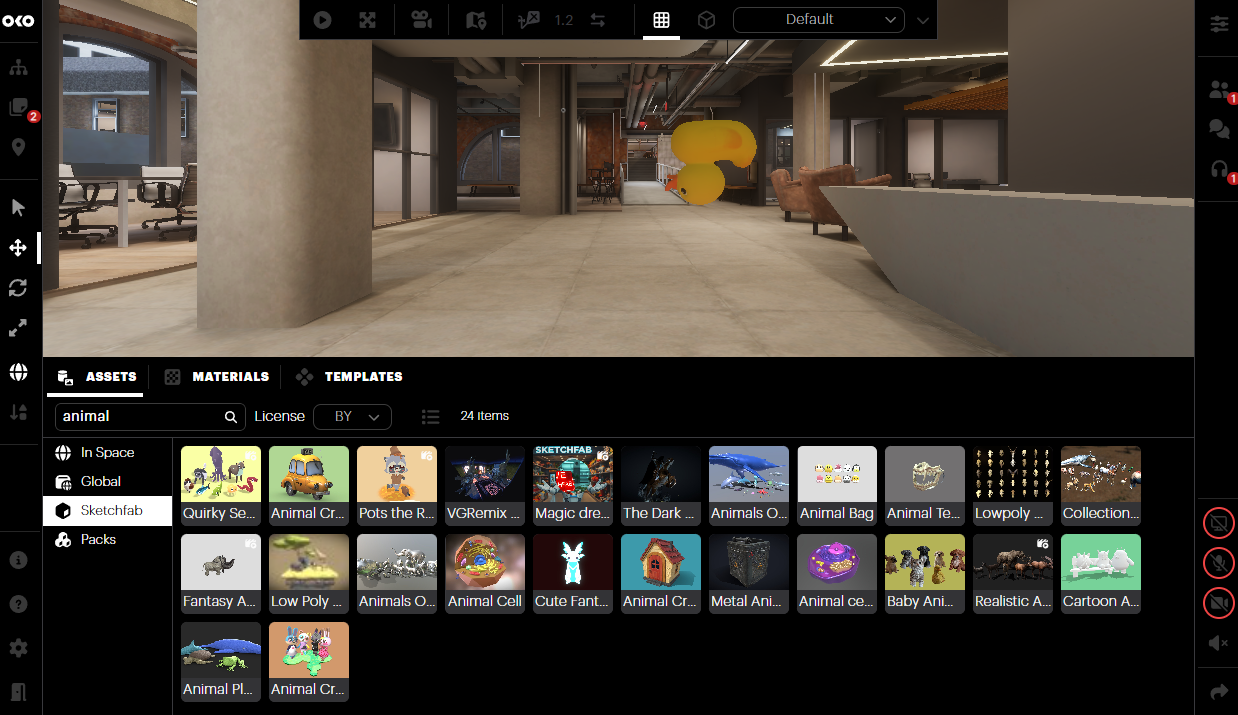
Adding Sketchfab Assets
OKO integrates with Sketchfab, providing users access to millions of 3D assets directly from within the OKO UI.
Sketchfab offers a free sign-up process, and you will need to create an account before accessing it within OKO.
To create a Sketchfab account, head here https://sketchfab.com/ and click on the "Sign Up" option.

Once you have your credentials, select the Sketchfab category from the Asset tray.
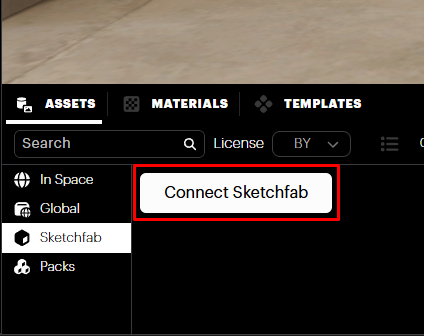
Select “Connect Sketchfab” and enter your credentials in the Log In window to authenticate.
Once you have connected, you will be able to navigate sketchfab assets via the Sketchfab category in the Asset tray.
You also have the option to search for any asset using the search bar.
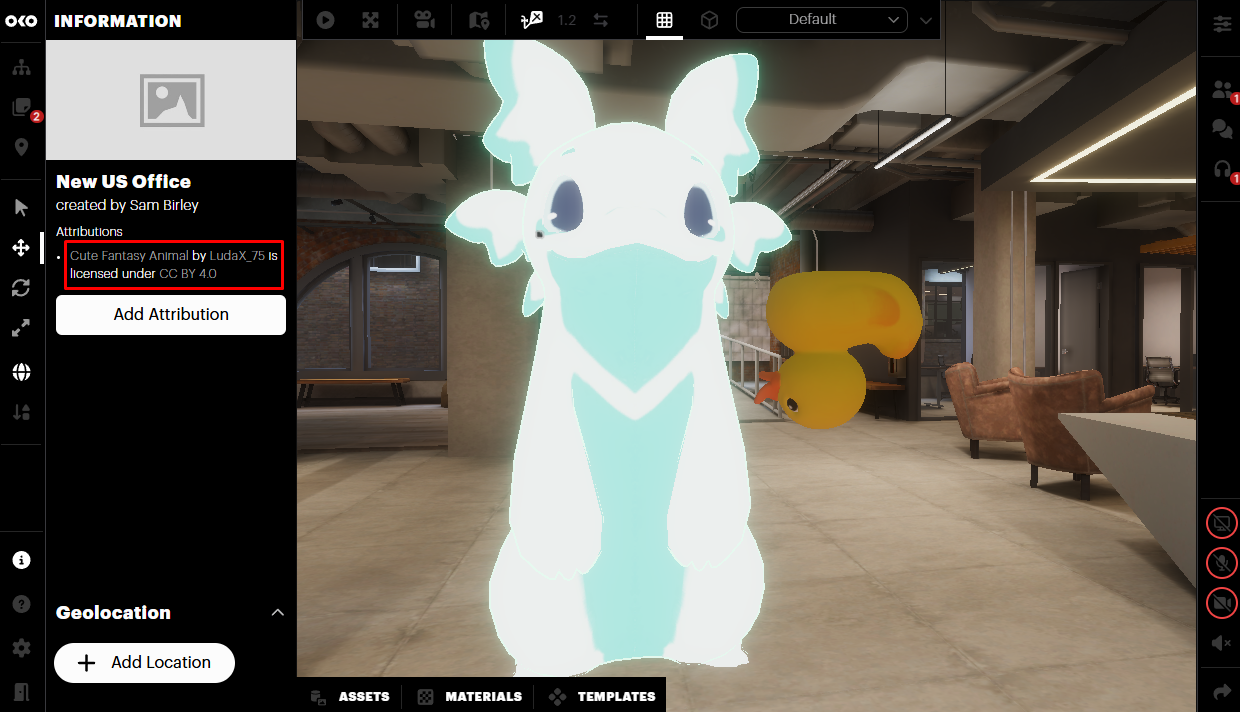
To see attributions at any time, click on the Info button.
Deleting Assets
You can delete an asset at any time via the Asset tray. Be aware that doing so will also automatically delete all components referencing the asset in the space itself.
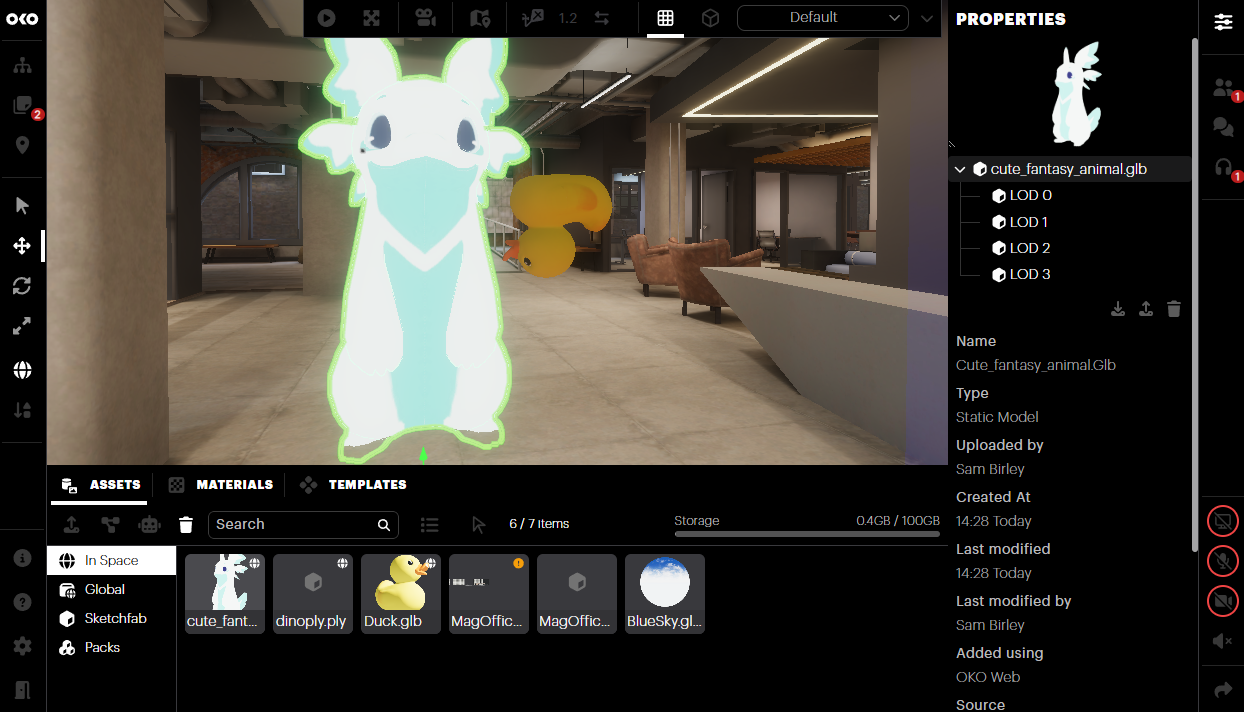
Select the asset you wish to delete in the Asset tray.
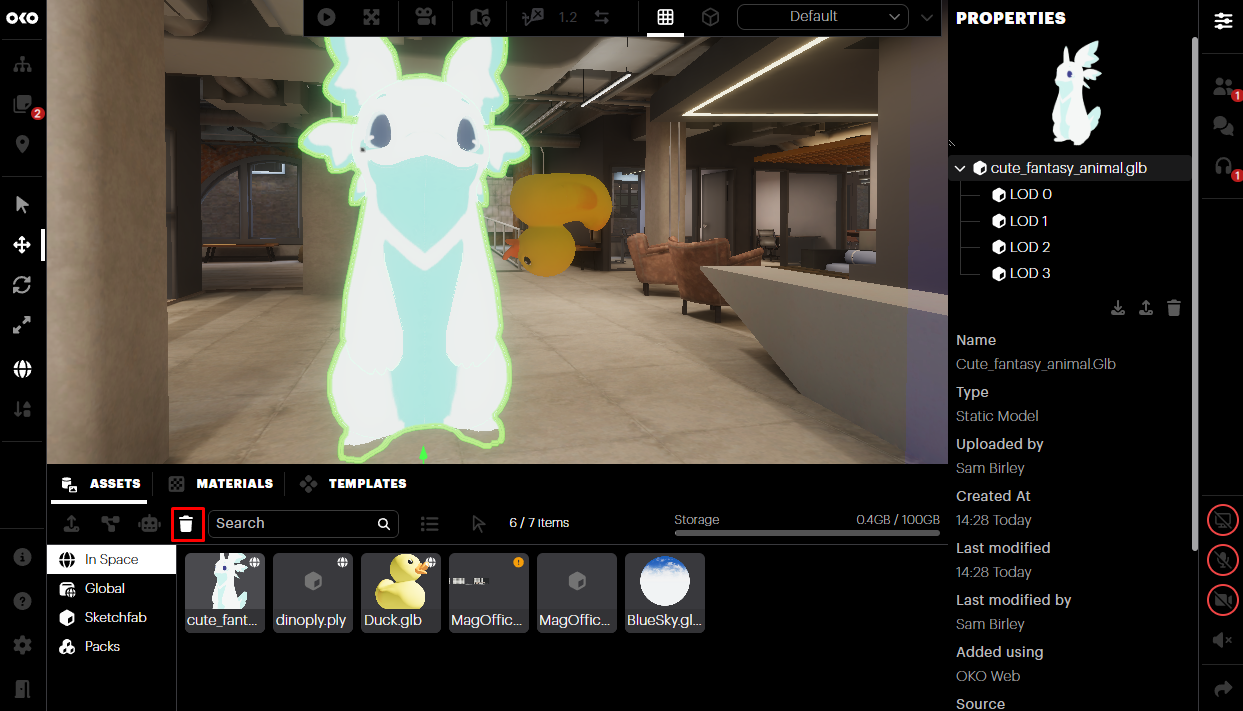
Either click the trash can button or press delete on your keyboard.
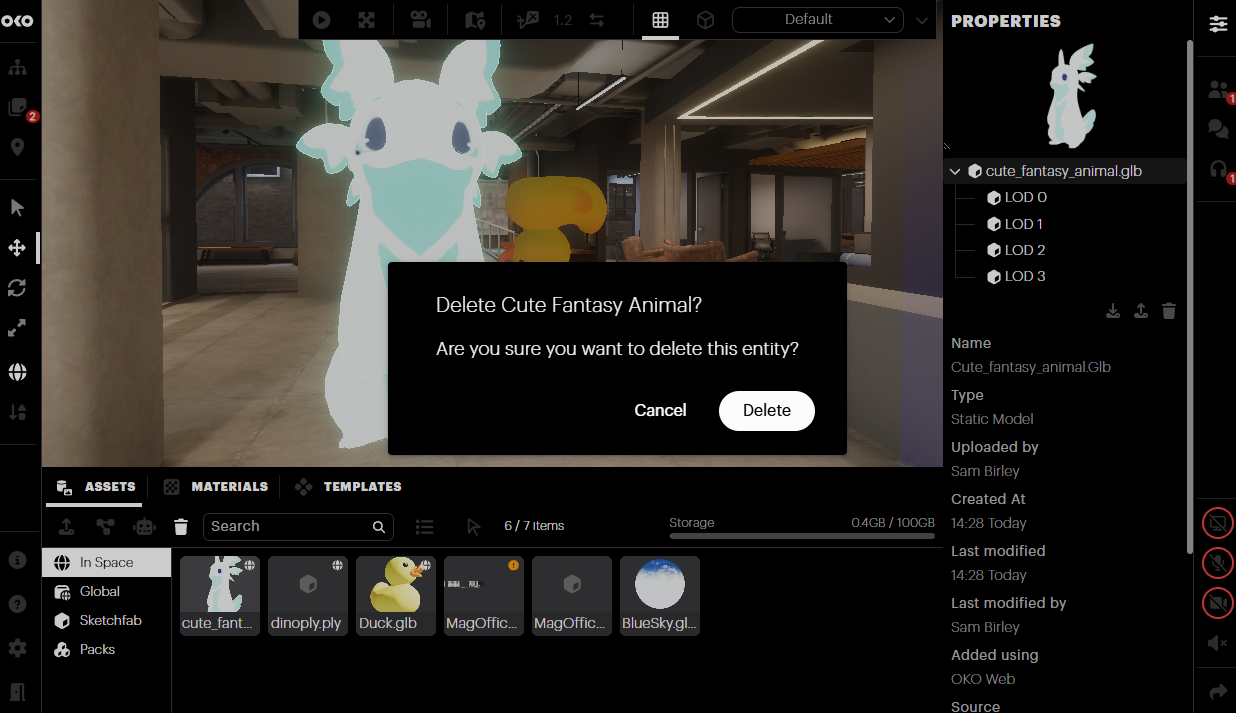
If the asset is in use, a modal will appear asking you to confirm the deletion. Once confirmed, all asset instances will be deleted from the space and the asset will disappear from the Asset Library.
Deleting Multiple Assets

Select the icon next to the search bar to enable Multi-Select mode.
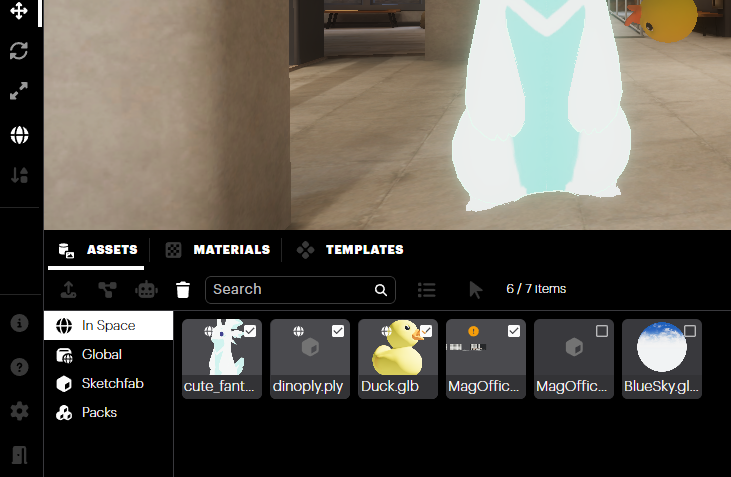
Choose multiple assets by clicking the checkbox next to each thumbnail or in the list view. Once you've finished selecting multiple assets, click the trashcan to delete the assets.