
Trigger Components
OKO Web 4.6.1 | OKO Unreal 4.8.2 | CSP 6.36.0
Triggers are commonly associated with bounding boxes, and it is this bounding box that determines the area within which the trigger is active.
This page details properties specific to the component. For general component properties, find more information here.
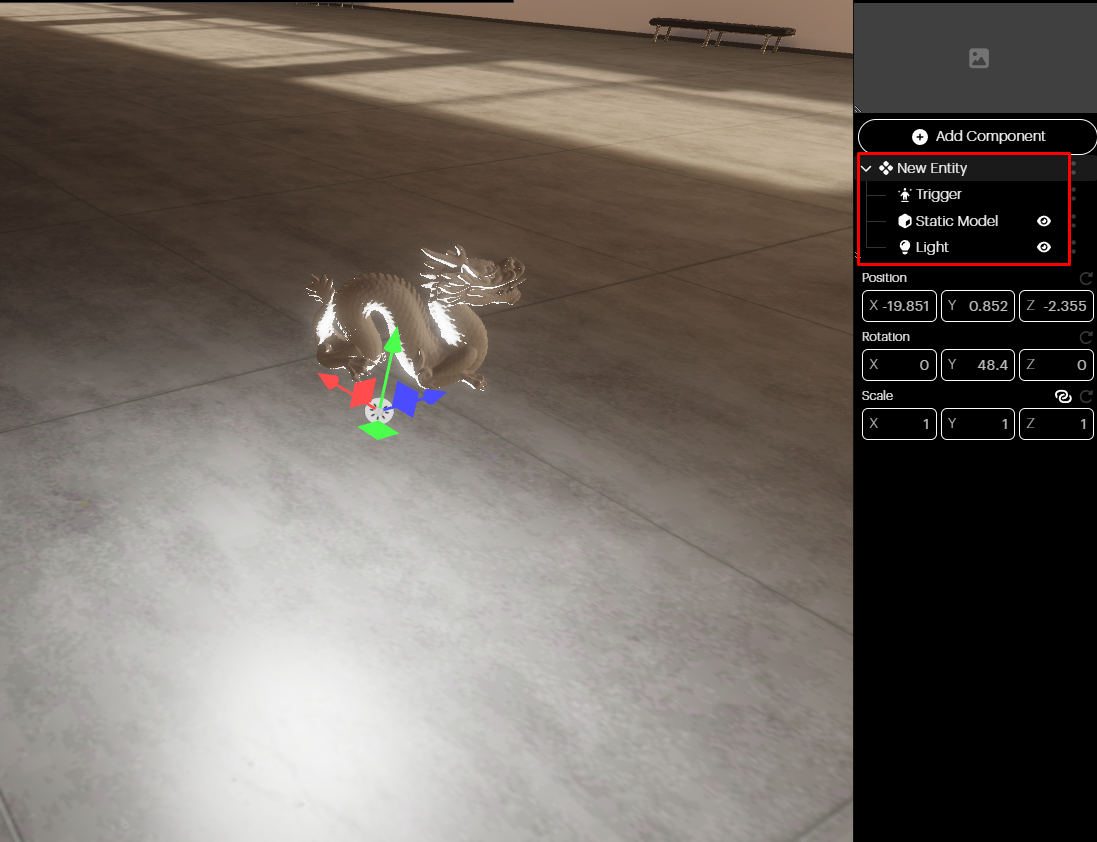
Let’s start with an entity that also includes:
A Static Model Component with an associated asset.
And a Light Component.
In the following example, we have a static model of a dragon.
For the Trigger to affect something, we need to use a Script Component, which will act as the ‘glue’ between the trigger event and the component property we wish to change.
For details on how Script Components work, please see the article here.
The following script turns a light on and off as the user enters the bounding box of the Trigger Component. For this example, we will also require a light, add a Light Component to the same entity and position it above the static model.
// Event fired when a user enters the trigger volume.
globalThis.onTriggerEnter = (_evtName, params) => {
  const light = ThisEntity.getLightComponents()[0];
  if (light) {
    light.isVisible = true;
  }
};

// Event fired when a user leaves the trigger volume.
globalThis.onTriggerLeave = (_evtName, params) => {
  const light = ThisEntity.getLightComponents()[0];
  if (light) {
    light.isVisible = false;
  }
};

// Subscribe to the trigger component events.
ThisEntity.subscribeToMessage("trigger-enter", "onTriggerEnter");
ThisEntity.subscribeToMessage("trigger-leave", "onTriggerLeave");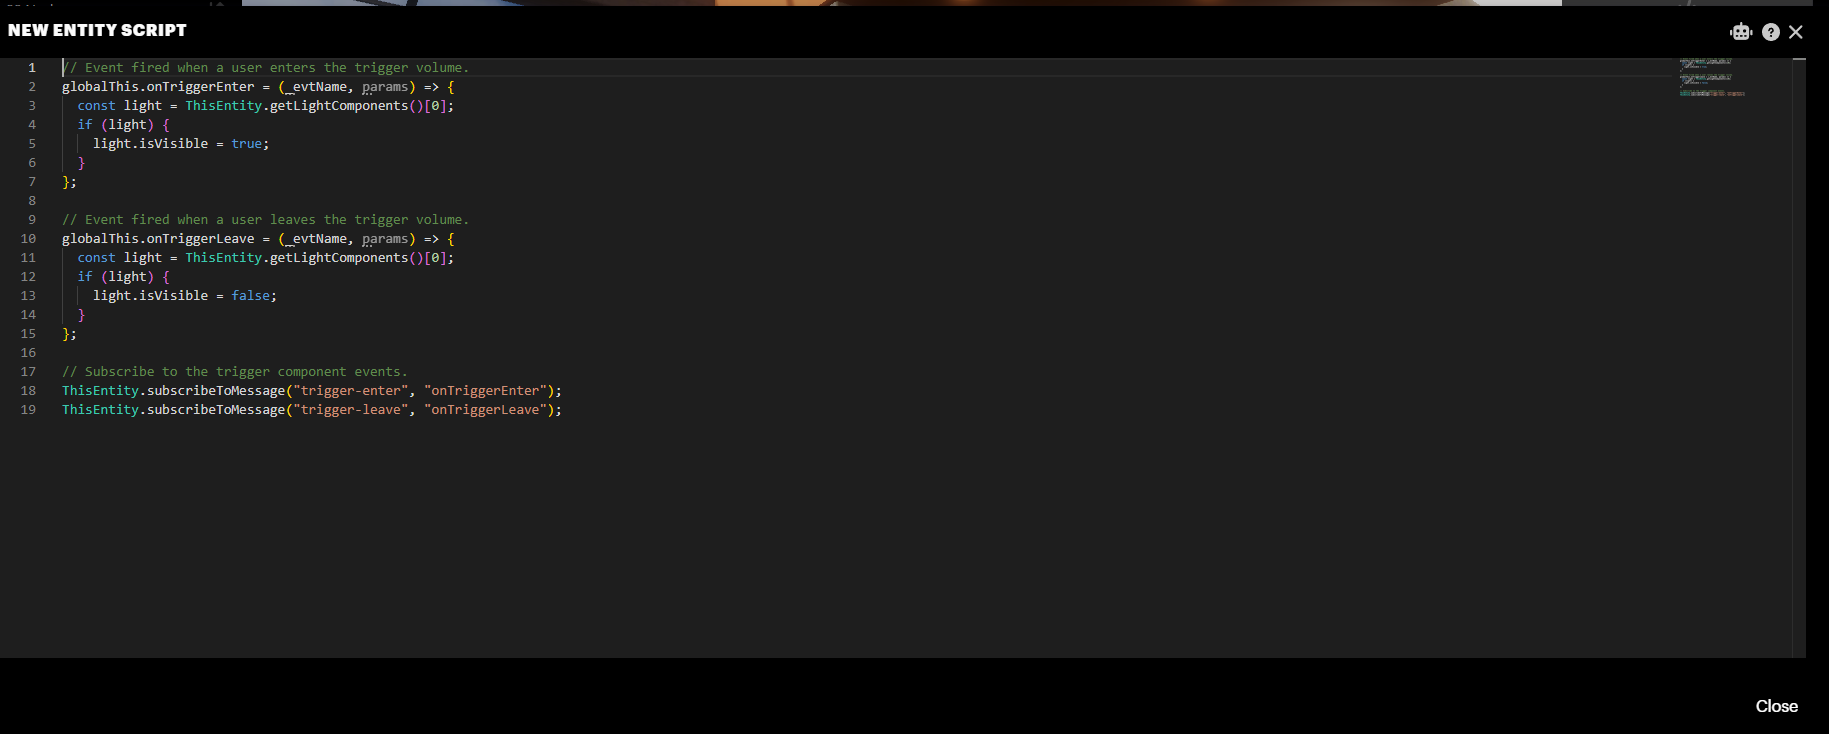
Add a Script Component and copy and paste the code above into the script window.
Now, the bounding box will work as a trigger. The proximity script turns the light on when the user enters the bounding box and turns it off when they leave it.