
Adding components to an entity
OKO Web Client 4.6.1 - CSP 6.36.0
How to add a component
In this example, we will add a Light Component to an empty entity and position it over the statue in the space.
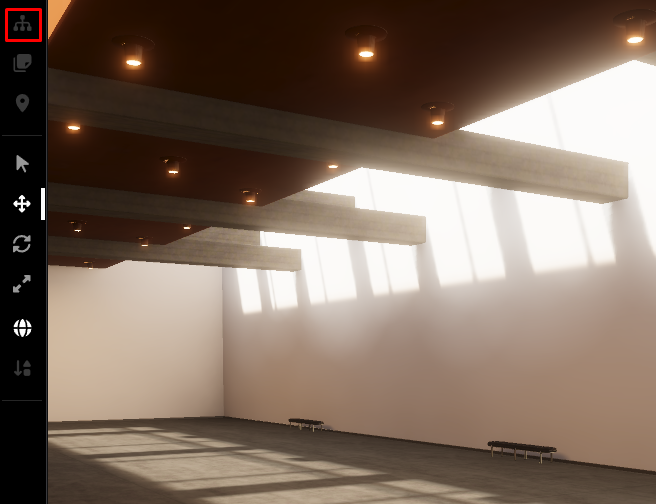
To create an empty entity, first select the hierarchy icon on the top left to open the menu.
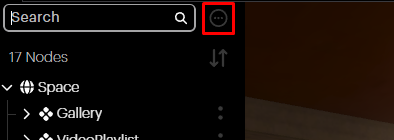
Select the circular icon next to the search bar and then select New Root Entity.

This will create an empty entity in the 3D viewport, which will be added to the hierarchy list.
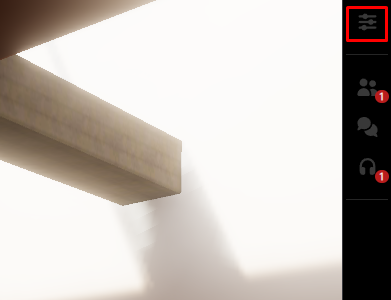
Open the Entity Properties panel by clicking on the properties button in the right sidebar.
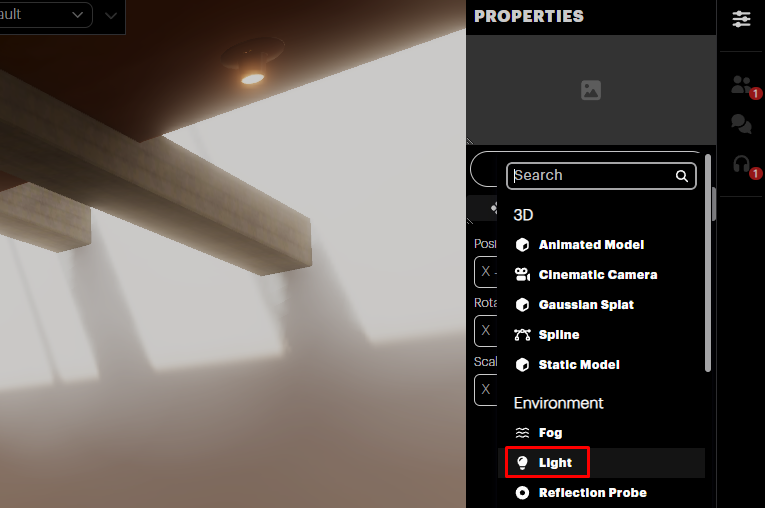
Press the Add Component button to view a list of component types which can be added to the entity. We’ll select the Light Component for this example.
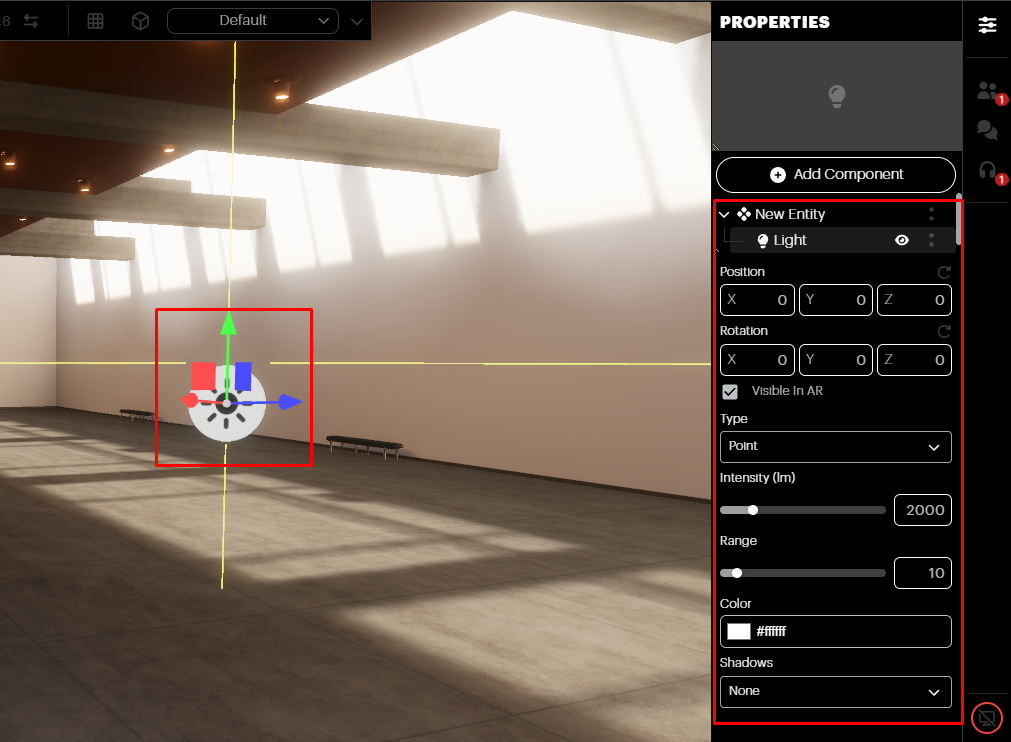
Notice that a Point Light Component gets added to the new Entity. An icon representing the point light appears in the 3D Viewport and the Property Panel is now populated with a variety of options for that Light Component.
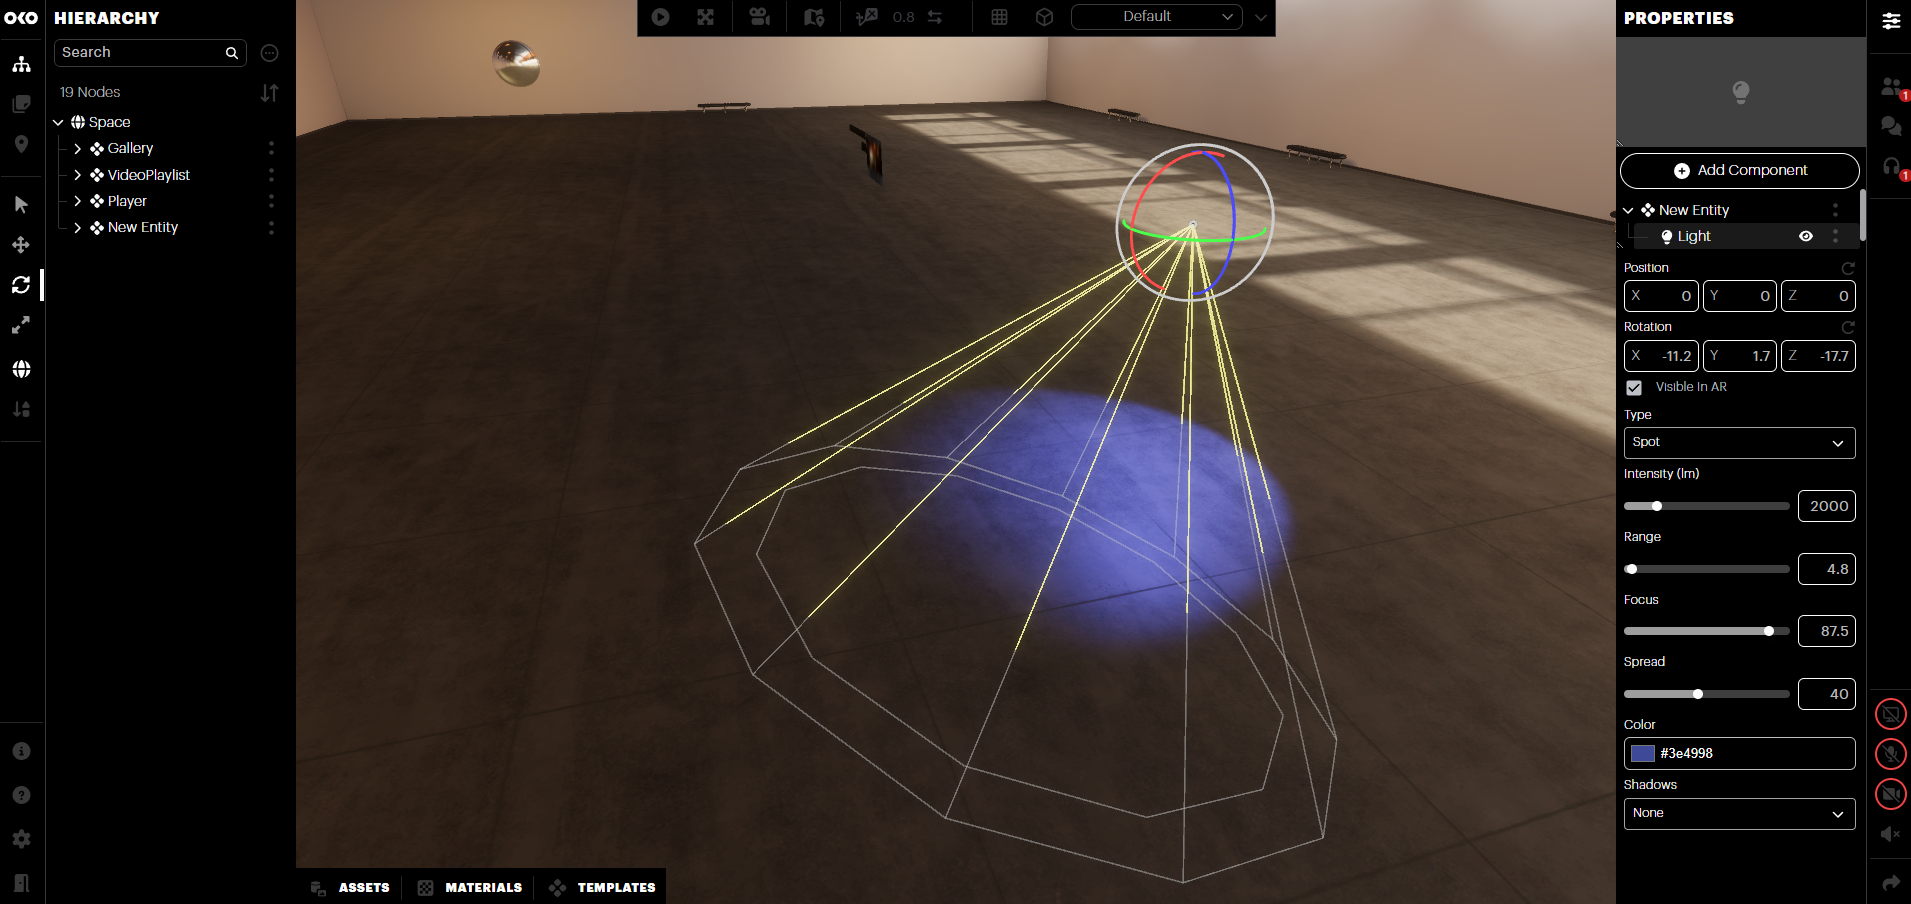
You can now adjust the parameters for this component and move it around to position it anywhere in your scene, as shown in the image below.
Adding a component using the OKO Unreal plugin
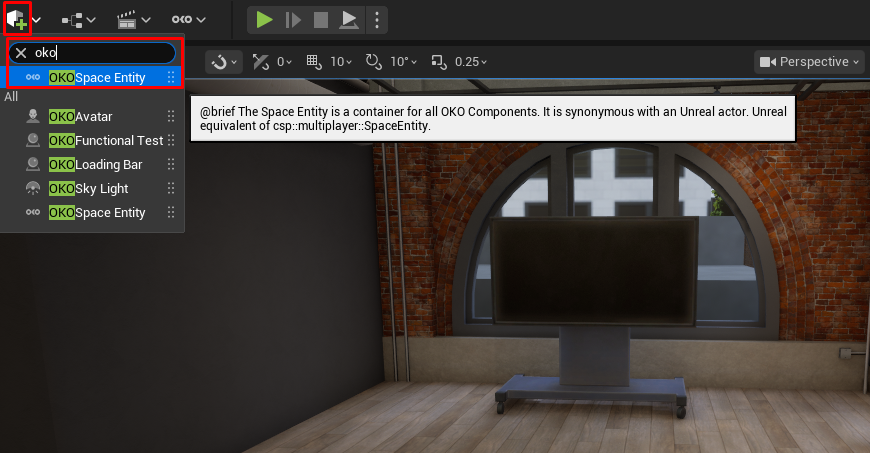
We’ll start by adding an empty actor to the space. To do this, find the upper ribbon and select Quickly add to the project. Search for OKO and add an OKO Space Entity.
The OKO Entity Actor will appear in the viewport.
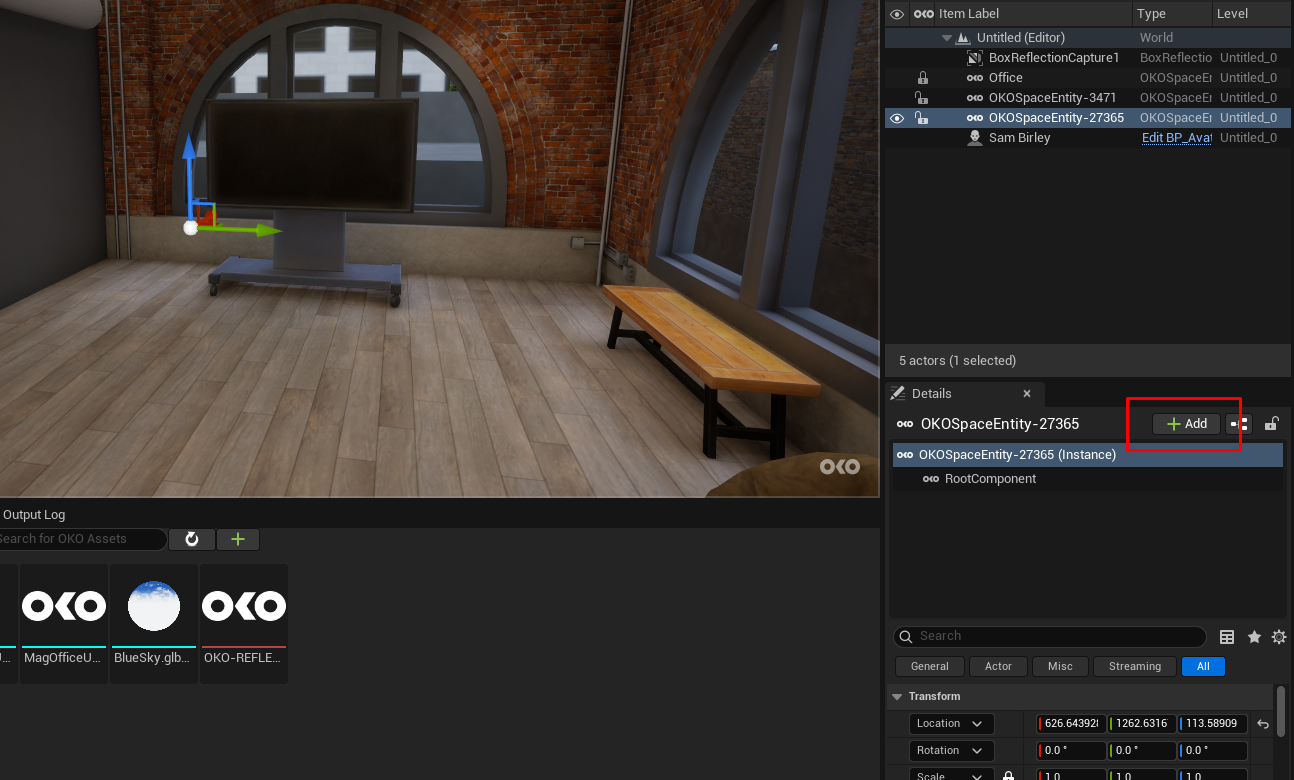
To add a component to that entity, select the entity and click on the + Add button in the Details panel on the right.
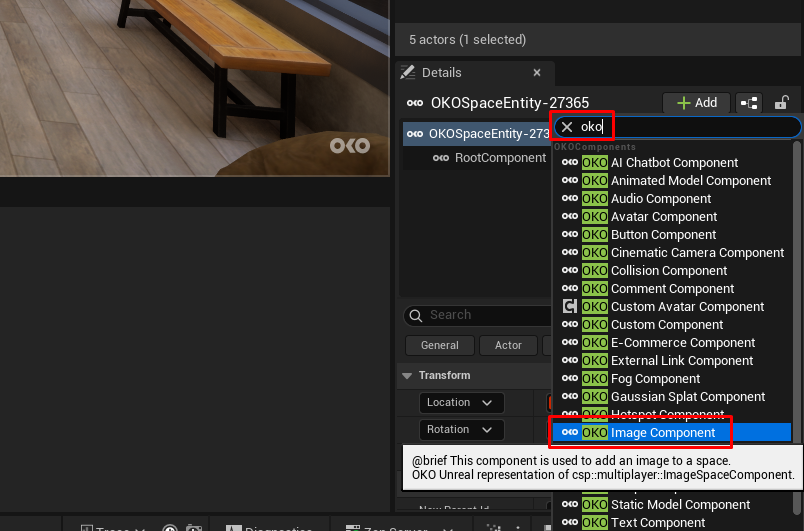
Search for the component you want to add. All OKO components are prefixed, for example, OKO Image Component.
When using an Image Component, you’ll also need to associate it with an asset uploaded to the space.

To do so, first open the OKO Home panel via Window → OKO → Home.
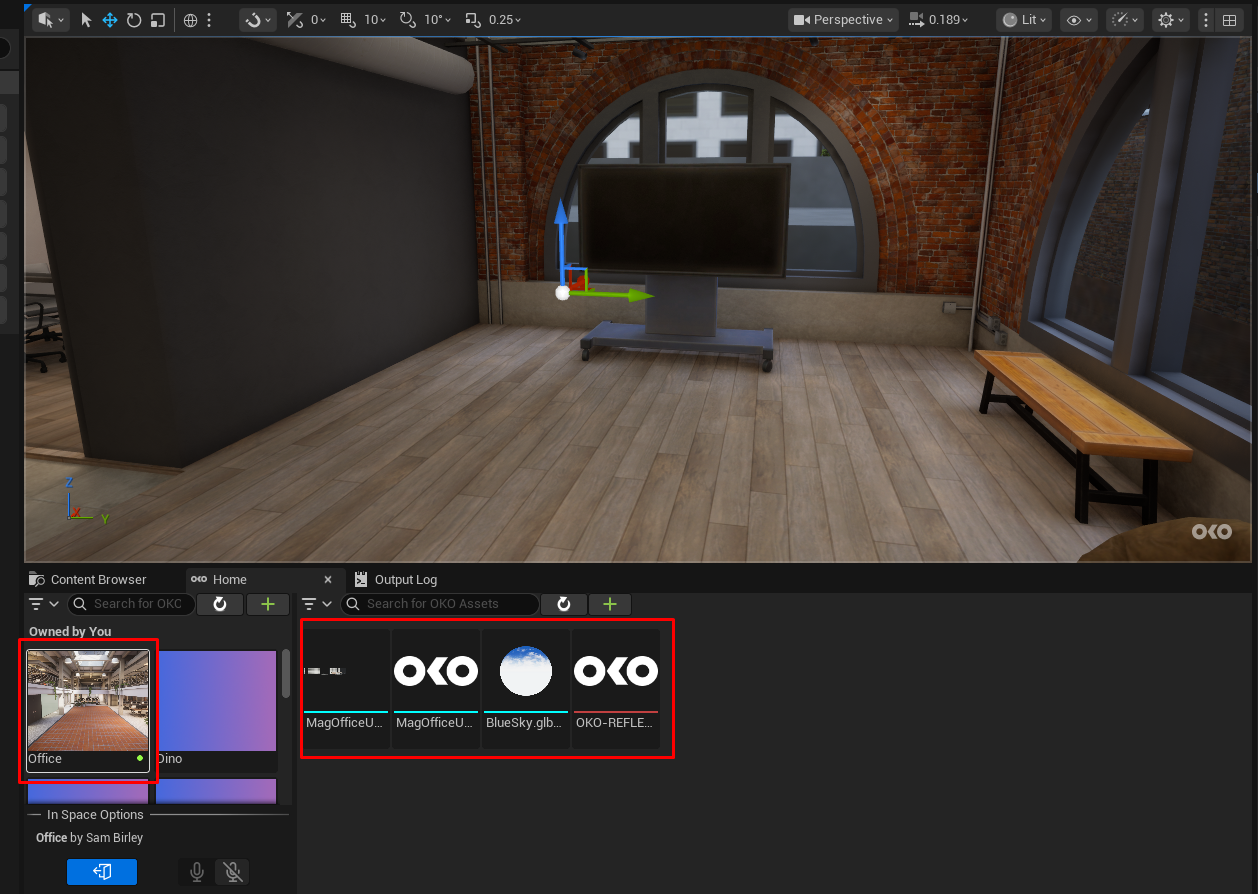
Find your current space in the spaces list on the left of the Home panel and select it. You will see all assets uploaded to the space on the right-hand side.
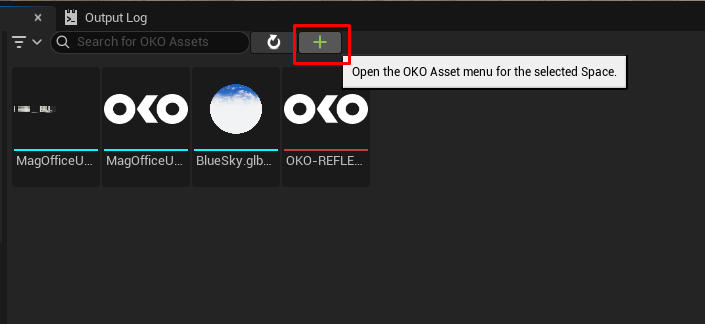
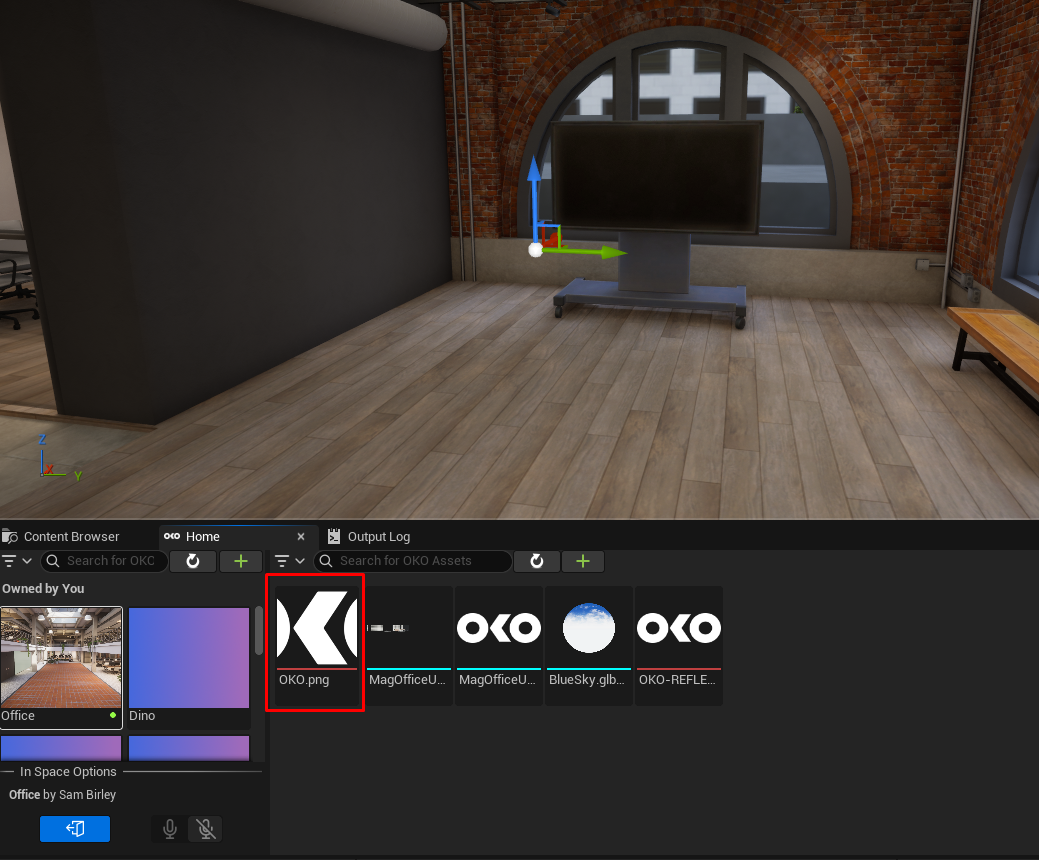
In this example, we’ll add a raw image asset to the space via the + button. Follow the flow, select an image from your local machine, and the asset will be uploaded to the space.
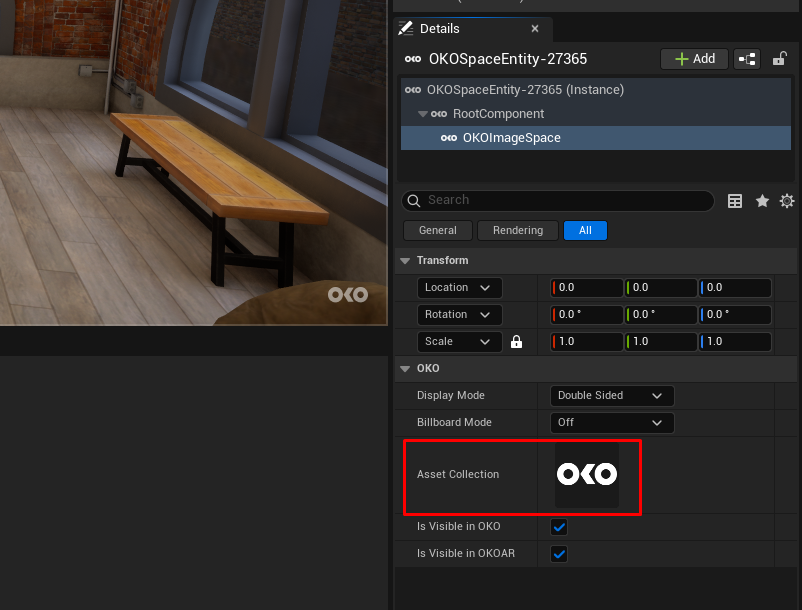
Finally, drag your uploaded asset onto the image component’s asset property.