
Render styles and visualization modes
OKO Web Client 2.24.1 - CSP 4.19.0
This guide will assist you in using different render styles and visualization modes on OKO Web.
The visualization modes allow you to visualize the elements contributing to your scene. This can help you to locate the cause of visual artifacts and to better understand the data that is being used to compose the final rendered image.
The render styles can be used in conjunction with the visualization modes to understand your scene better and to locate potential issues.
Instructions
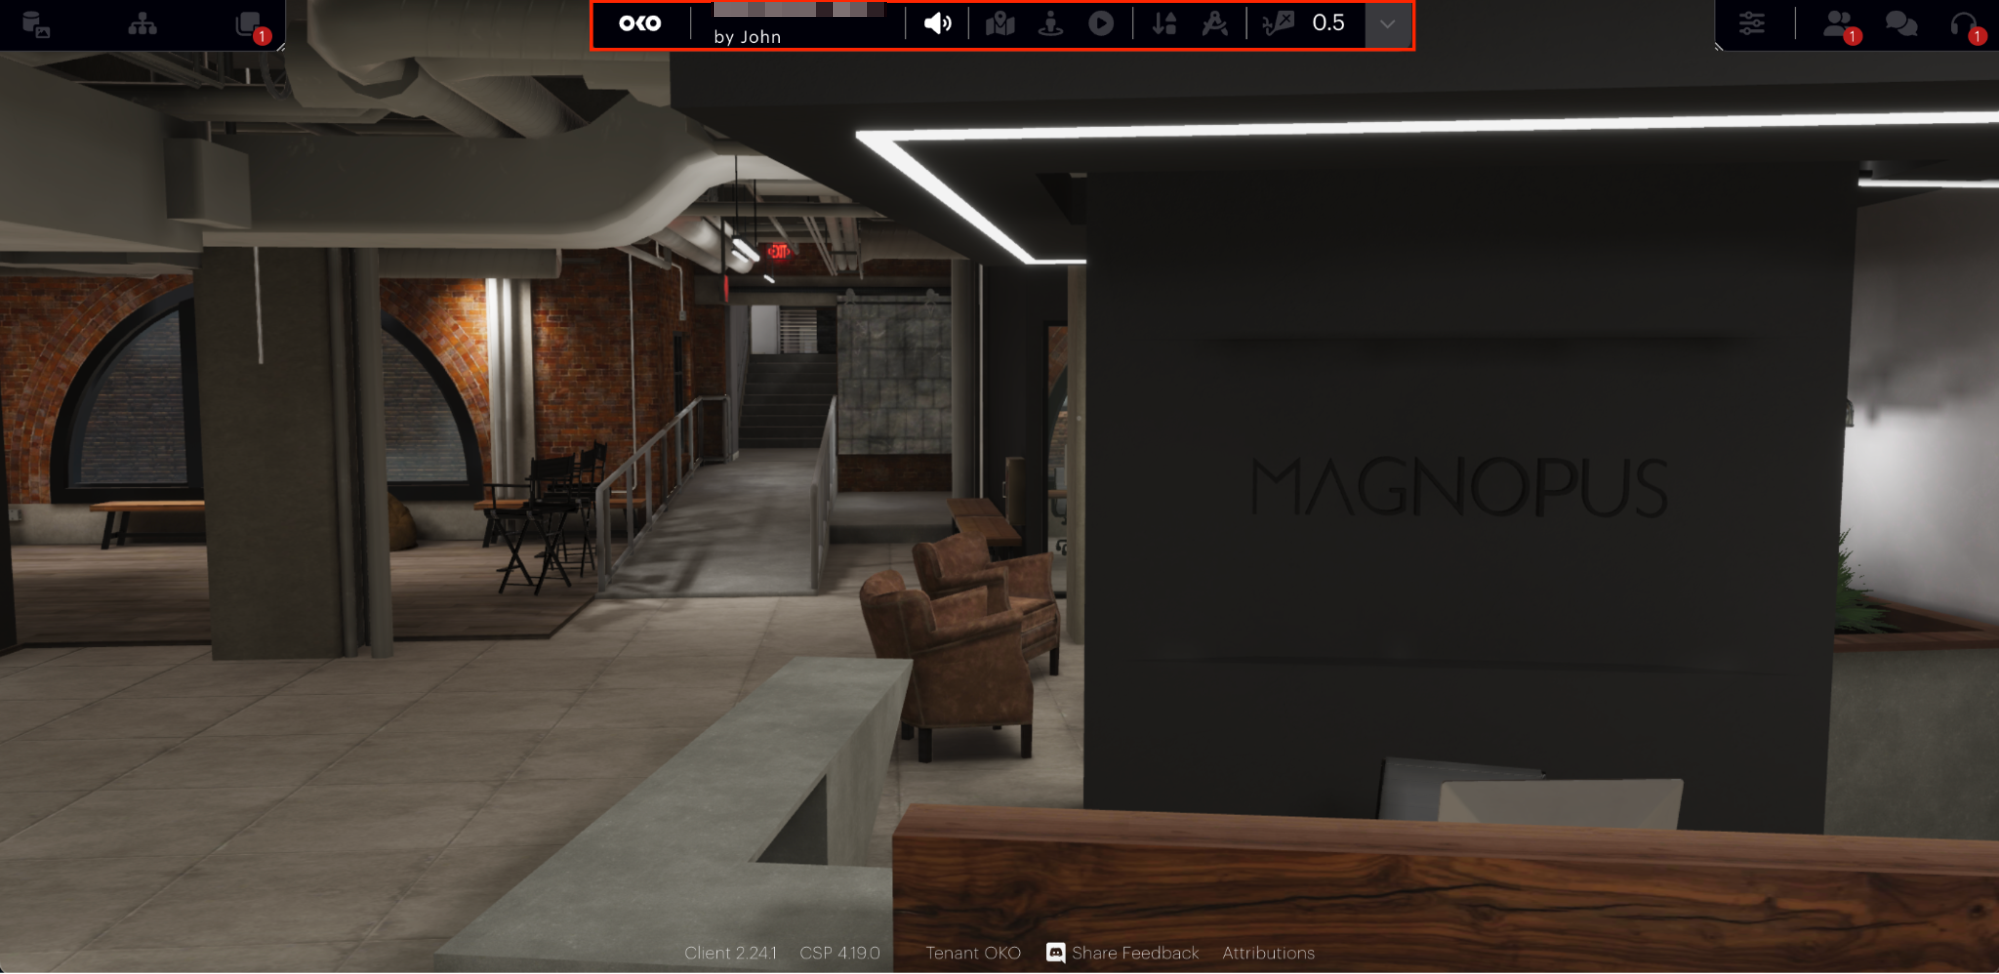
On the central toolbar, you will see a dropdown arrow.
Click on the arrow and a variety of options will appear.
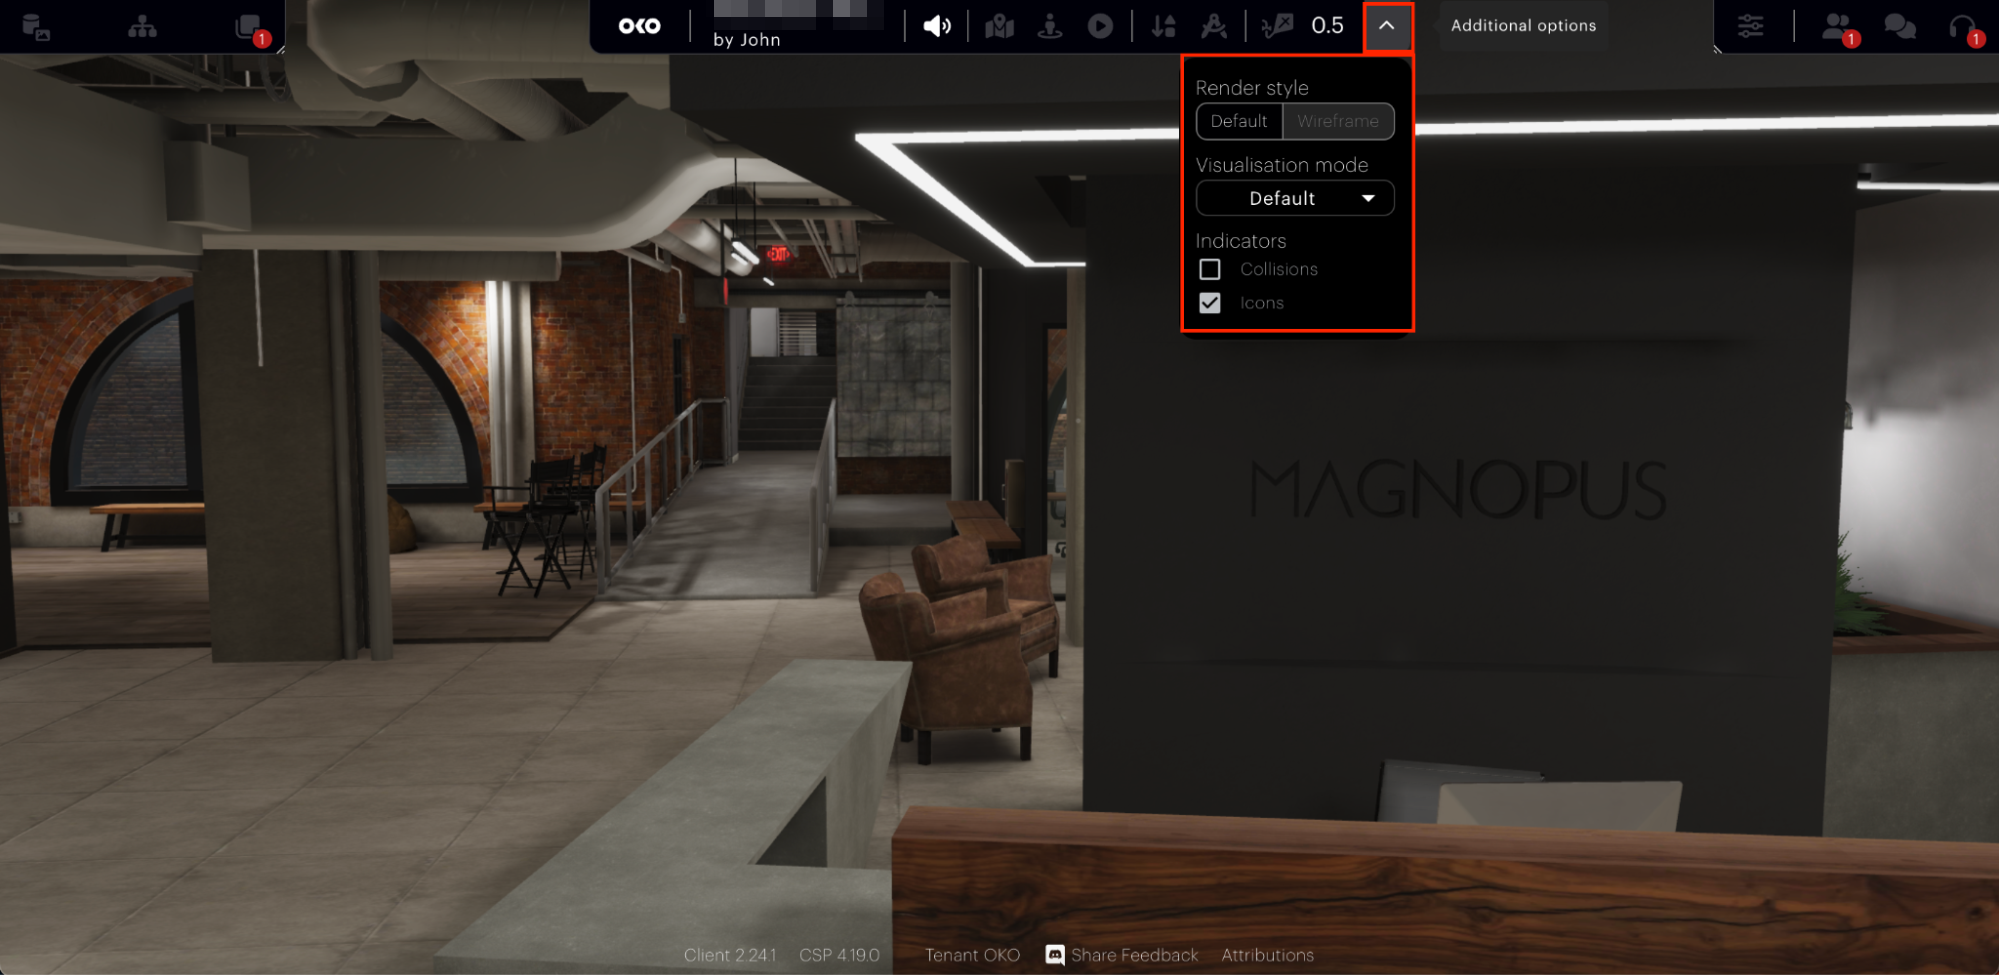
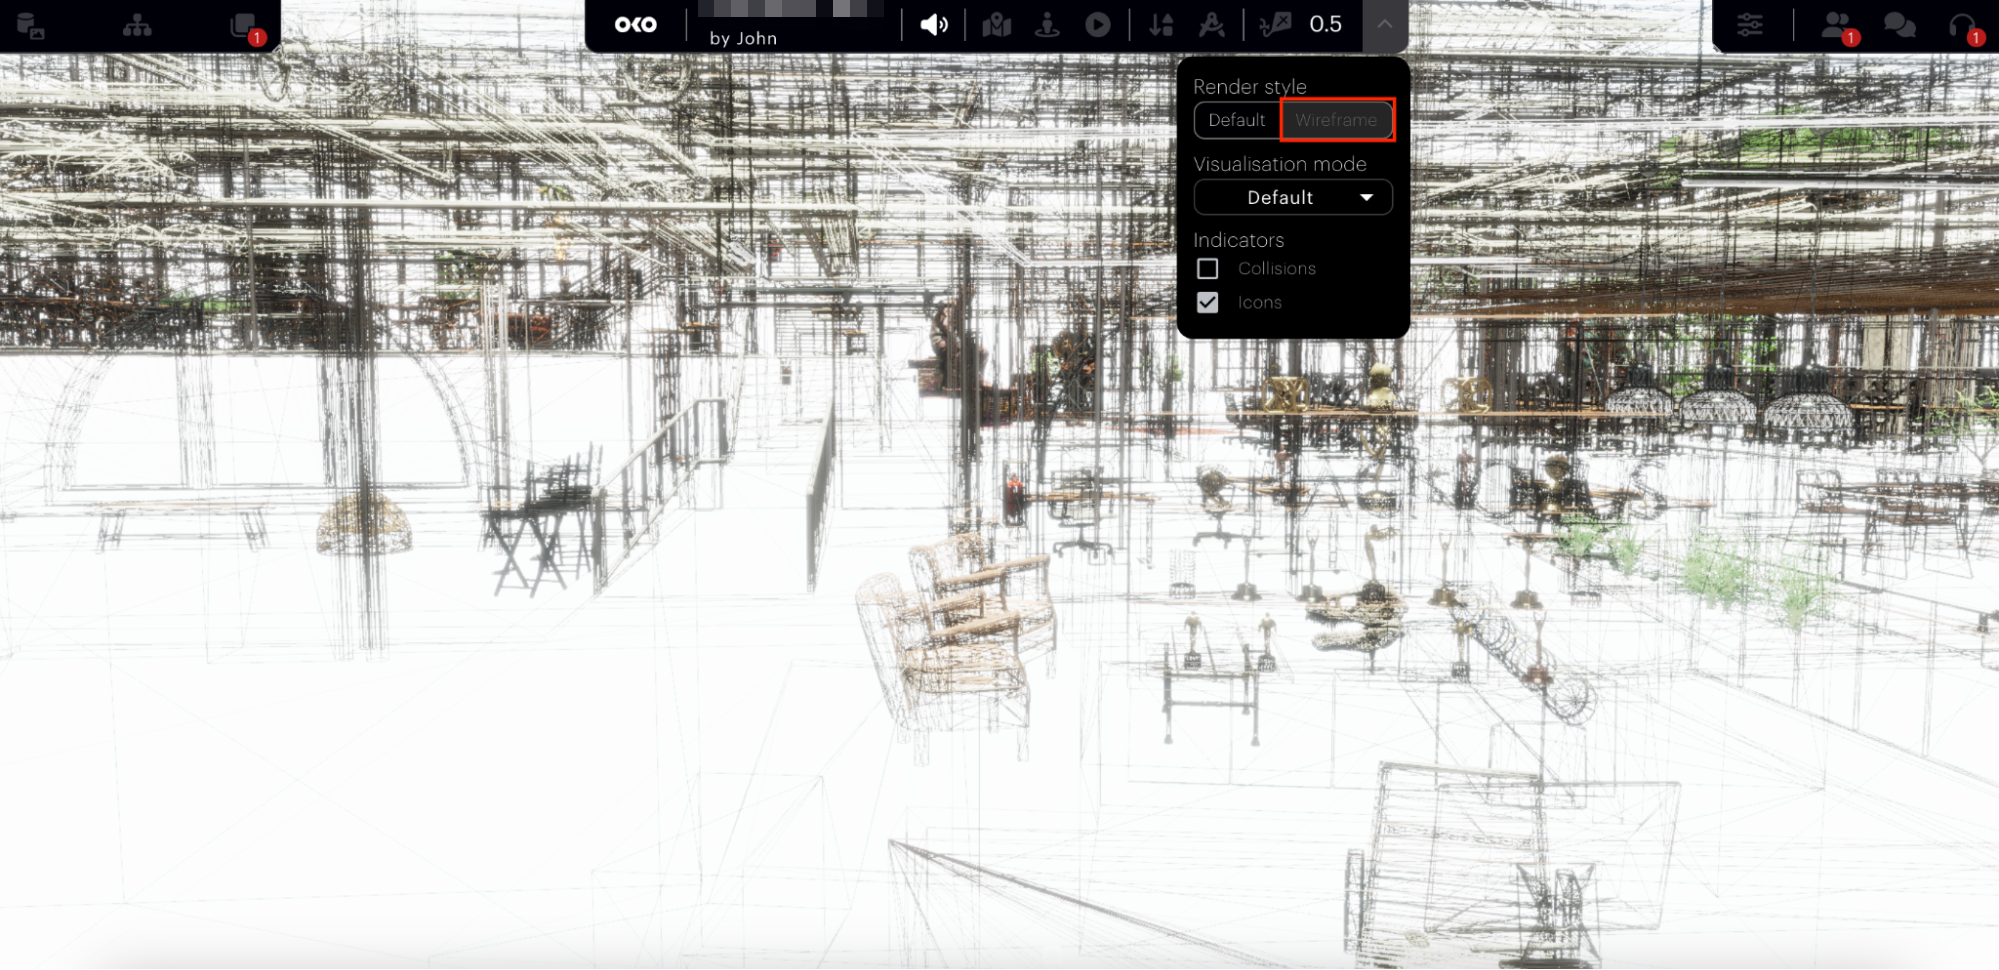
The first option is render style. You can switch between Default (which is the lit-shaded view you can currently see) and Wireframe (which shows the wireframe of every visible mesh), as shown below.
Under render style, you will see the visualization modes. This consists of a variety of different options to visualize your space. Each option can be viewed in both render styles – Default and Wireframe.
Visualization Mode | Image |
Normals | 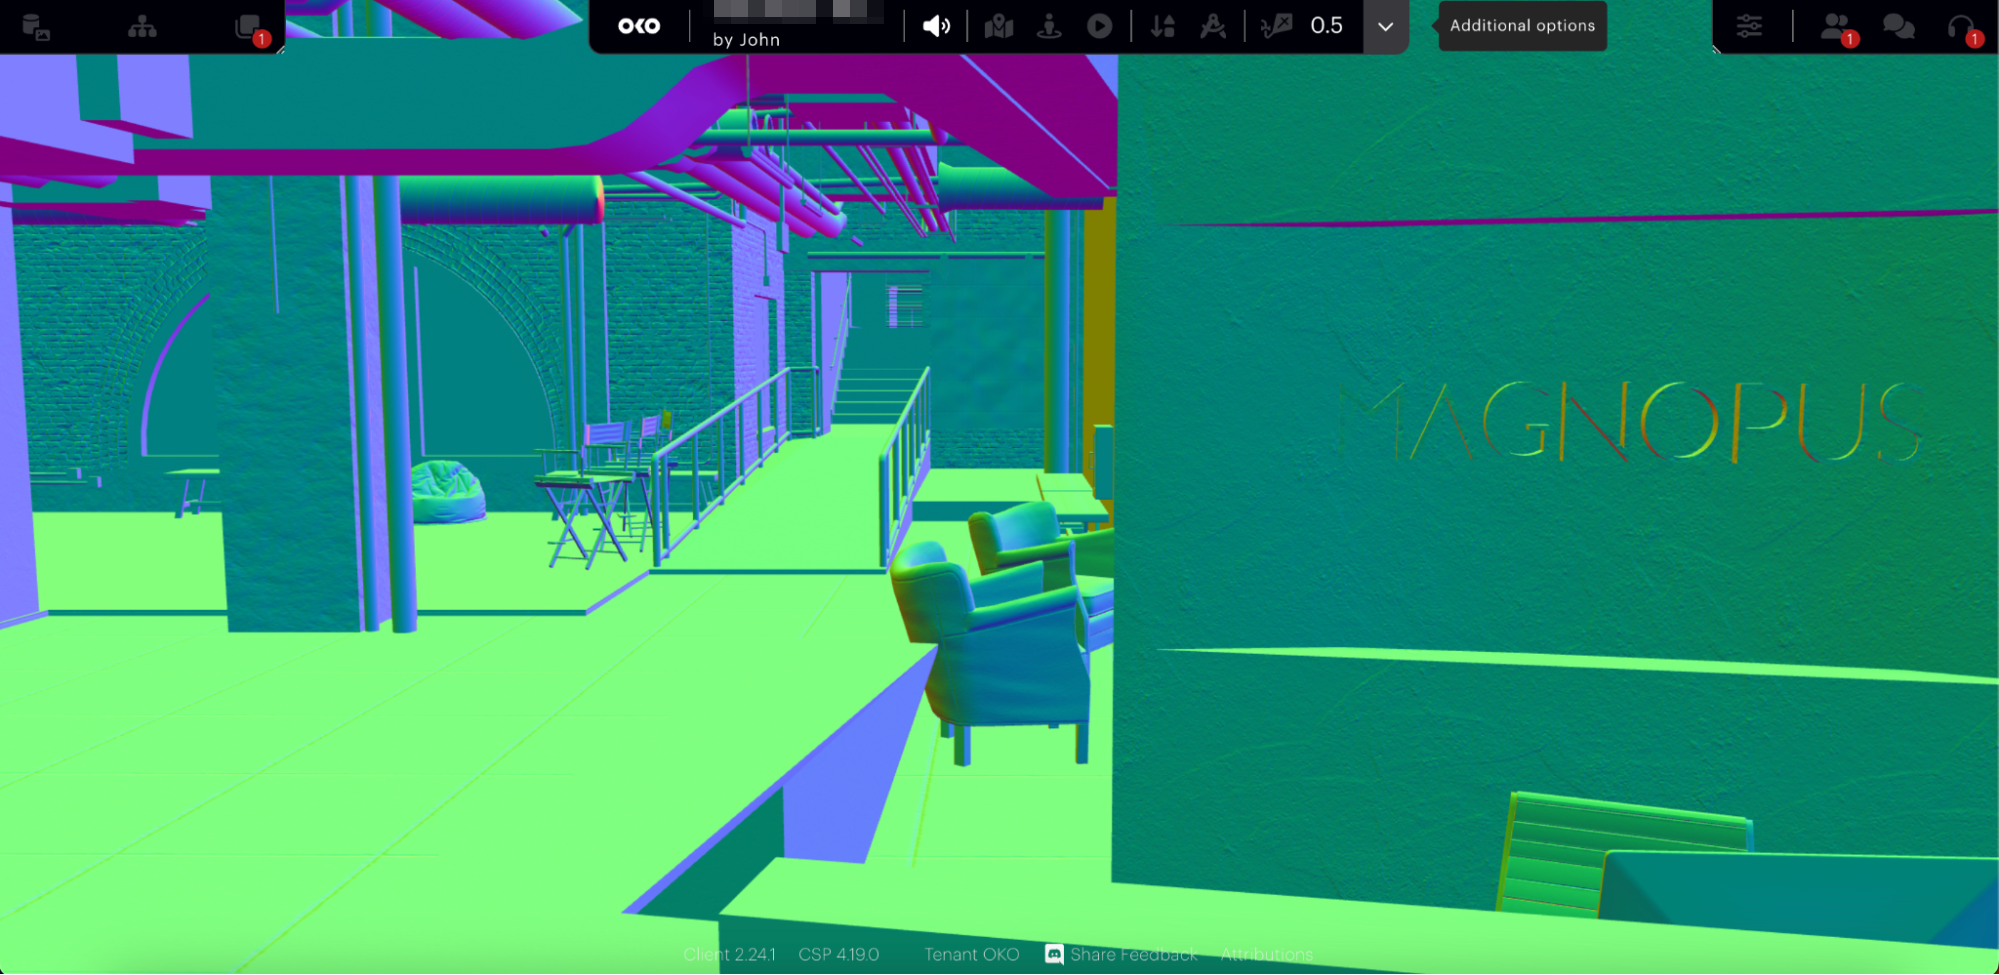 |
Unlit | 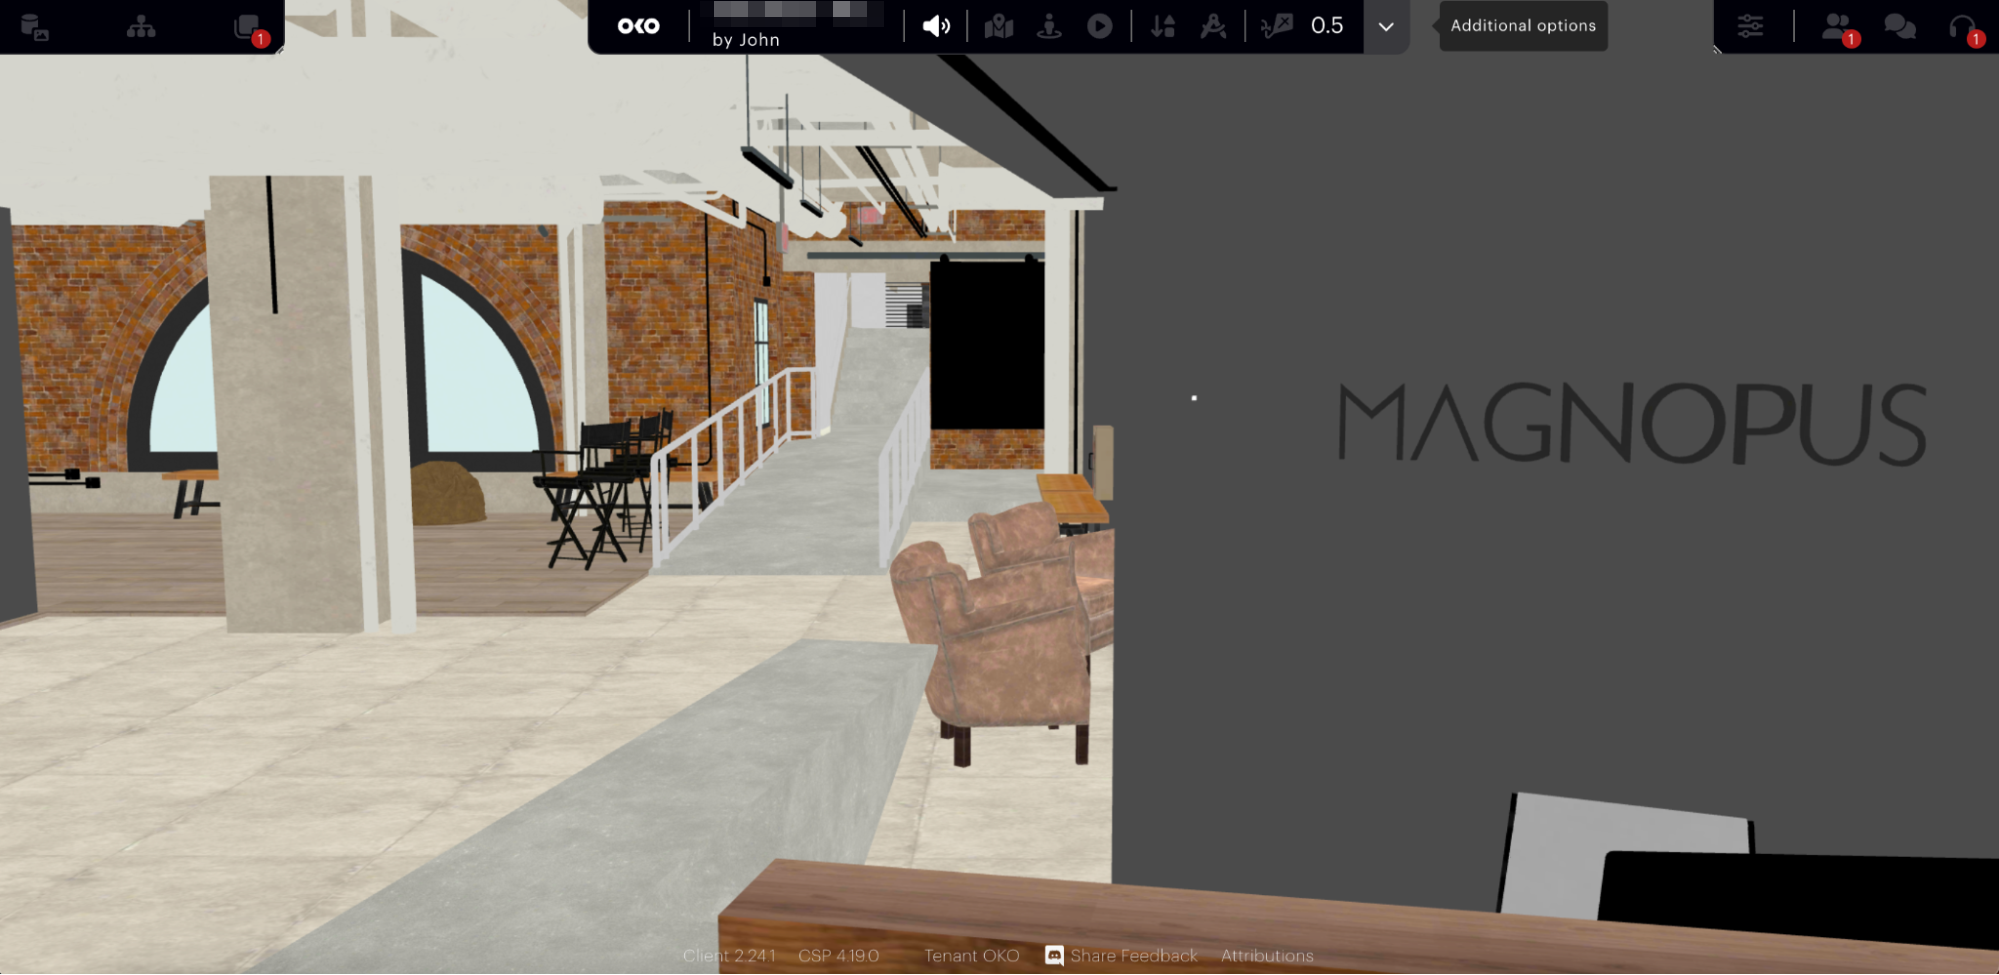 |
Metallic | 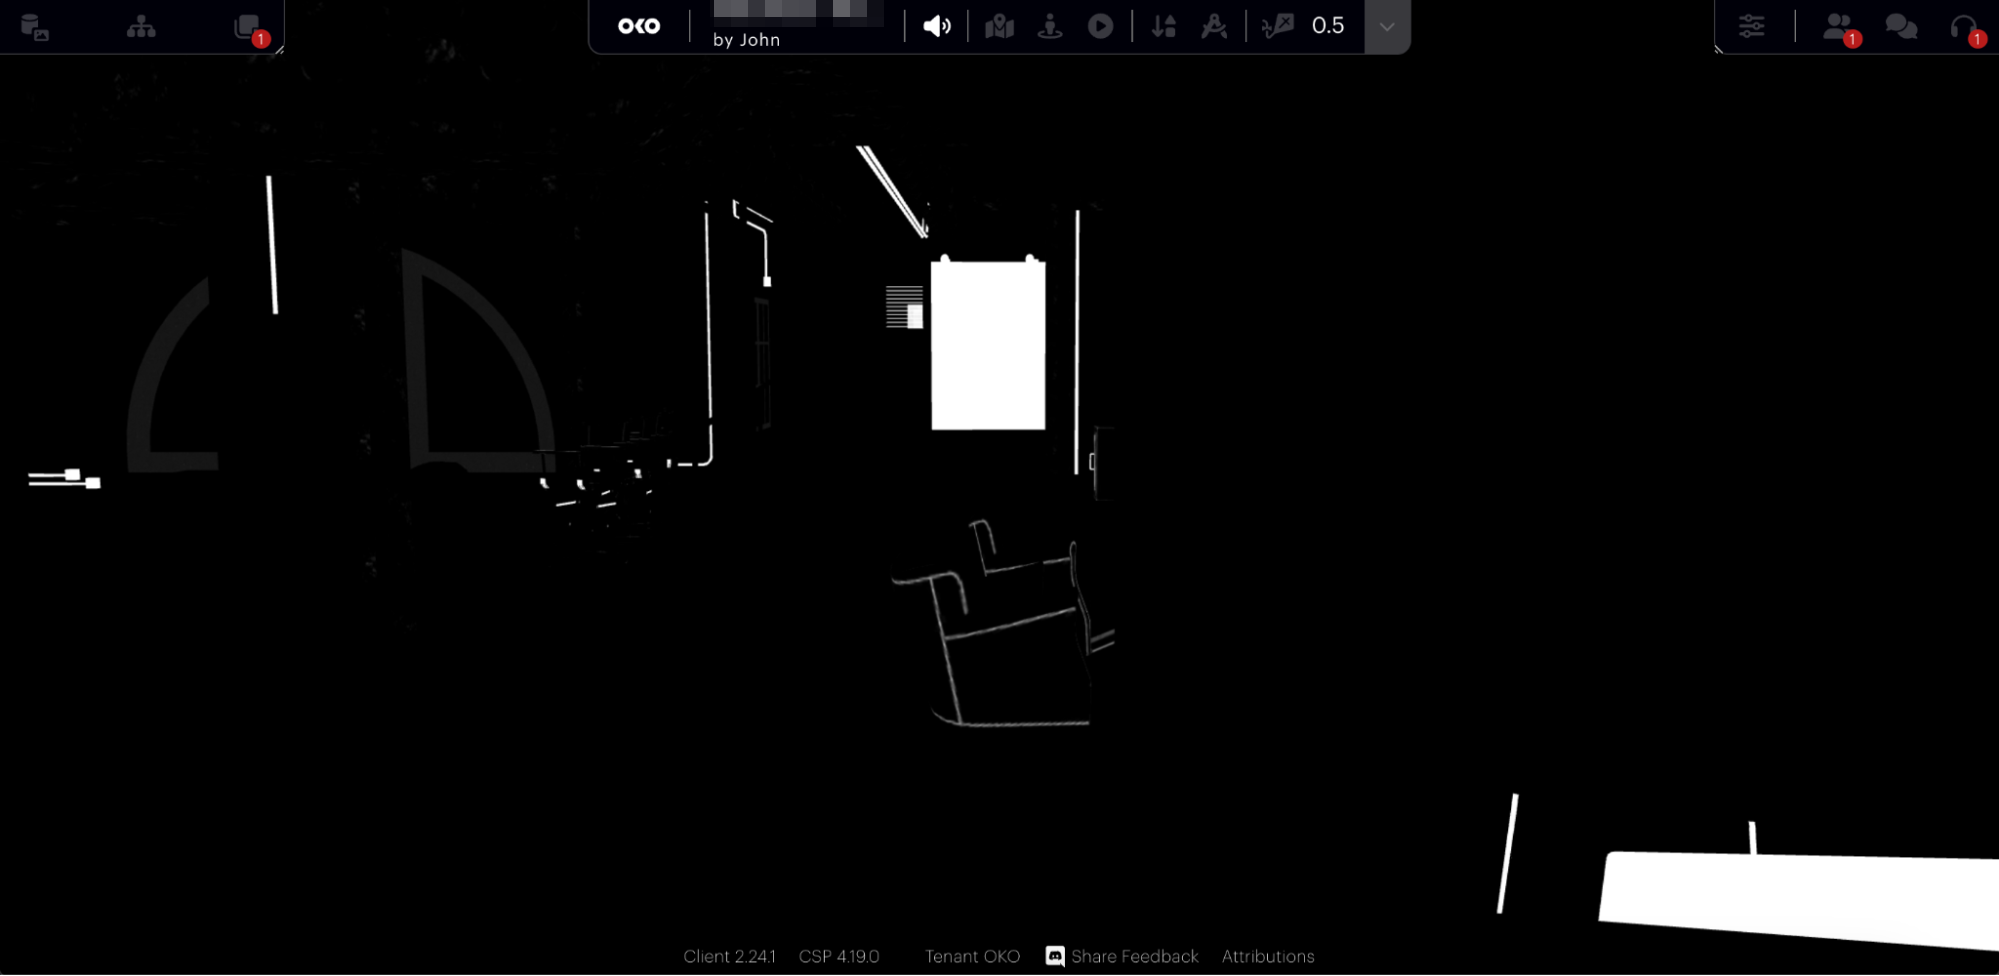 |
Roughness | 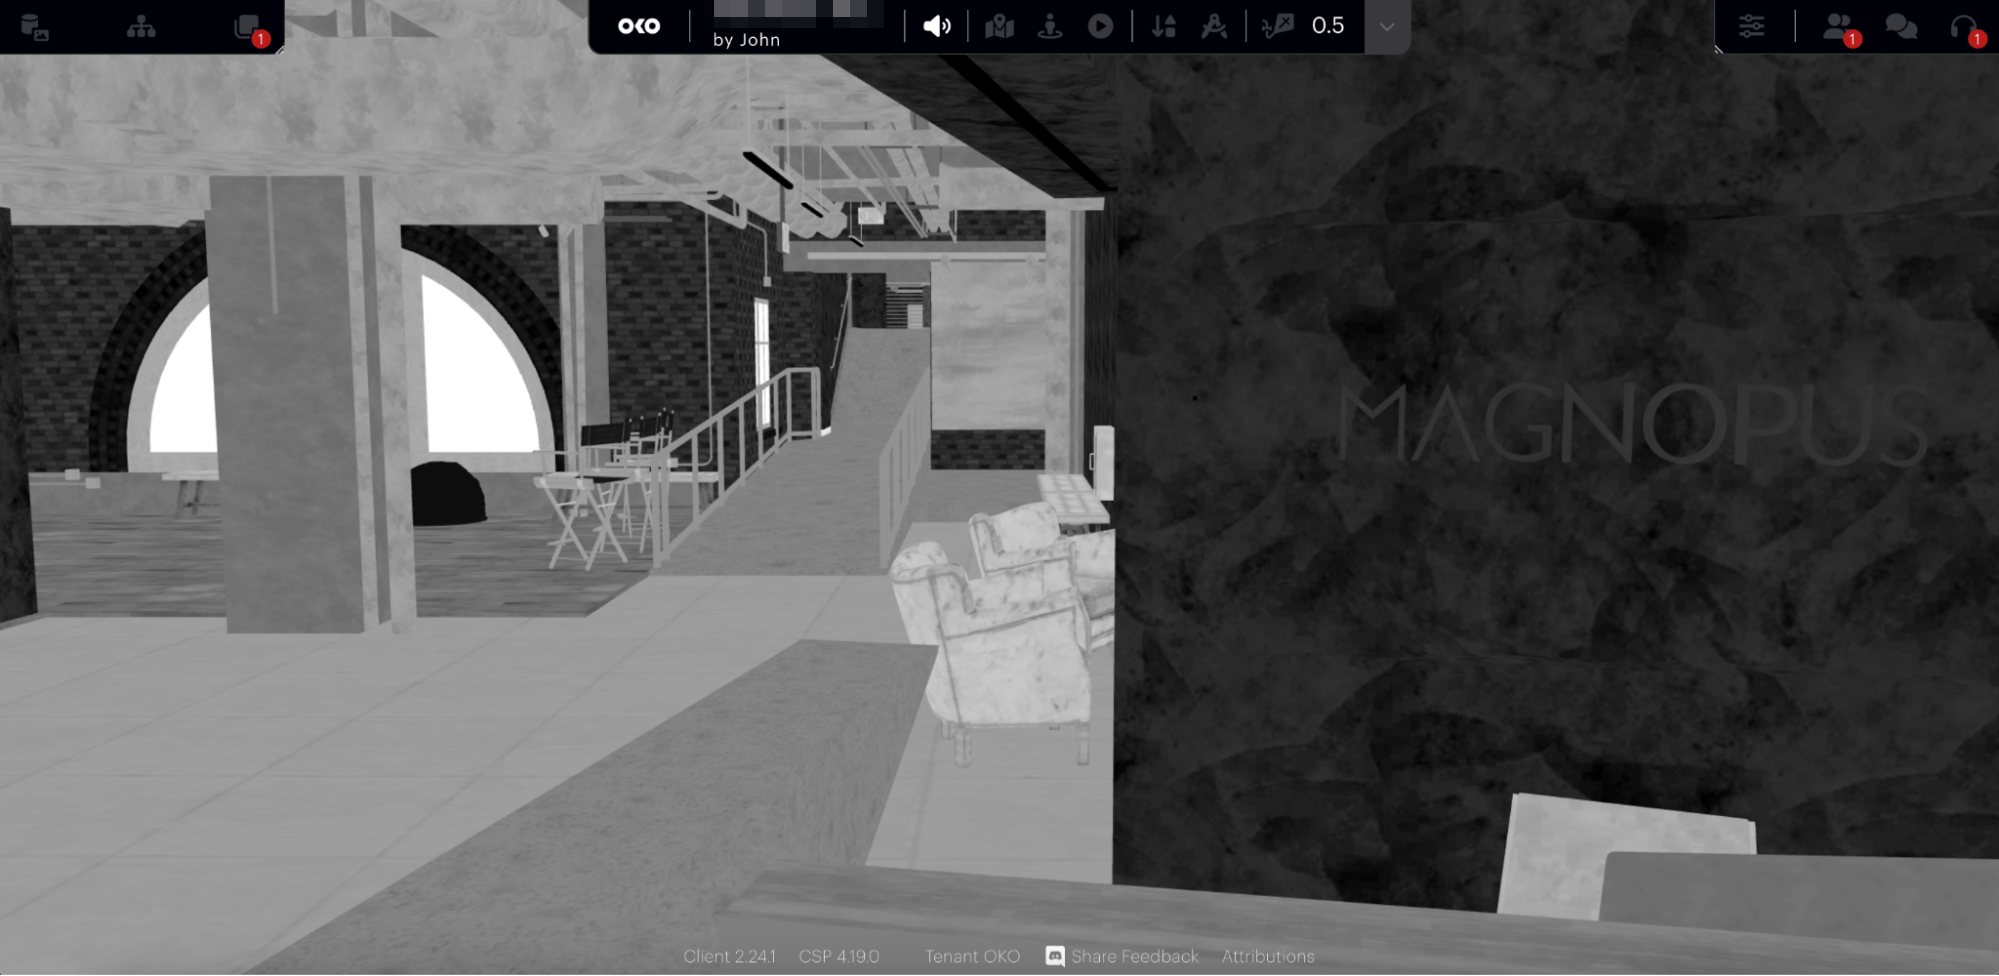 |
Lighting | |
Specular | 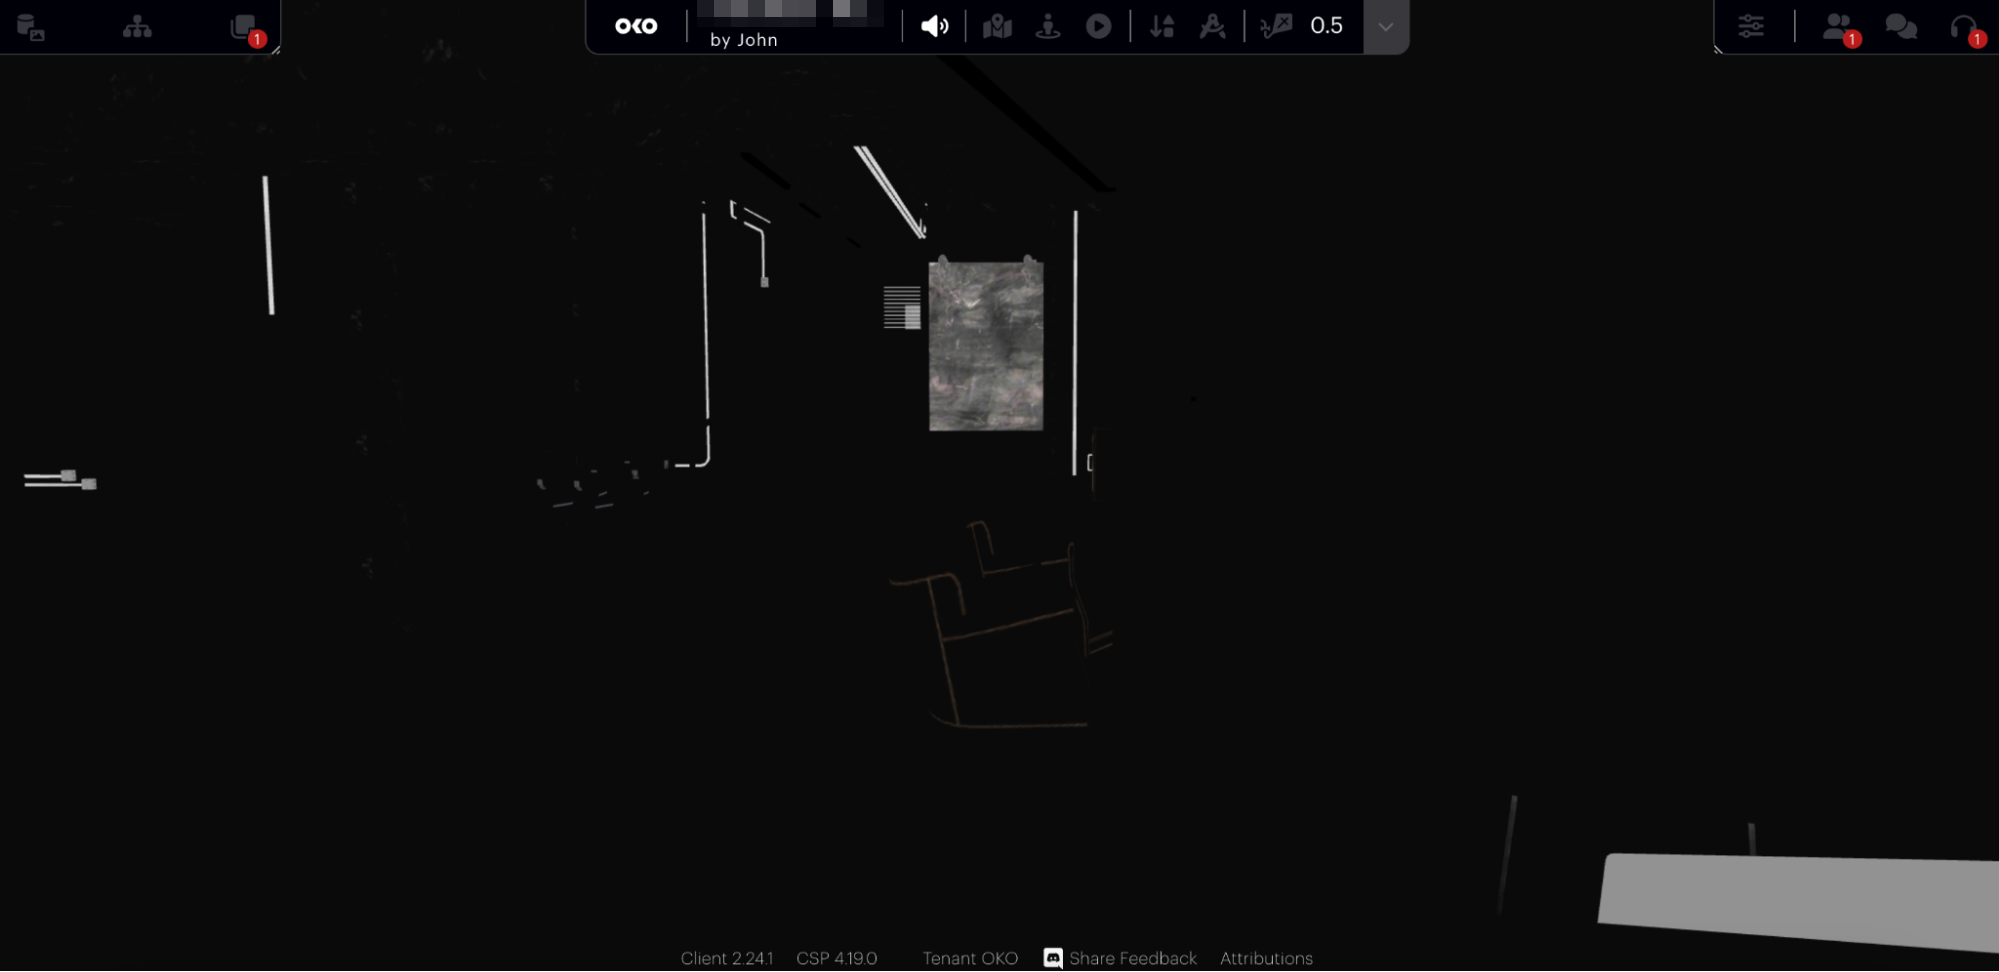 |
Alpha | 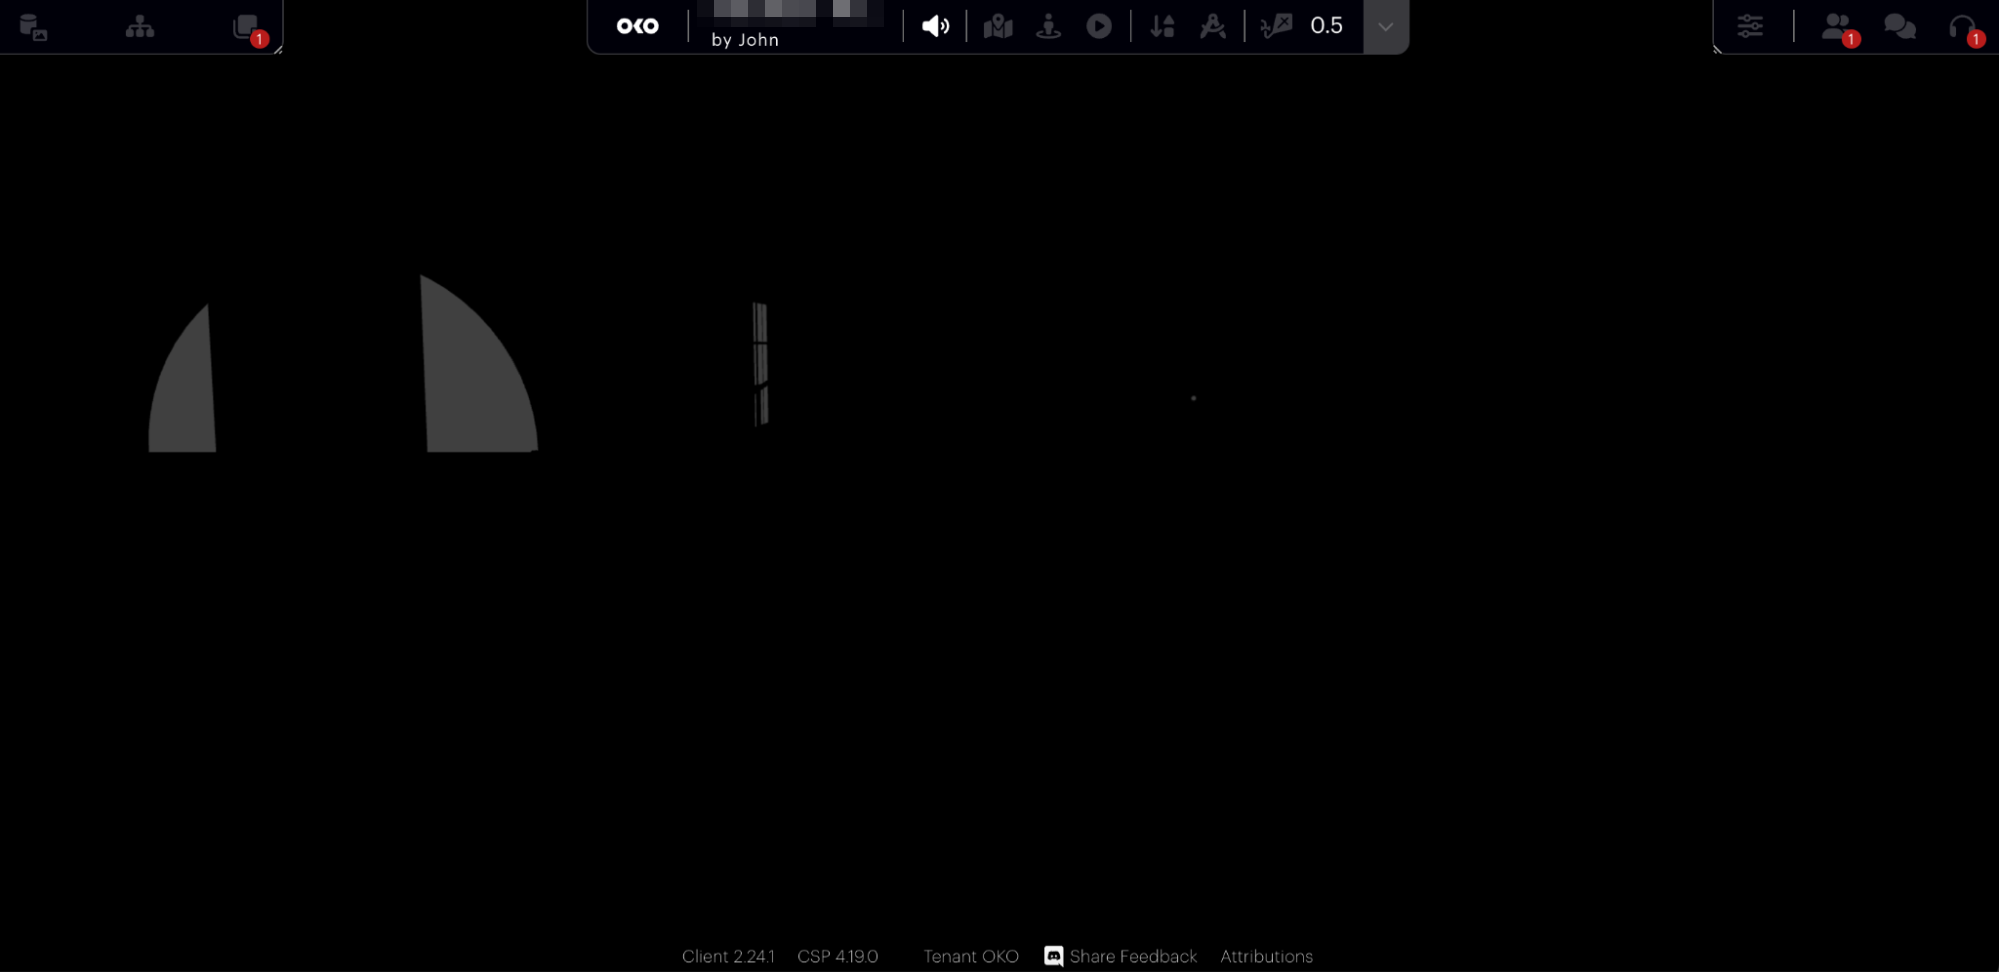 |
Uv0 | 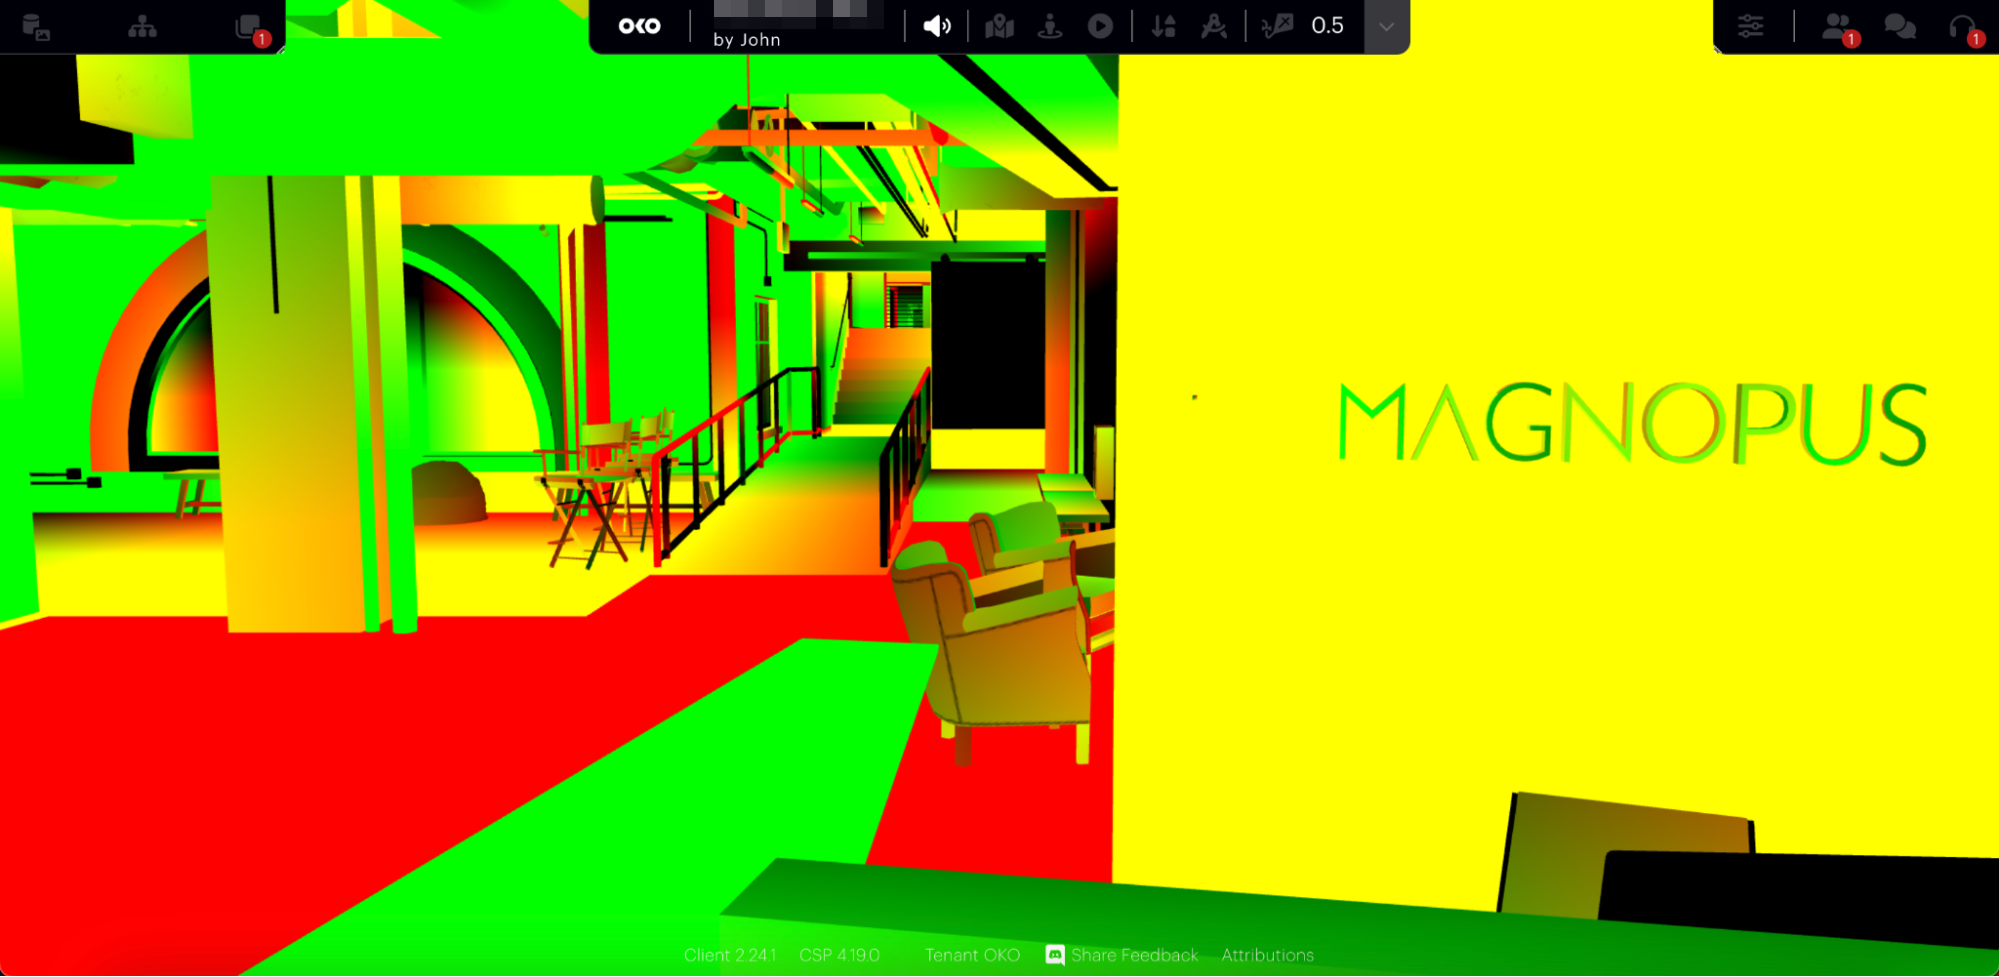 |
Emissive | 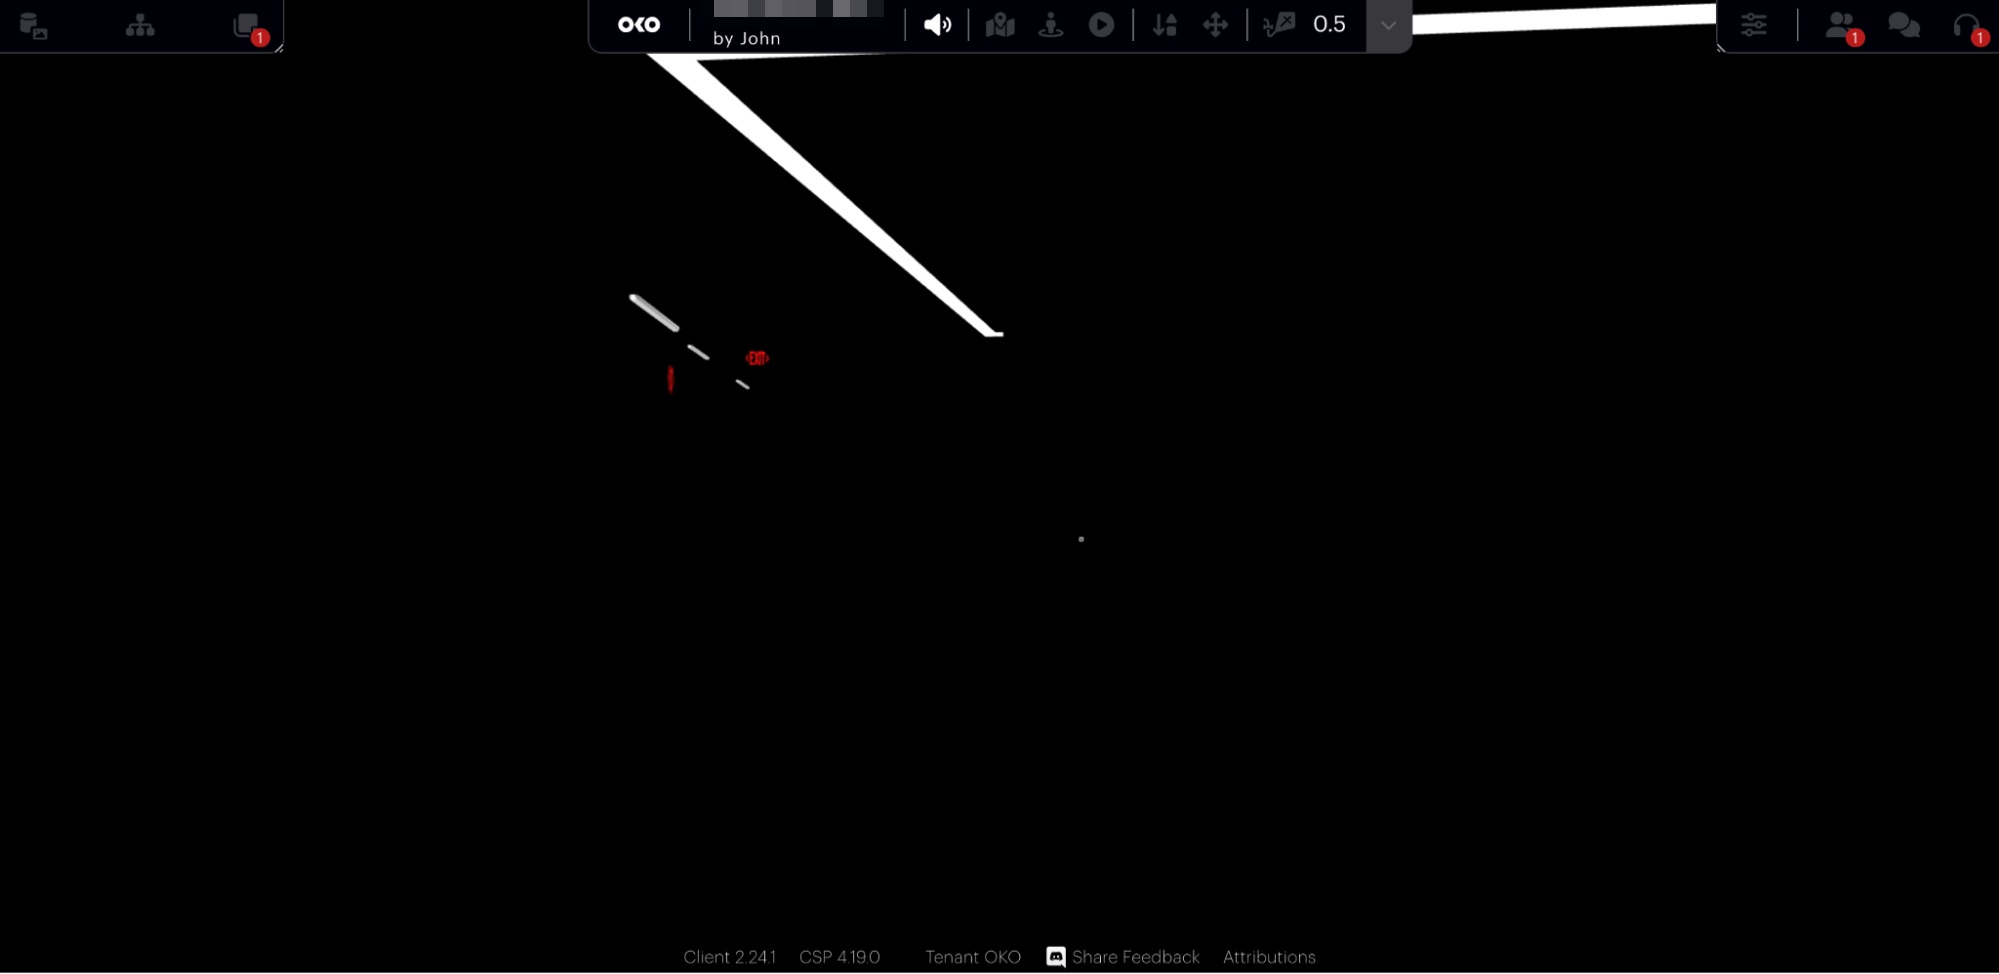 |
Ambient-occlusion | |
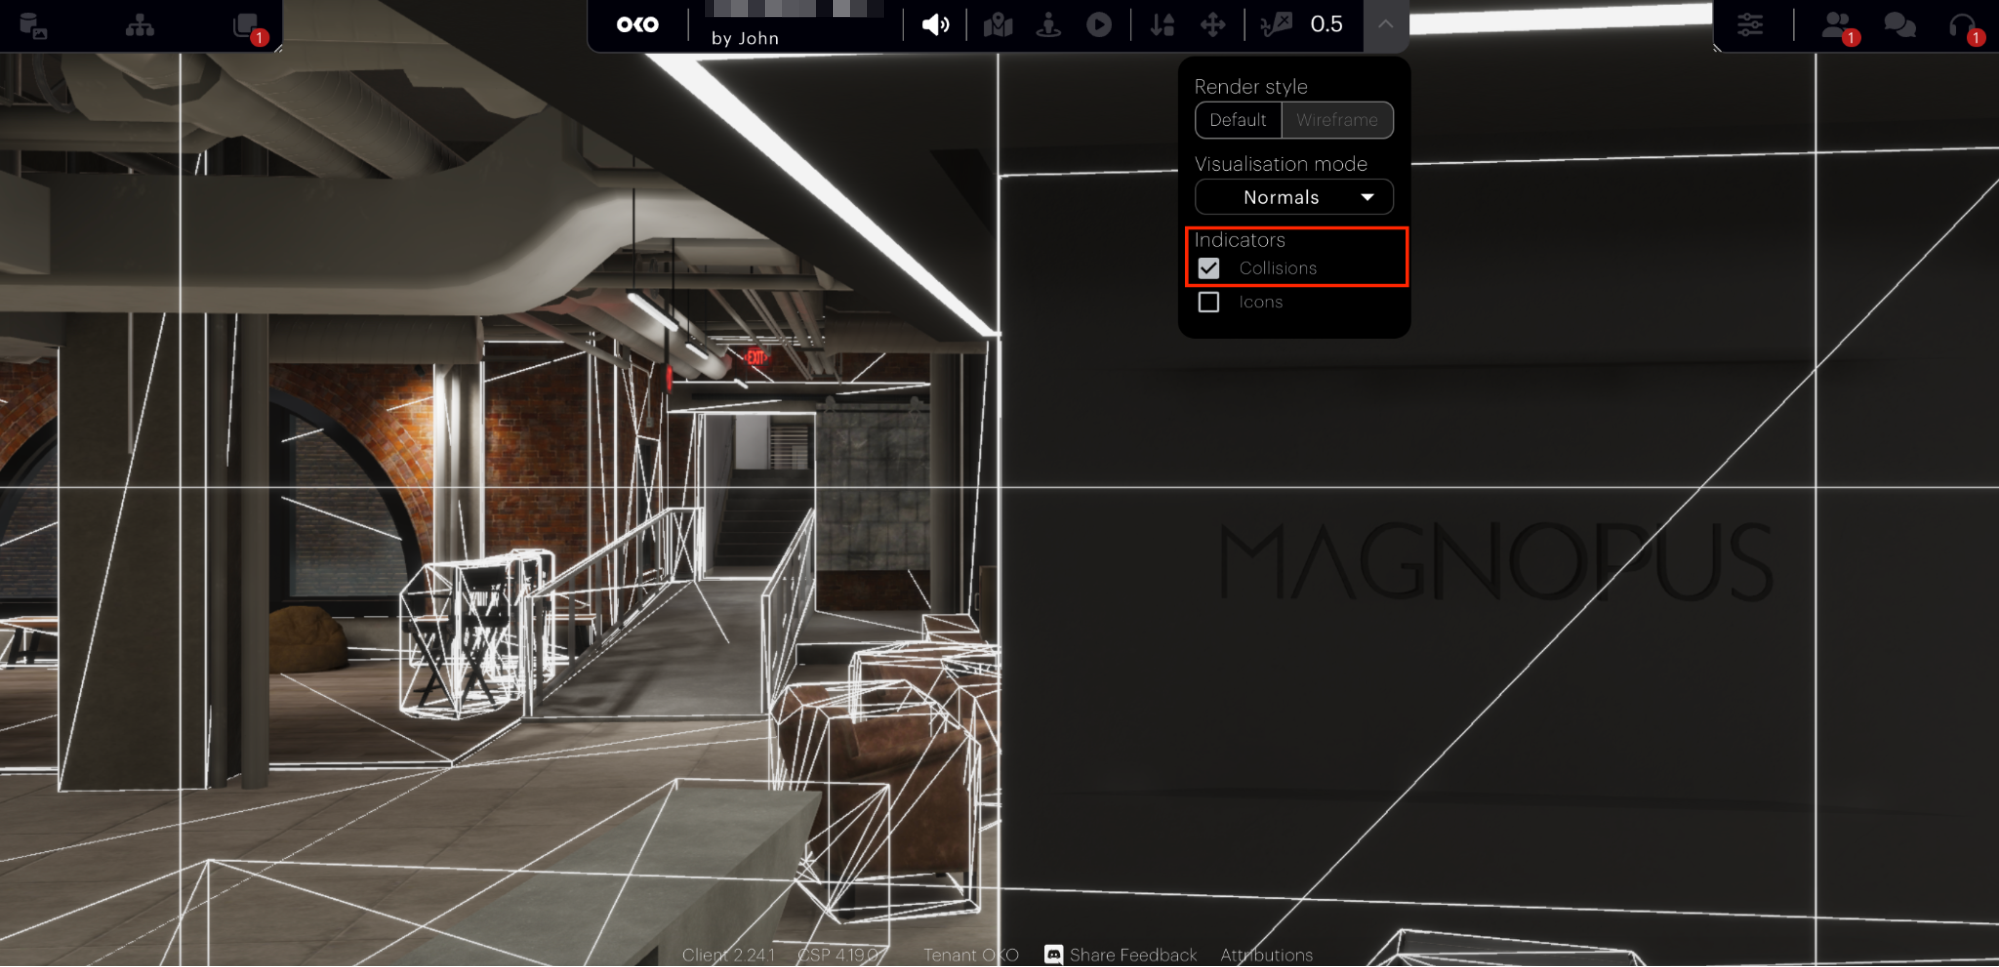
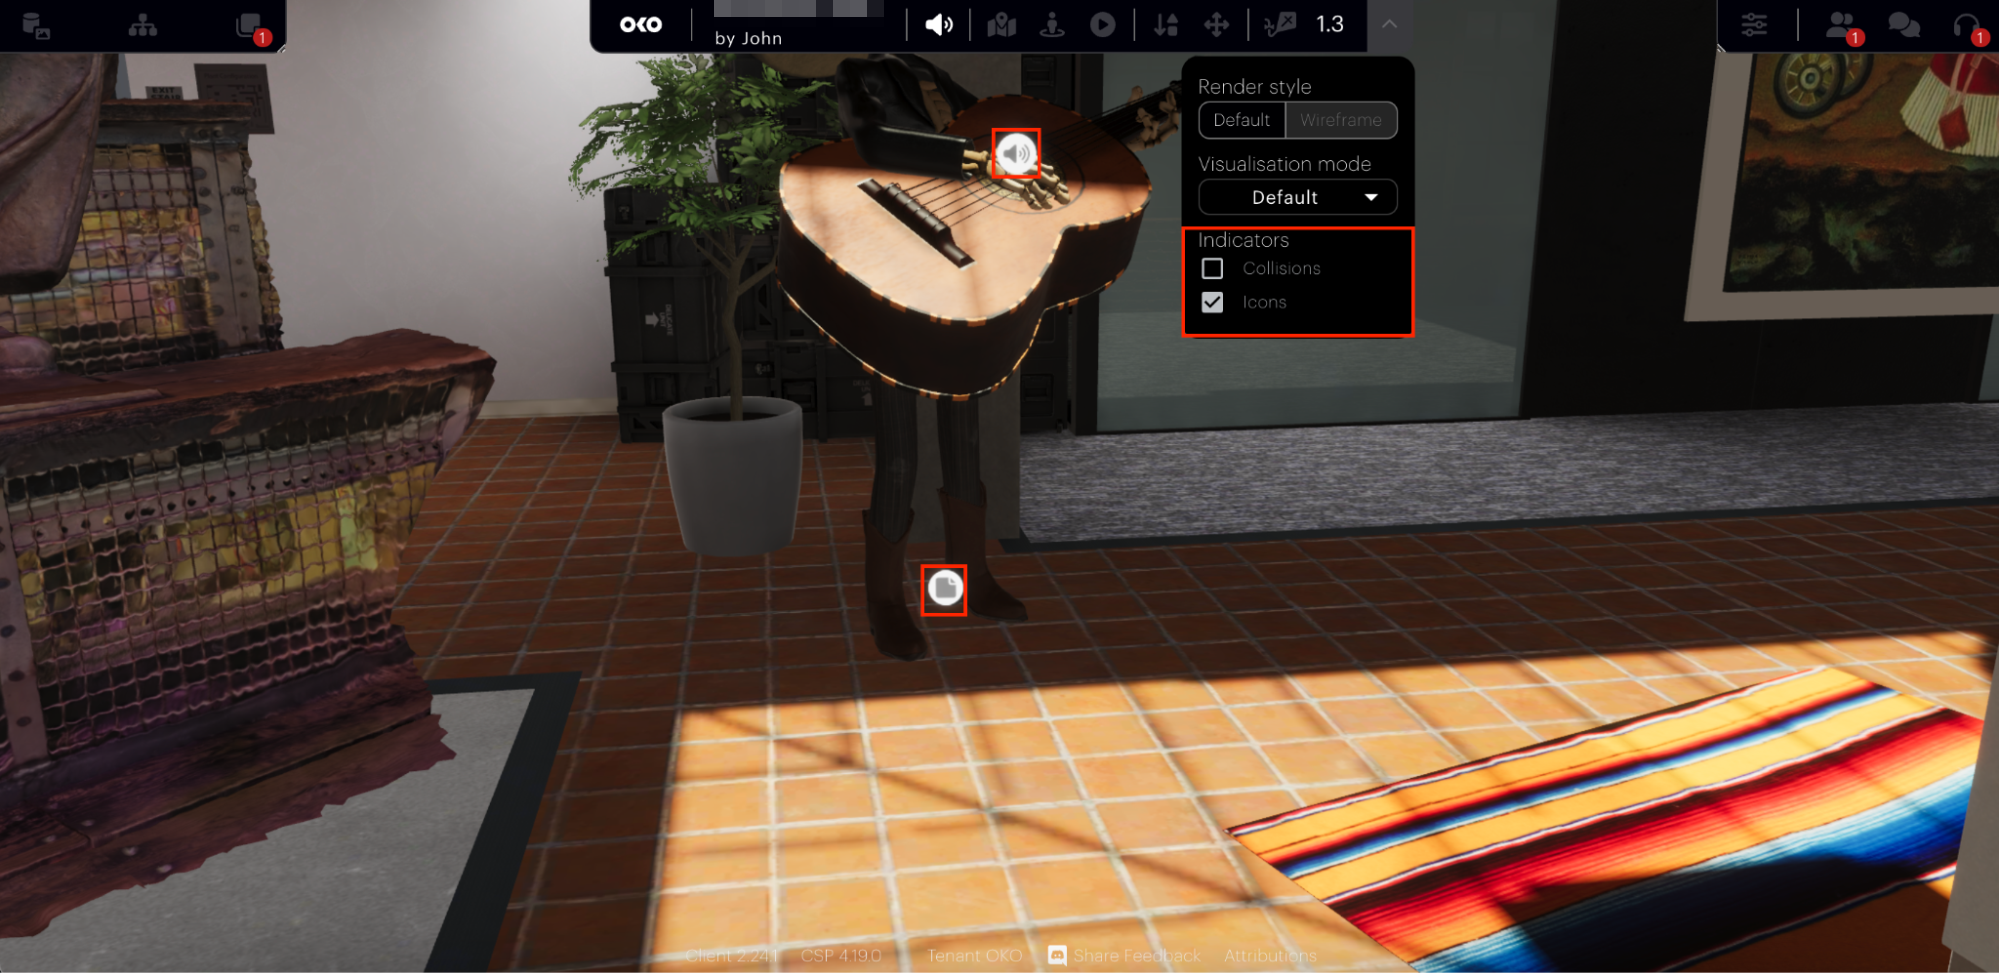
Next, we have the Indicators. These can show you which objects have Collisions or Icons. You can show or hide these options by ticking the “Collisions” and “Icons” checkboxes.
Icons will appear next to an entity when the “Icons” checkbox is selected.
That’s it for render styles and visualization modes!