
Portal Components
OKO Web 4.6.1 | OKO Unreal 4.8.2 | CSP 6.36.0
The Portal Component defines a location in 3D space where users should be taken to other spaces. As such, they can be a useful tool when deciding on your spatial architecture. Whether to include everything in a single space or partition it across multiple spaces.
This page details properties specific to the component. For general component properties, find more information here.
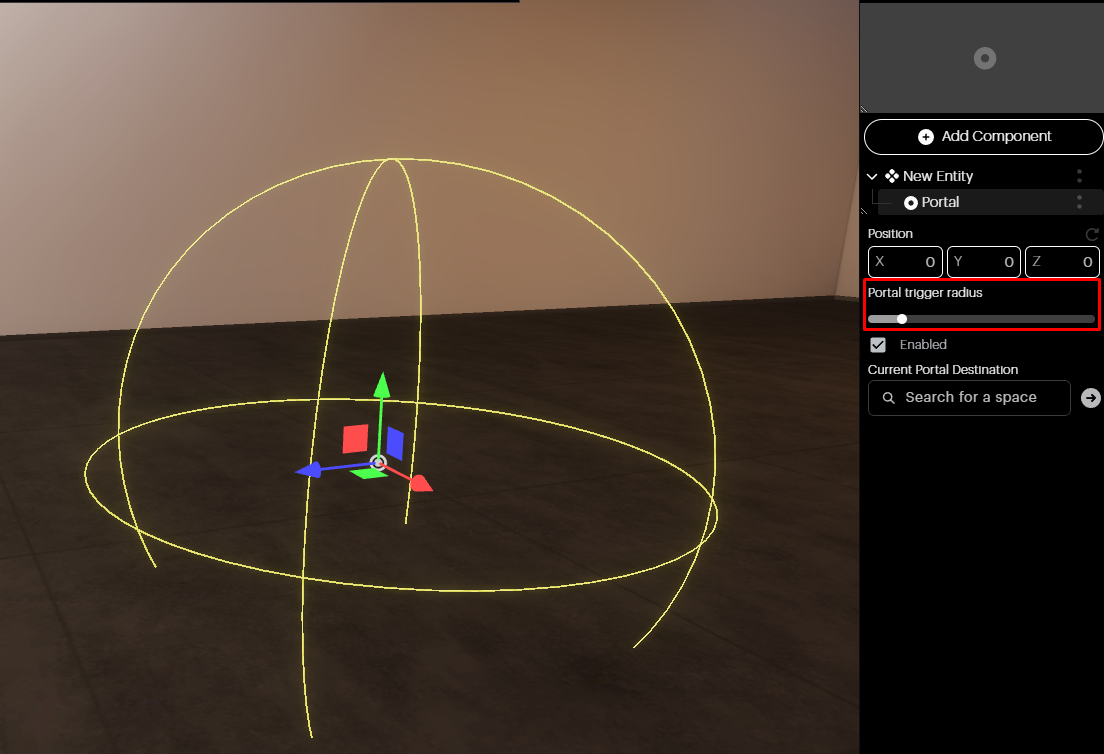
Portal Trigger Radius: Here, you can adjust the radius of your portal using the slider. When users get within the specified range of the portal, they will be able to travel to a different space.
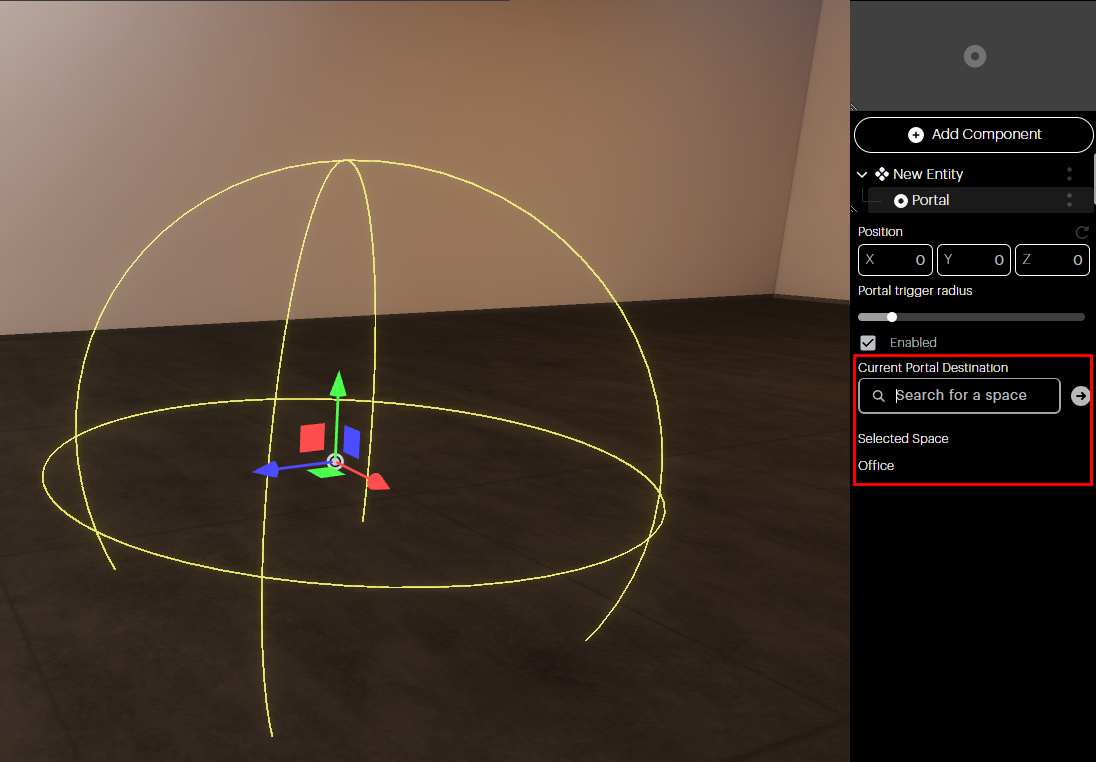
Current Portal Destination: Choose the new space users will be redirected to when entering the portal by using the search bar. Note, you can only select spaces that you are invited to.
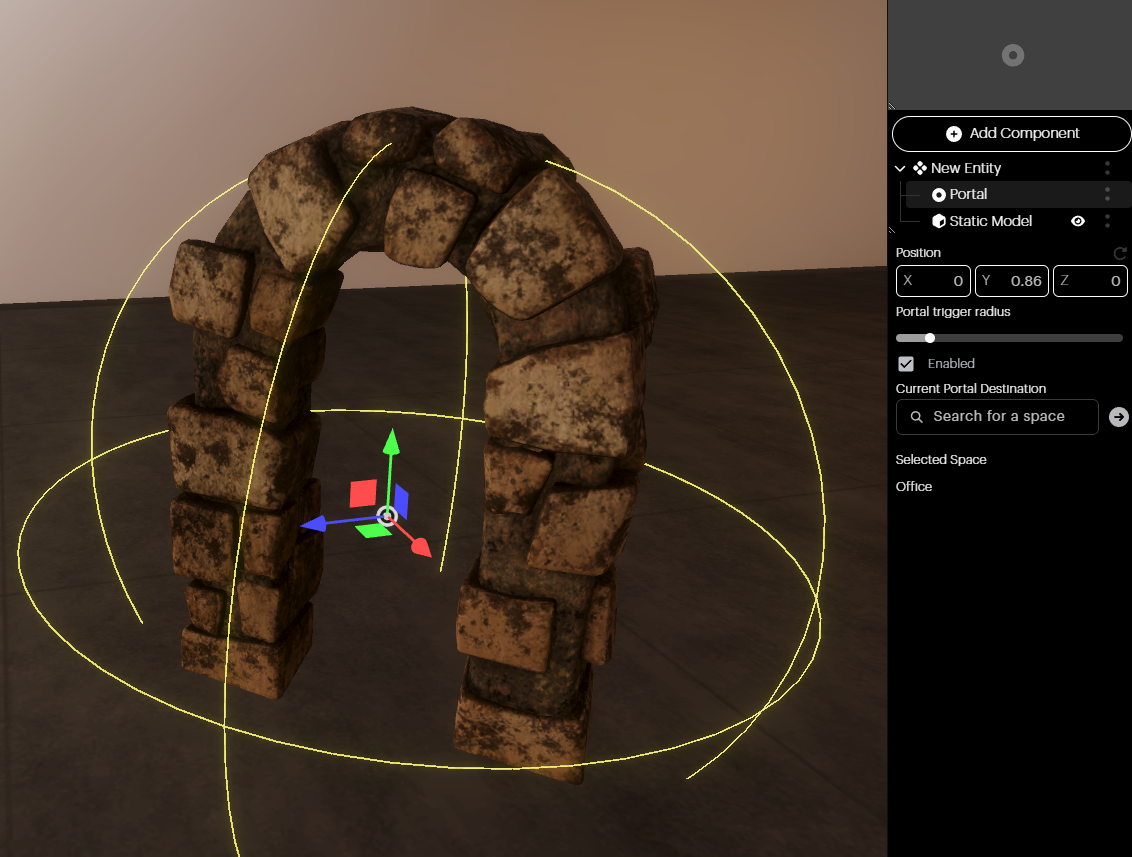
On their own, portals have no visual representation and will not be visible to users in the space. It’s therefore recommended that you add a visual component such as a Static Model or Animated Model. In the image below, you can see that a Static Model Component has been added to the Entity hierarchy.
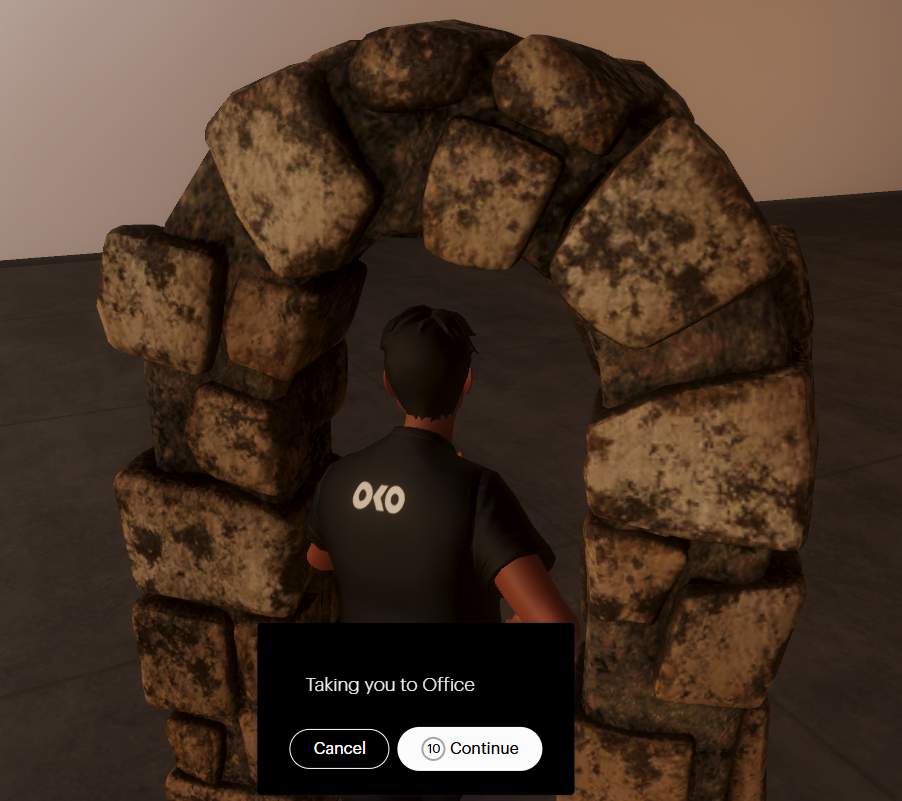
For users in Viewer Mode, the portal will be triggered when the user enters the previously set radius. A countdown begins before taking the user automatically to the space, or they can choose to transition immediately.