
Setting up fiducial markers
This workflow assumes you’re primarily working with OKO iOS in order to view spaces anchored to fiducial markers.
Instructions
Creating a Fiducial Marker
Select a Fiducial Marker
Pick a photo, picture, or any 2D image that is a minimum of 20 cm x 20 cm. The image should contain unique elements so that you can tell which way is up/down/left/right. Avoid picking something that only has one color, or a repeating pattern which looks the same in any orientation.
The following image would work because it has many colors, many unique features, and you can tell left from right, up from down. This means the image recognition will also work.

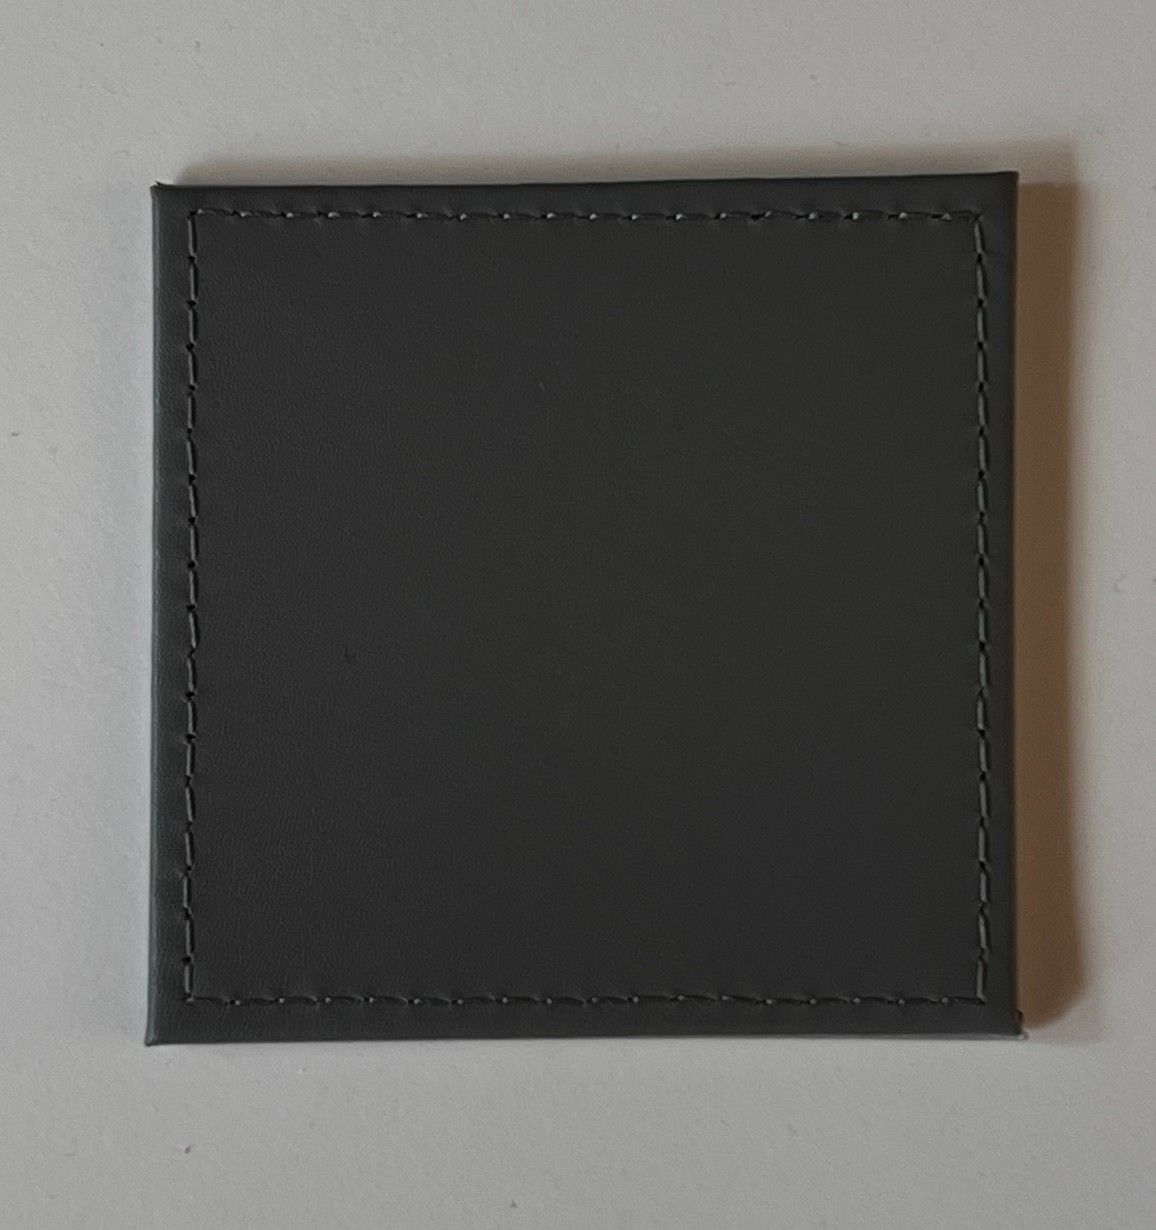
The following image would be unsuitable because it’s just one color and we can’t tell which way is up/down/left/right.
Crop the Image
Crop your image and line it up so that it only contains the image which will be a marker. Make sure the crop is rectangle shaped and a minimum of 20 cm x 20 cm. Traditionally, a square format is preferred.
Adjust your cropping as needed
Once you are done cropping, save it to the iPhone as a new picture.
Print the Fiducial Marker if Needed
If the image doesn’t exist in a physical format, print the fiducial marker.
Make sure the printed image is at least 20 cm by 20 cm.
Measure the Fiducial Marker
Measure the width and height of the fiducial marker, and write it down.
Create a New Space on OKO iOS
the OKO iOS app and create a new space
Add the cropped image to the space
Add the cropped image to the space.
Select the Image Upload icon
Select the image you would like to use as the Fiducial Marker
You could also add some other assets of your choice around the space so that they are re-localized once the resolving is successful.
Create the Fiducial Marker
Select the image (long press)
When you long press the image, you’ll see a circle that shows how long you need to long press the image for the selection to complete.
Tap the 2 dots in the top right corner.
Tap ‘Create Fiducial Marker’.
Enter the Measurements of the Fiducial Marker
Enter your measurement for width in the Width textbox
Set the Position of the Fiducial Marker in OKO Web
Enter the space using the OKO Web client.
Select the entity of the fiducial marker, rather than the component.
Note that I have added a few assets (soda cans and a burrito) in front of the fiducial marker.
Use the widget and input tools to position the Entity (parent) containing the Image as close as you can to the image’s real-life height/orientation. Avoid changing the values of the FiducialMarker component if possible, as that will make it harder to keep track of.
Note: only horizontal (laying flat, facing up) and vertical (upright, facing user) orientations are currently supported.
Avoid changing values on the FiducialMarker component
Make sure to NOT change the scale values of the Image or the Entity, as this would interfere with resolving. If you changed them by accident, you can Edit the Fiducial Marker in the same way you created it, and input the width and height again. That should set them back to the expected values.
Your Fiducial Marker should now be set up in the right place, with the right scale and orientation.
Resolve the Fiducial Marker on OKO iOS
Launch the OKO iOS client.
Make sure “Calibrate with Fiducial Marker” is enabled in your Location settings.
Enter the space.
Go to AR mode.
Move the phone around as directed, and be sure to point your camera at the ground as well.
There will be a popup telling you a fiducial marker has been loaded and ready for resolving.
Point your AR camera to the real-life picture you designated as a marker. If it doesn’t resolve right away, move closer.
Once resolving is successful a small widget will appear on the tracked image, to signify which axis points to where.
Observe the rest of your content in the space will be moved relative to the digital image in the space, aligned with the physical image.