
Creating a space using the OKO Unreal plugin
Version 4.9.0 - CSP 6.42.0 - UE 5.7
This article will guide you through the process of creating a space in OKO using the Unreal OKO Plugin.
Instructions
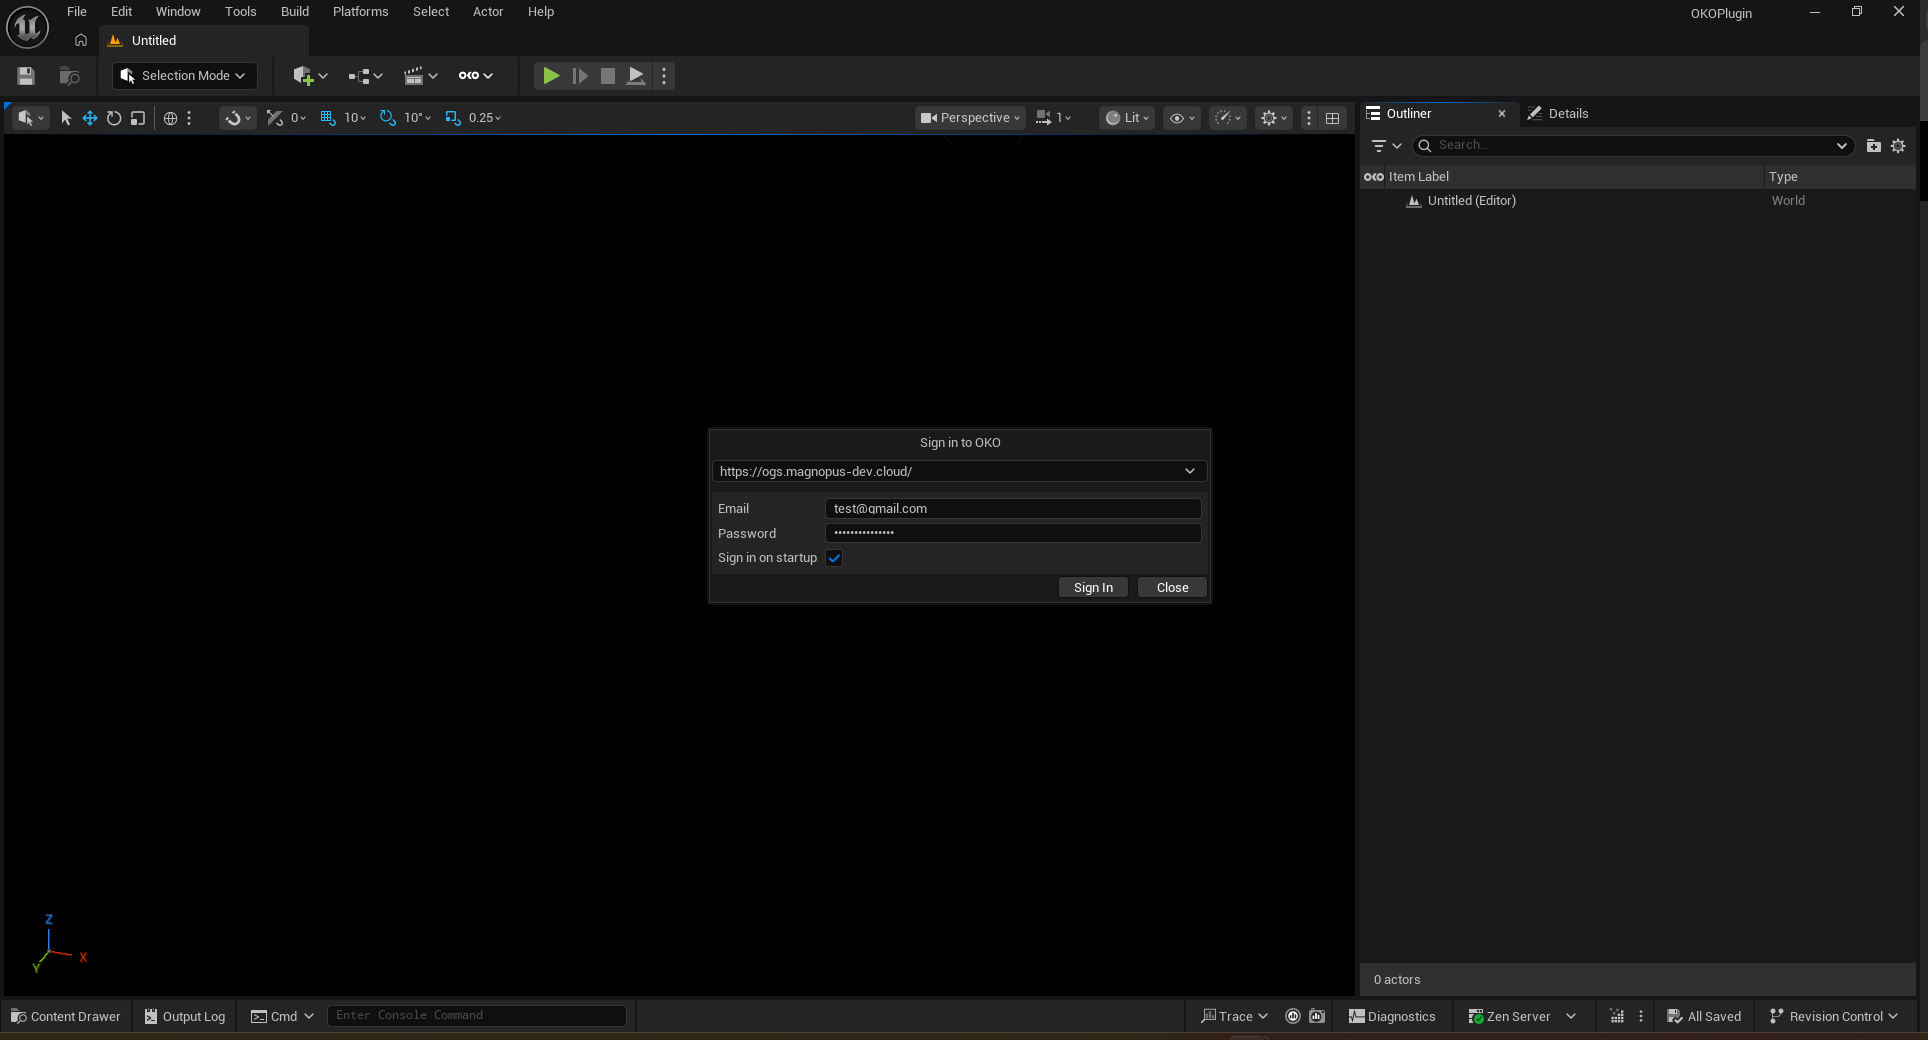
First, log into OKO.

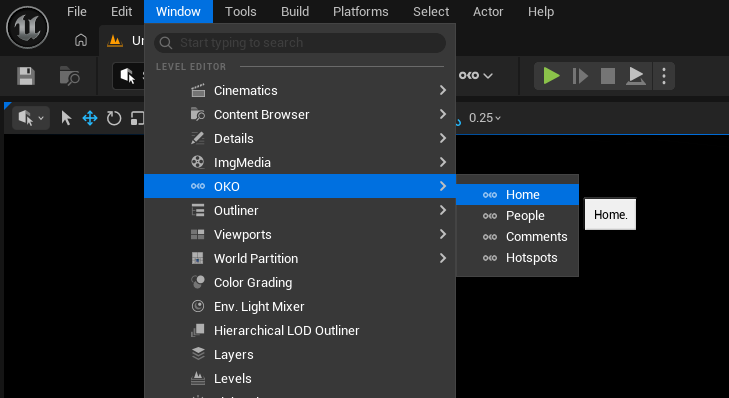
To create a space, open the Home tab as shown below:
You can dock the Home tab anywhere in your Unreal Editor layout.
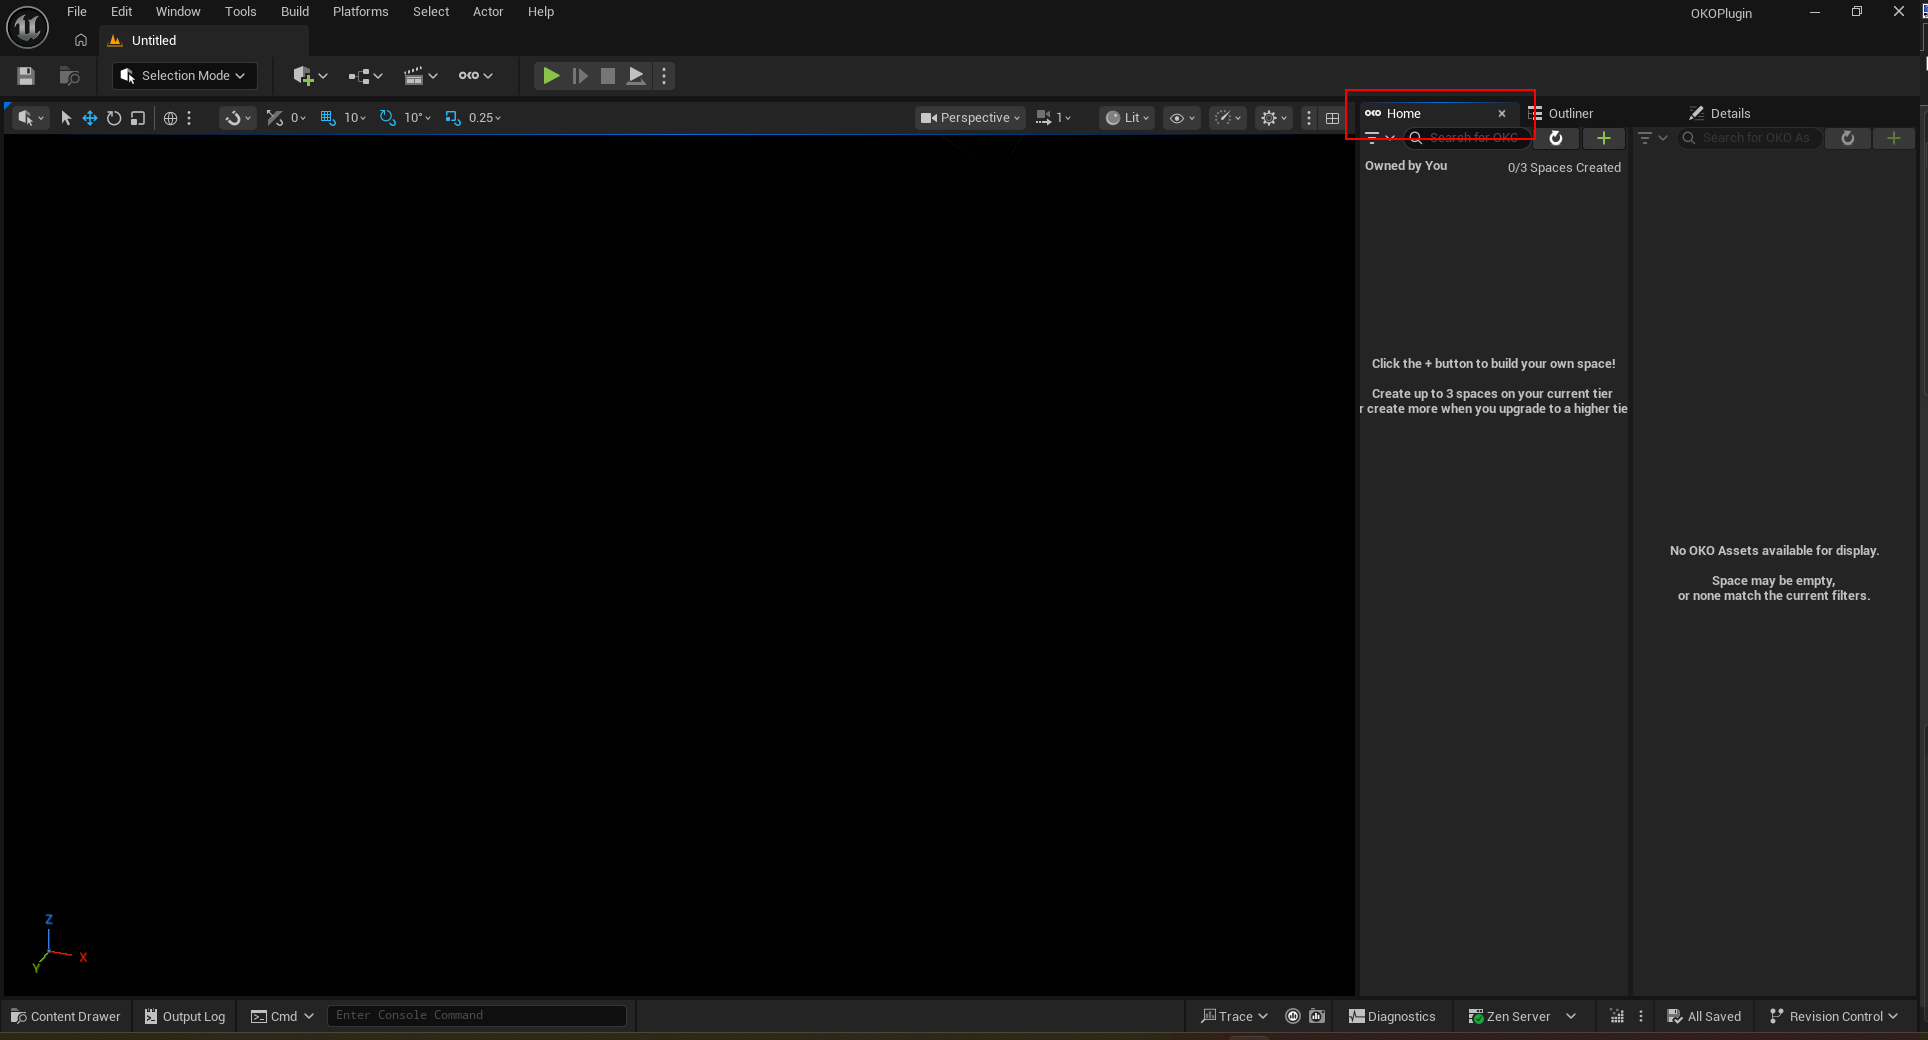
You will see a search bar as well as a + button. If you hover over the + button it will indicate “Create a new OKO space.”
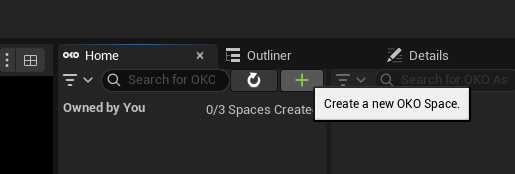
Click on the button to create a new space. In the settings, you will be able to adjust the space according to your preferences.
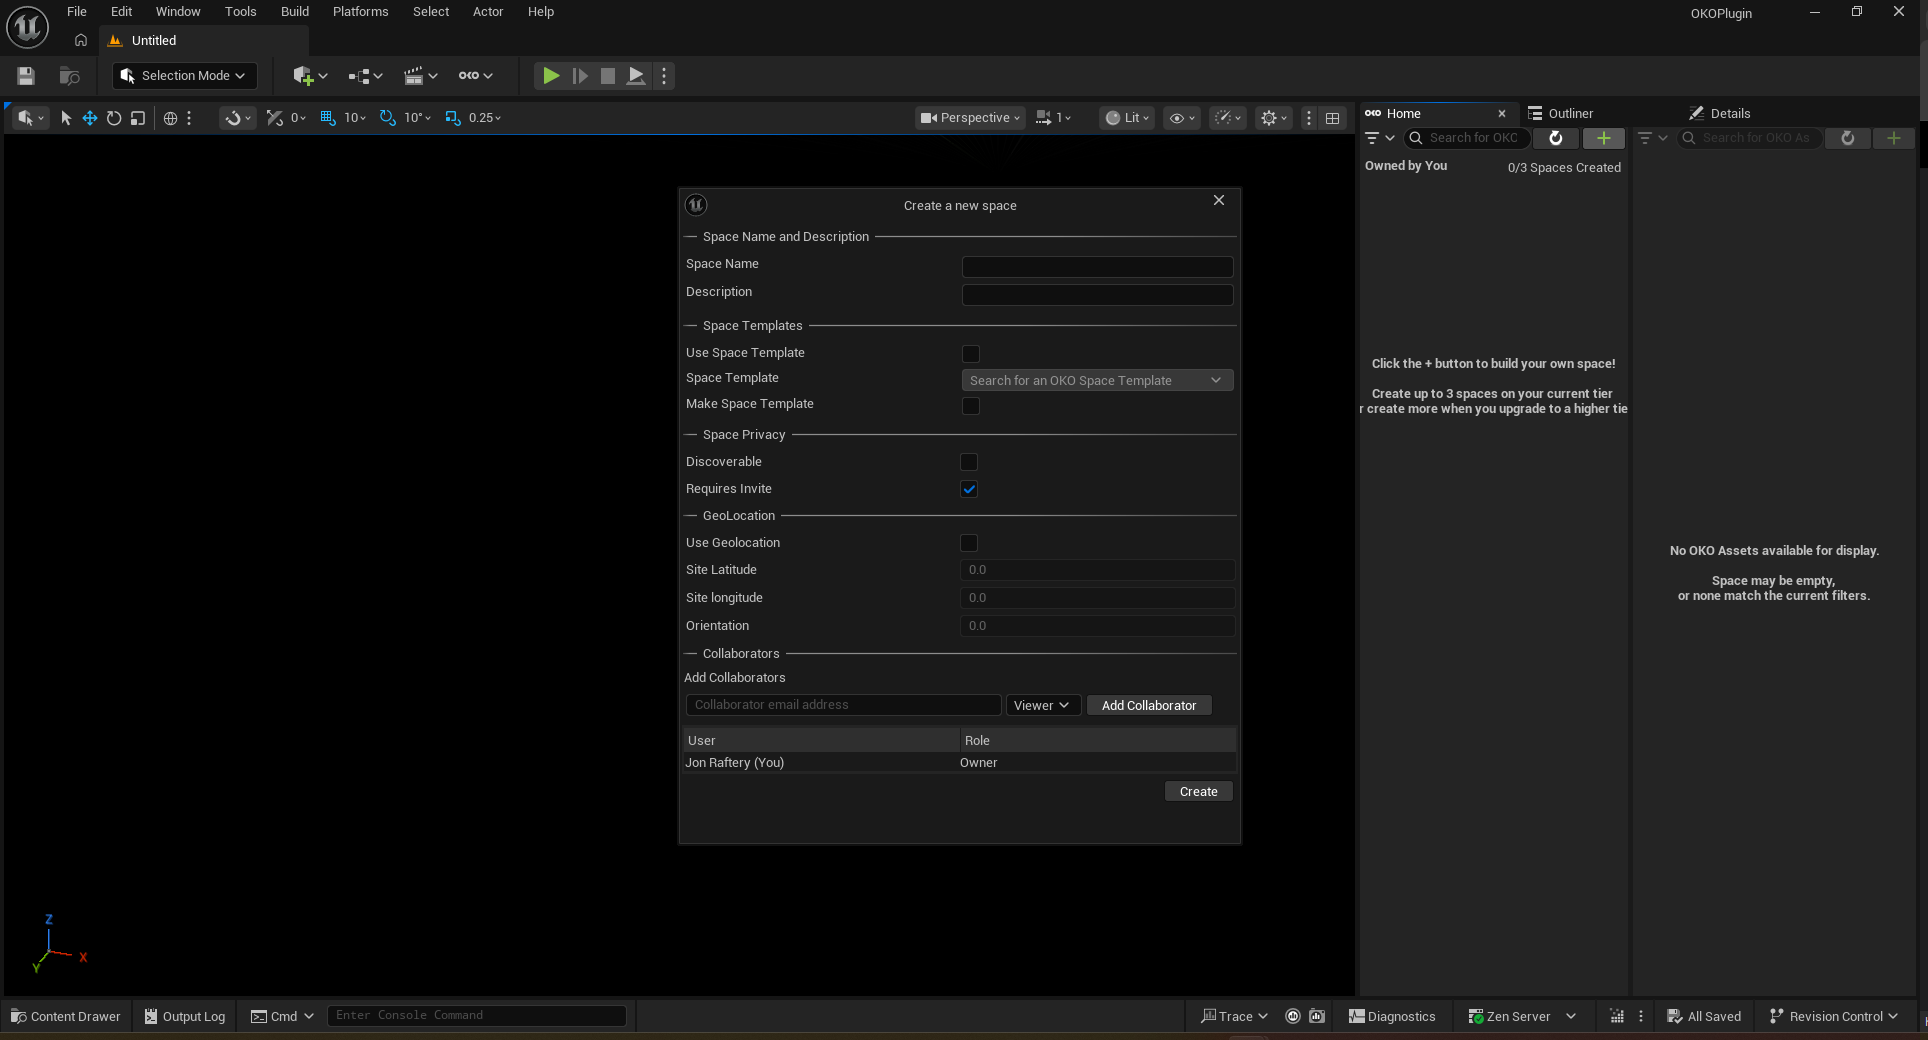
You can add a space name and description. We have included some OKO space templates to help you get started. These include an empty space with a default skybox and lighting setup, as well as more complex environments such as a gallery. You can even make your own spaces into templates to be used by others.
You can decide if you want your space to be accessible to anyone, or if you want your space to be invite only.
You can make your space geolocated by entering latitude and longitude coordinates to give it a real-world location. By making a space geolocated, it means it can be viewed by people at a specific physical location.
Geolocated spaces are great, for example, if you want to create an engaging augmented reality experience. Users who are physically at the same location will see each other represented in the virtual space and be able to enjoy the same virtual content combined with their view of the real world. You can even specify the starting orientation.
You can also invite collaborators. To do so, type their OKO account email address and assign them a role – “Creator” or “Viewer”.
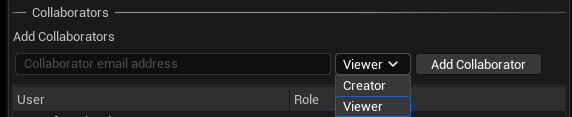
A Creator is a user who has access to edit and collaborate in the space, while a Viewer can only experience the space; they cannot make modifications to it.
Once you’ve chosen the role, remember to click on “Add Collaborator”.
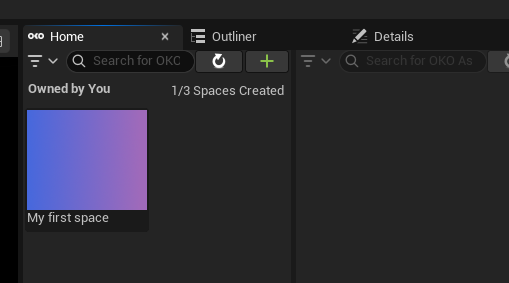
When you have finished selecting your space preferences, go ahead and hit “Create”. This should add a new space in your space tabs.
You will find your space under “Owned by You”, accessed via the filter drop-down. The drop-down filter also lets you find spaces that are “Shared with You” or “Recently Visited“.
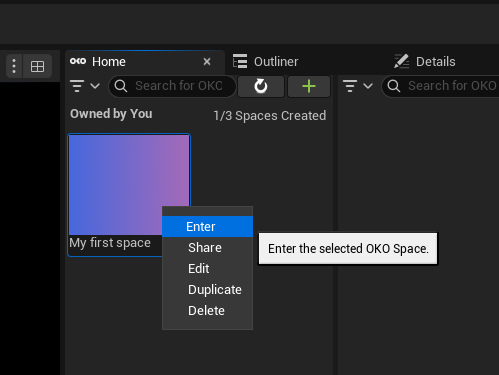
After creating your new space, enter to check it out!
To do this, right-click on the top of the new space and select “Enter” to enter the space. You can also double-click the space to enter it.
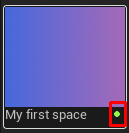
You’ll know which space you’re in by the green circle next to the space name.
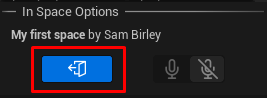
To exit the space search for a blue “Exit” button.