
Communications menu overview
OKO Web Client 2.24.1
CSP 4.19.0
This article will guide you through the Communications Overview in OKO Web, including text messaging, audio, and video chat.
Instructions
The Communications options will be on the right side of your screen.
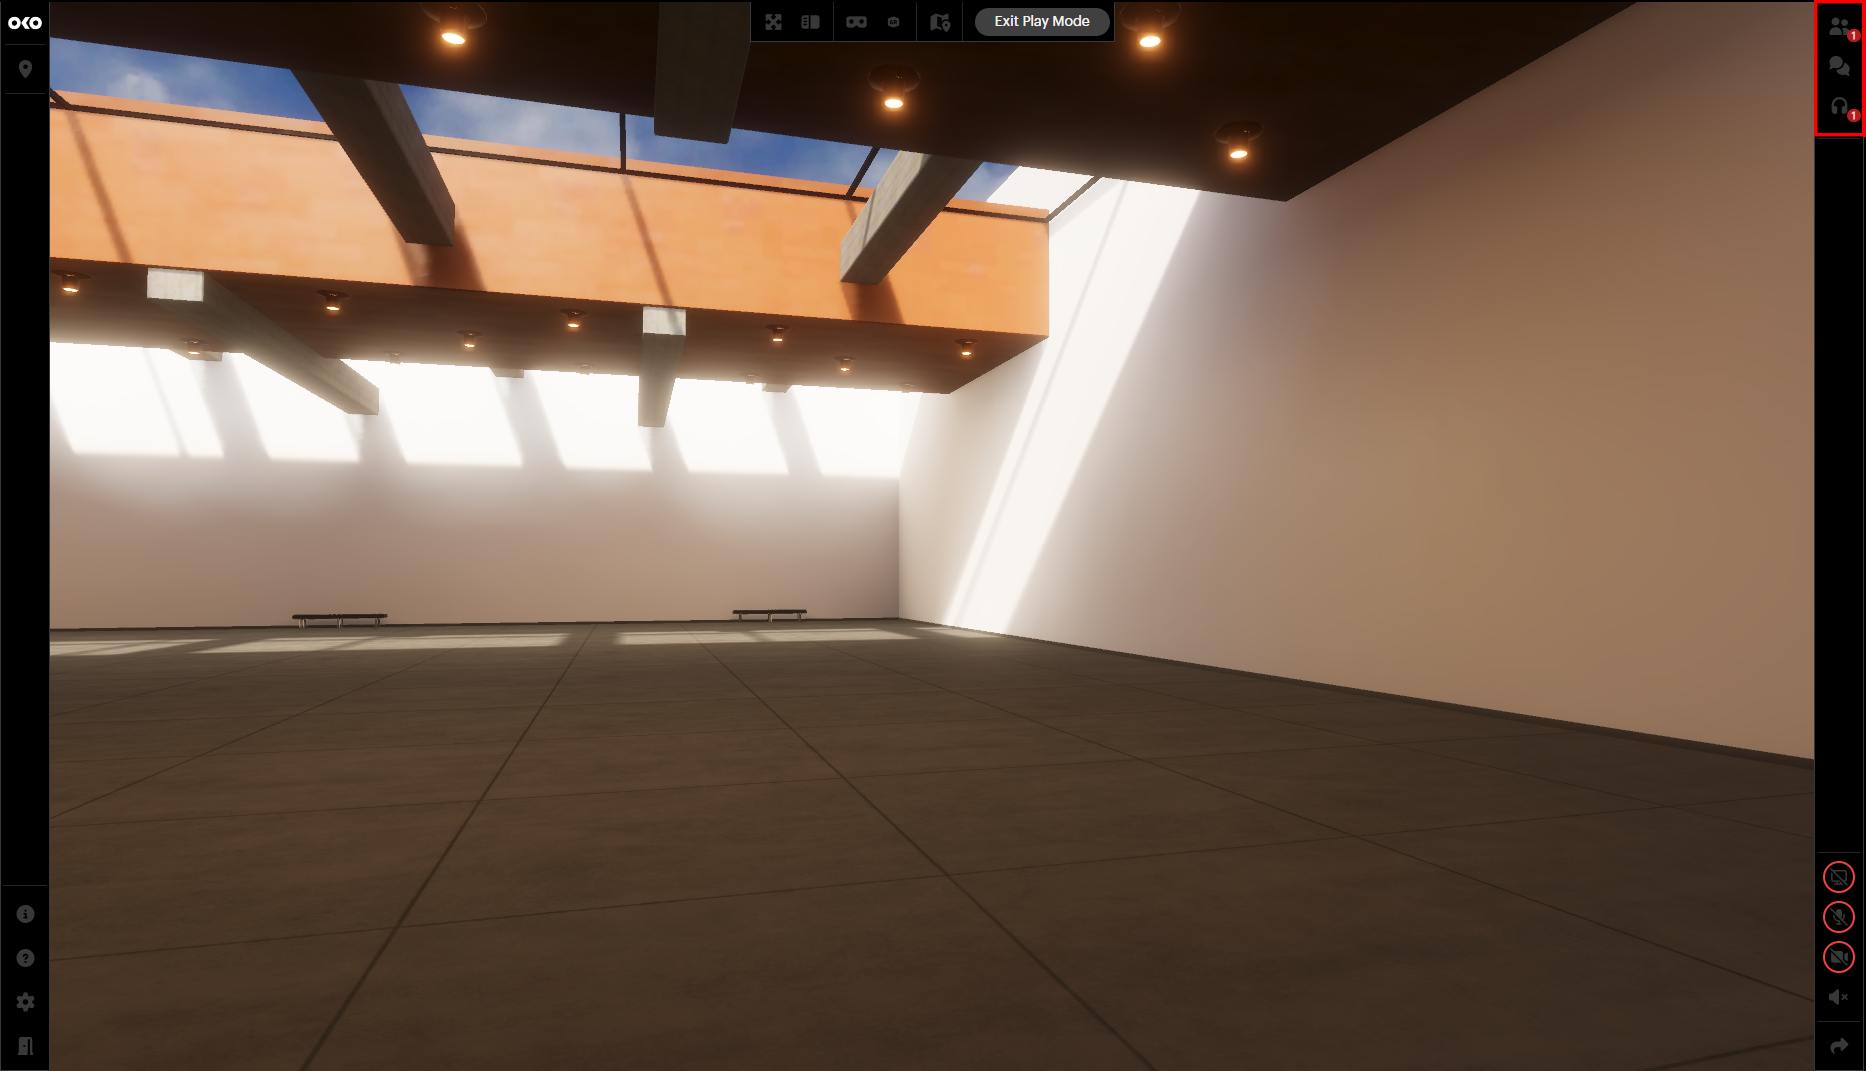
There you will find the following:
 | People – see who is in the space with you. |
.png?inst-v=fc8f39b1-0bd8-4716-94c0-8522b3815fc6) | Chat – use text to communicate with your collaborators. |
.png?inst-v=fc8f39b1-0bd8-4716-94c0-8522b3815fc6) | Call – enter either an audio or video call. |
People
When expanding the menu, you will see who the users are.

Here you can travel directly to other users by opening the menu and selecting “Teleport to”.
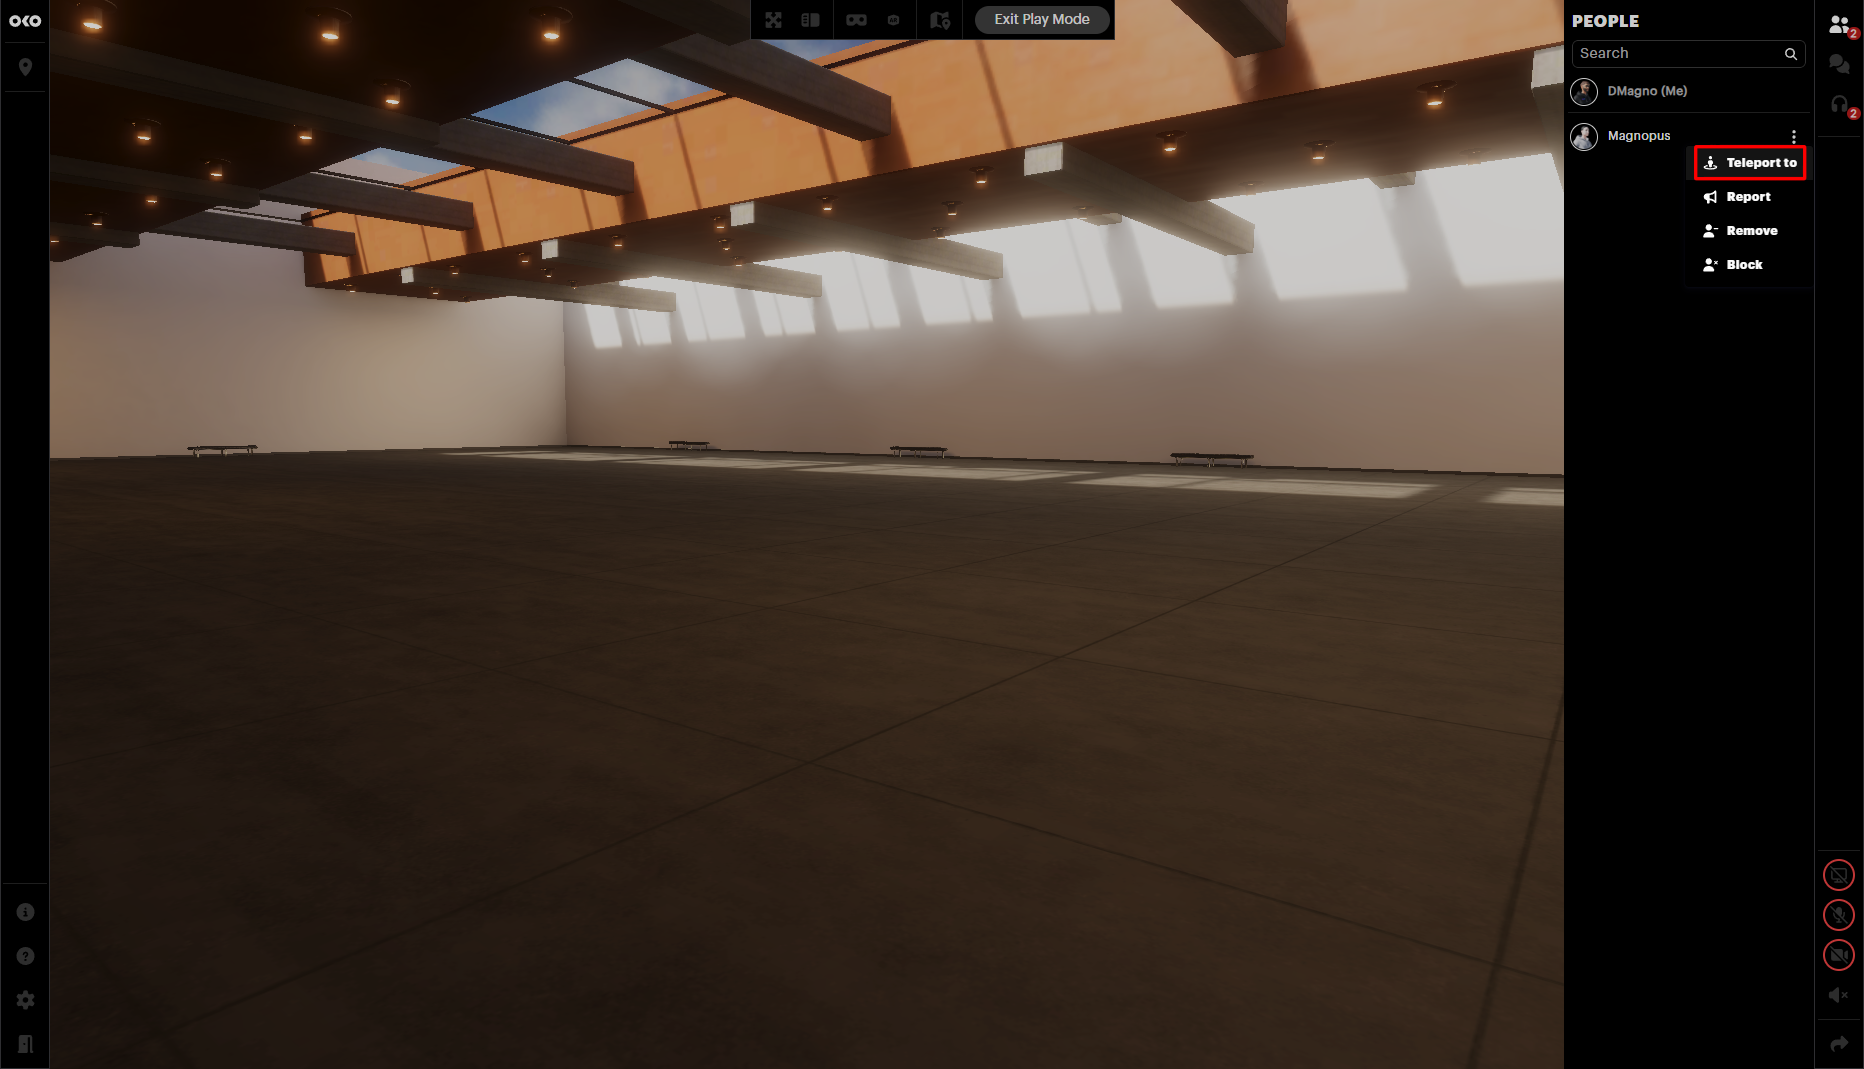
From that same menu, you can report a user, remove them from the space, and block them (some options are only available to creators).
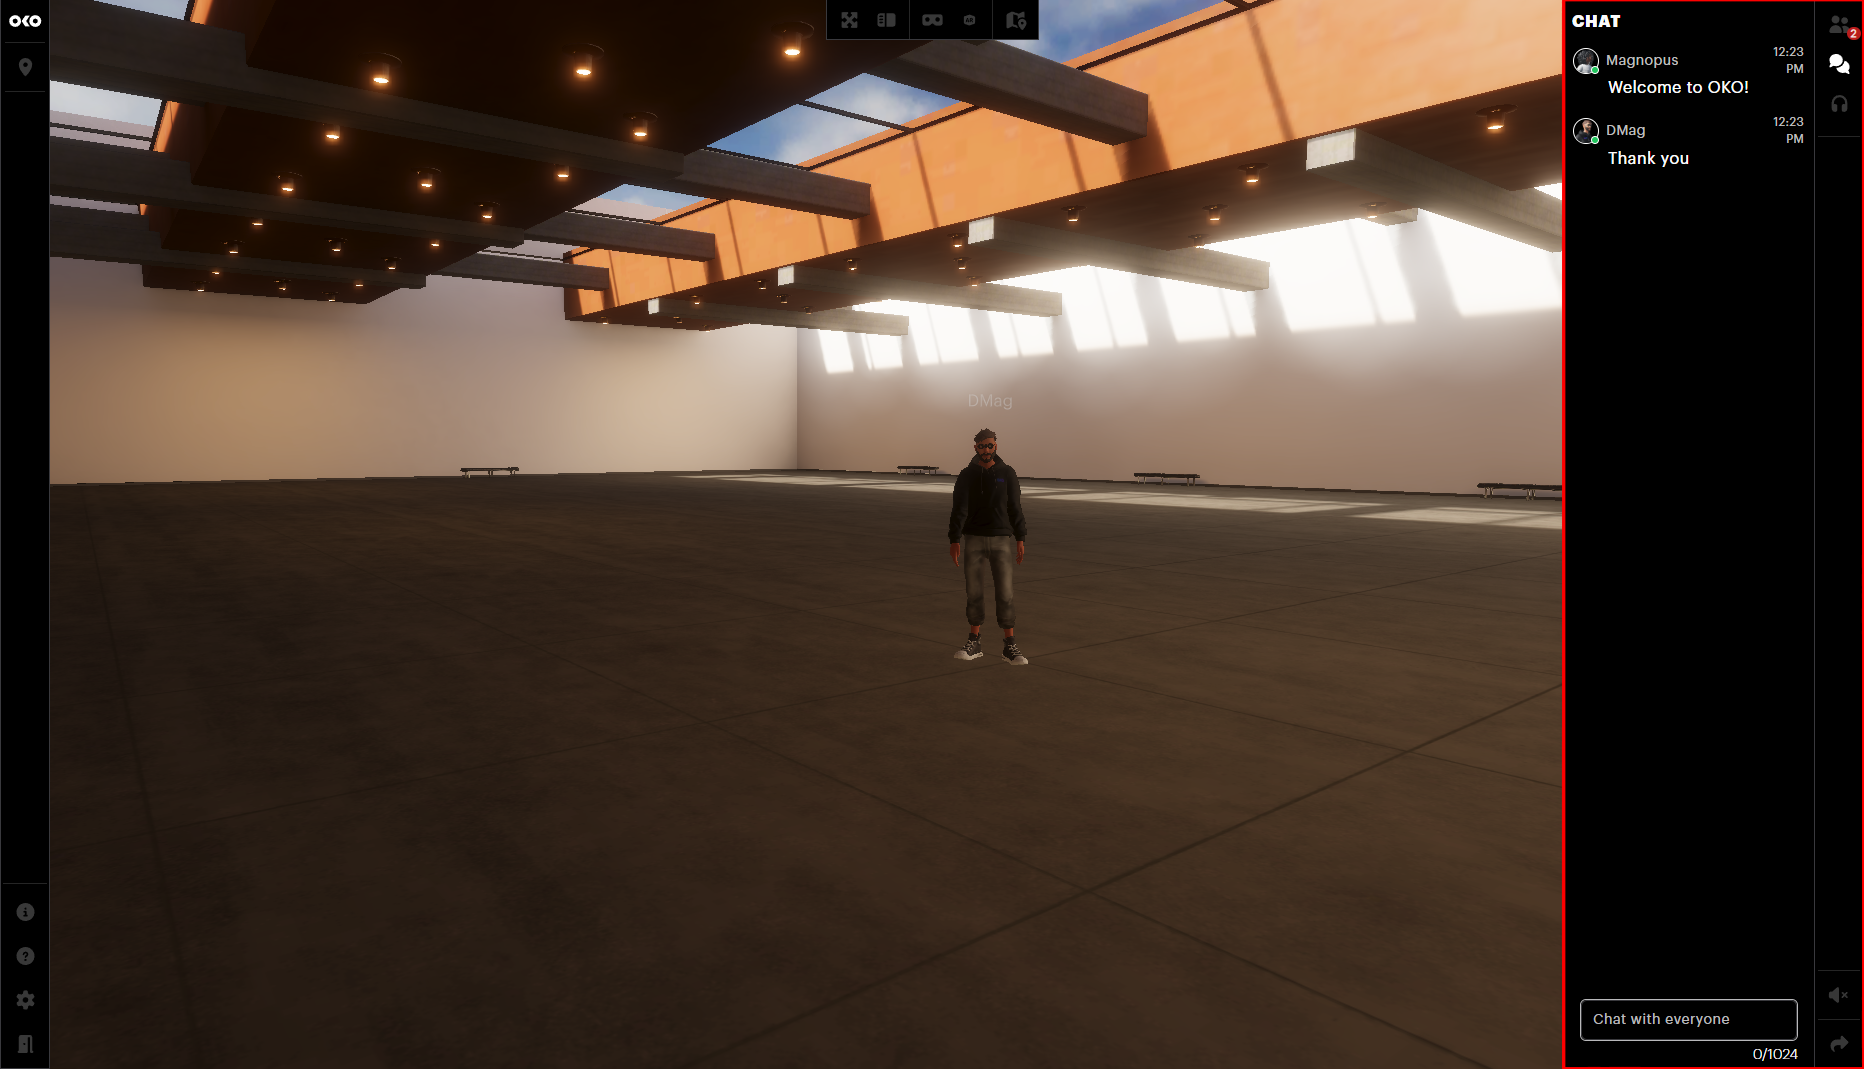
Chat
Here you can exchange messages with all users in the space.
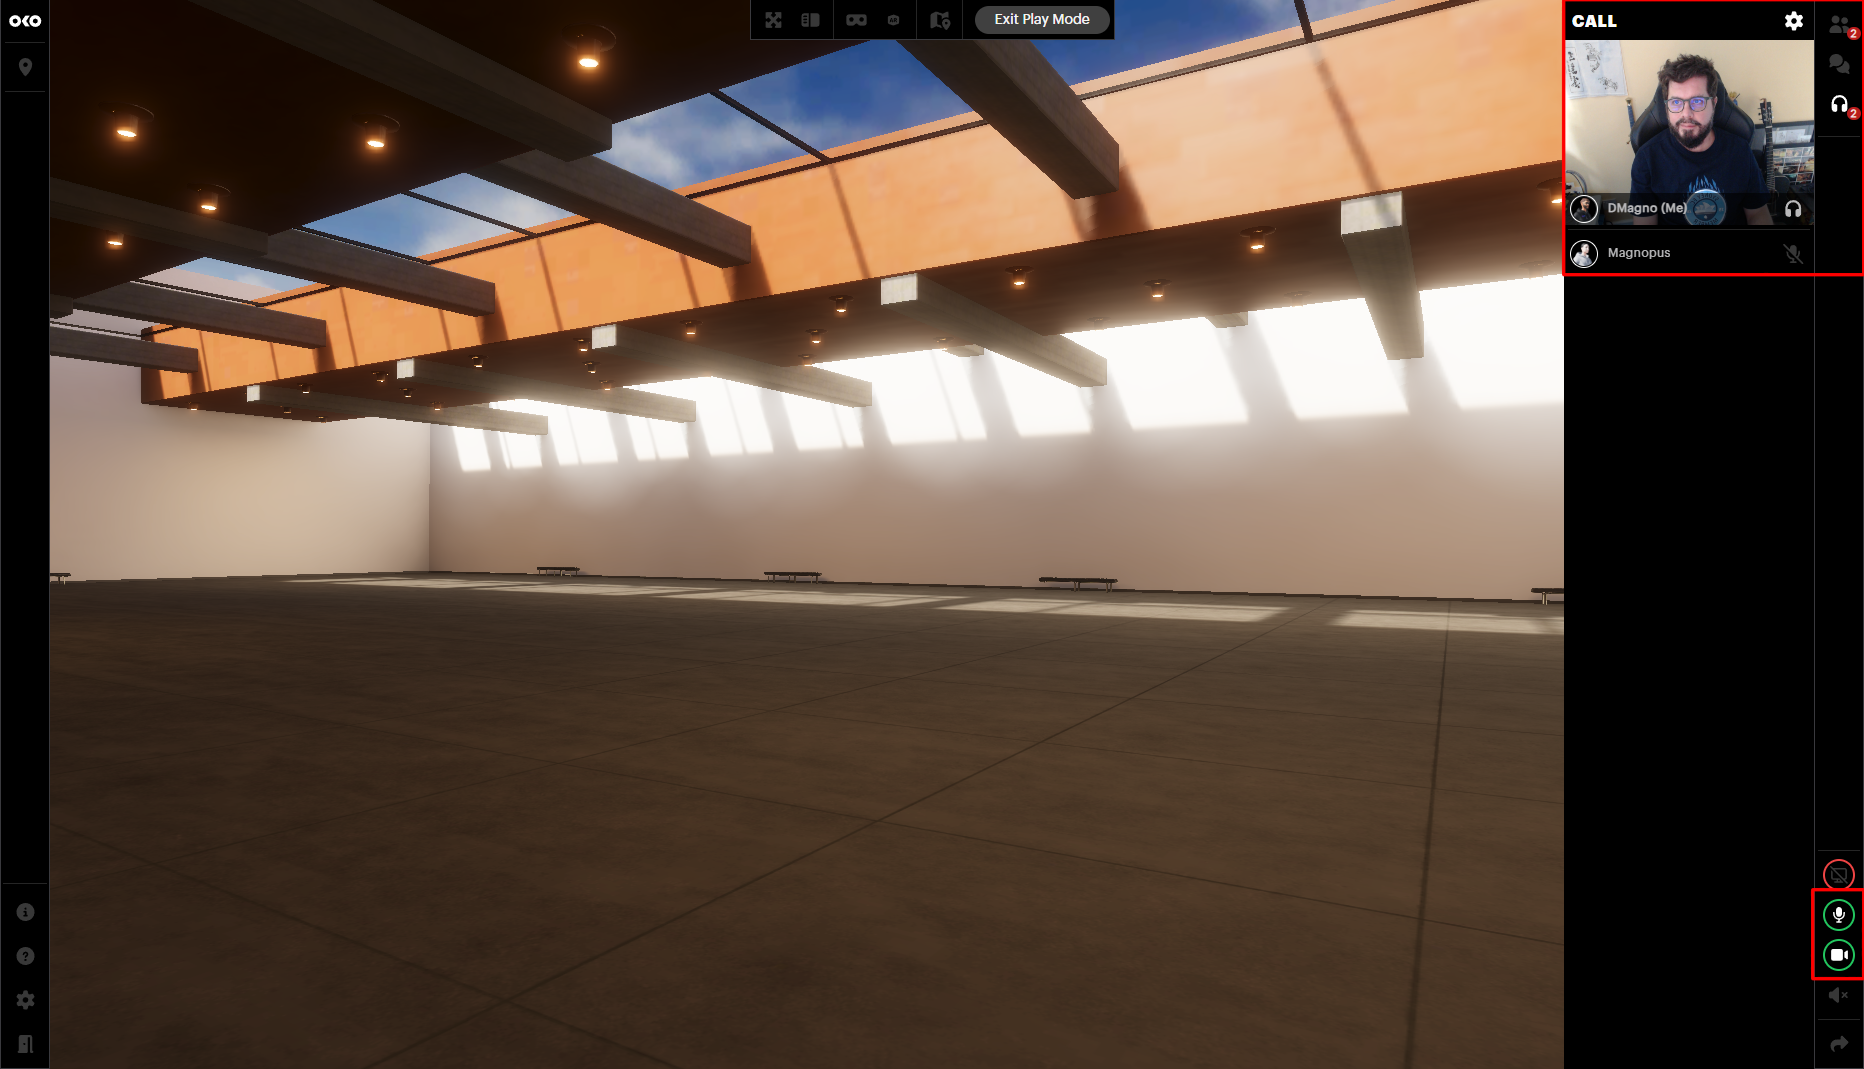
Video and audio calls
When you click on the headphones icon, you can turn on your audio and camera to chat with people in your space.
On the left side of the screen, you will see the settings icon (the cog wheel). Click it to open the in-space settings.
.png?inst-v=fc8f39b1-0bd8-4716-94c0-8522b3815fc6)
.png?inst-v=fc8f39b1-0bd8-4716-94c0-8522b3815fc6)
Here you can adjust your video and audio preferences.