Adding assets to a space
Version 4.9.0 - CSP 6.42.0 - UE 5.7
This article will guide you through the process of adding assets to a space created in Unreal using the OKO Plugin.
Instructions
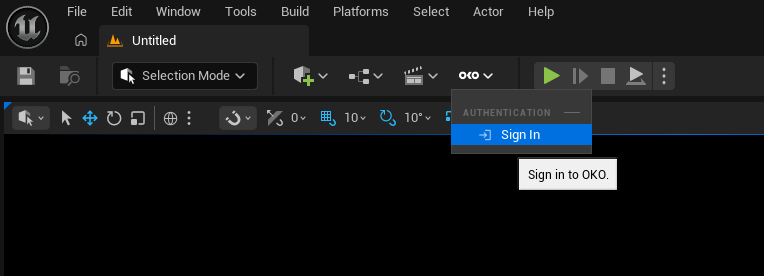
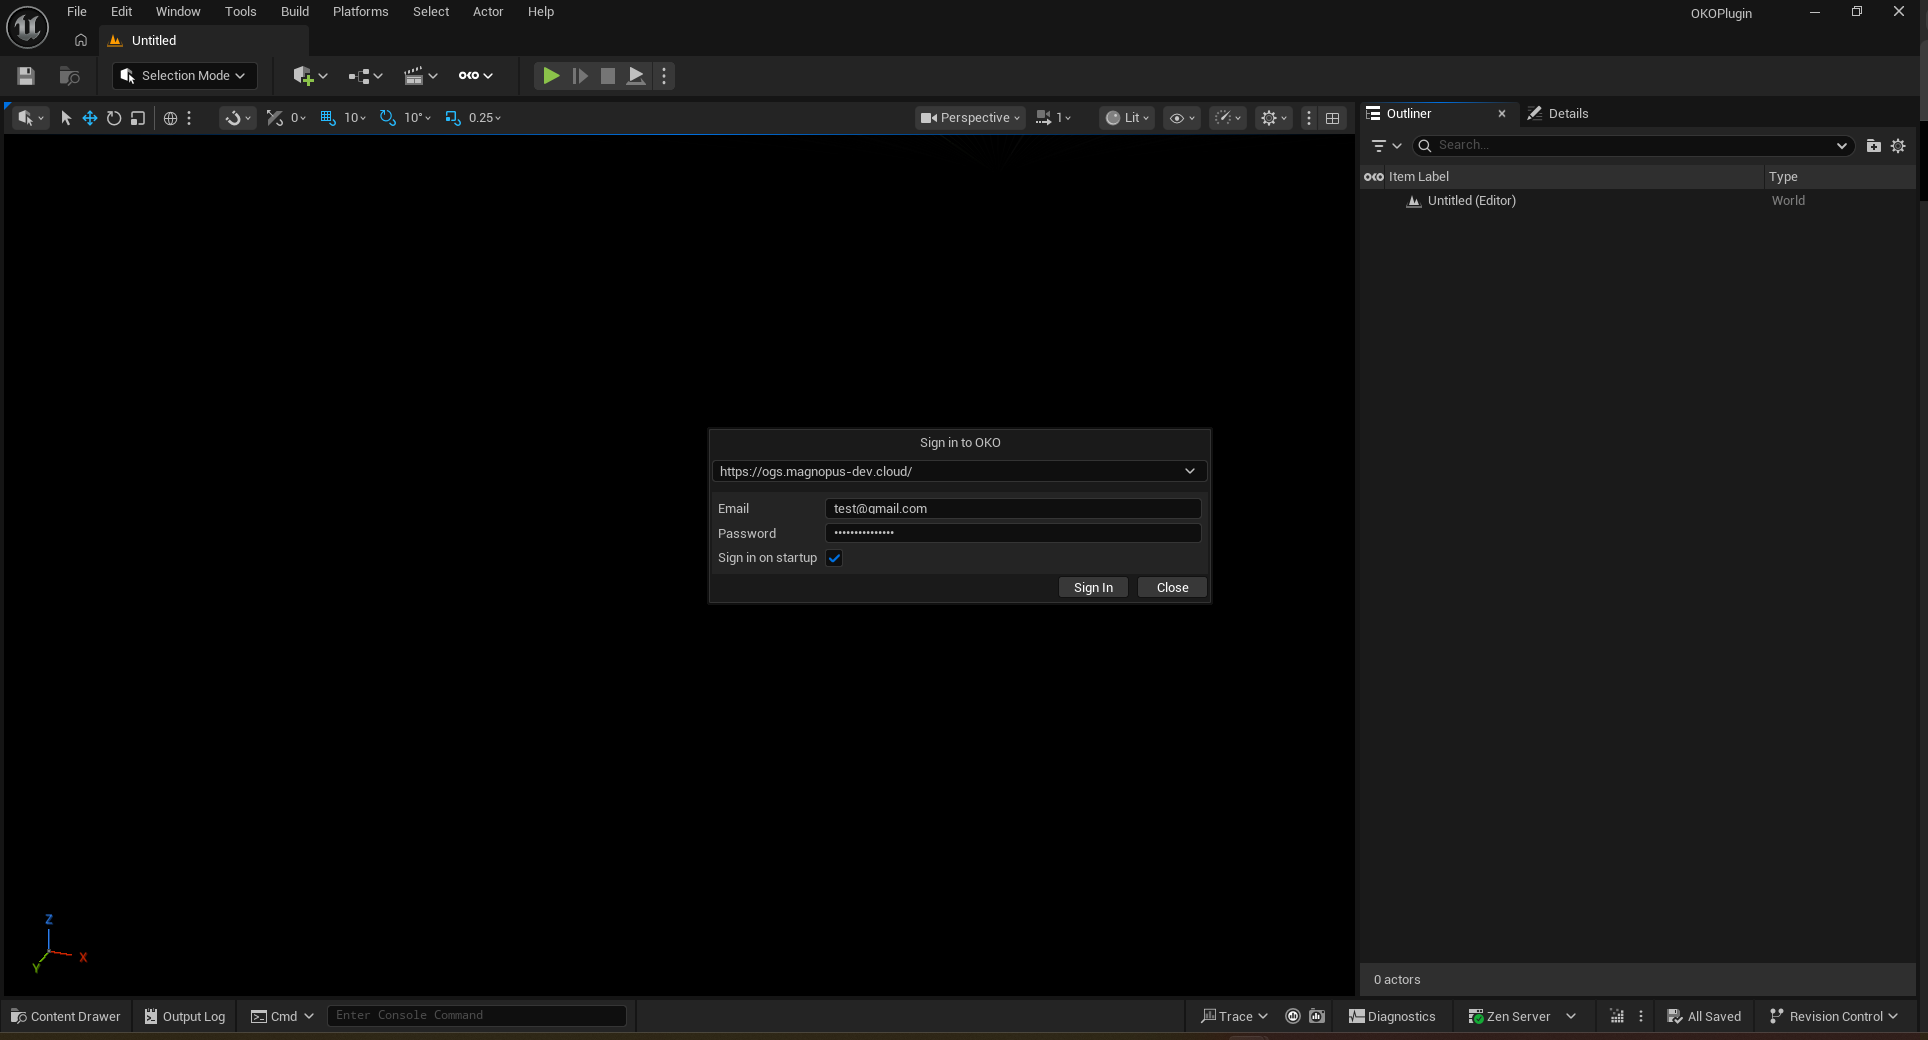
Using your credentials, log into OKO using the OKO plugin in Unreal. If you don’t have an account yet, please refer to Sign Up and Account Settings.
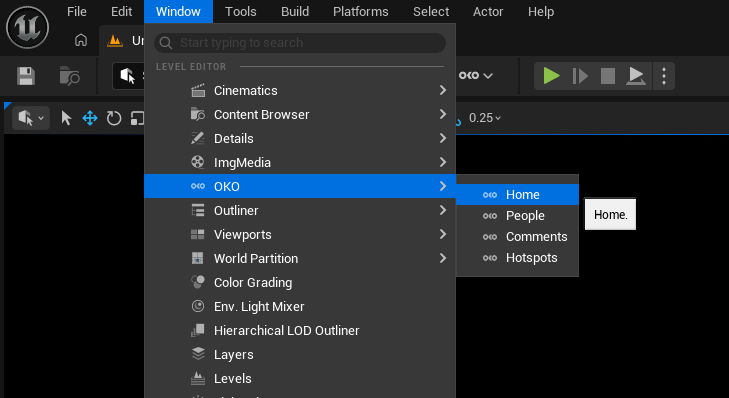
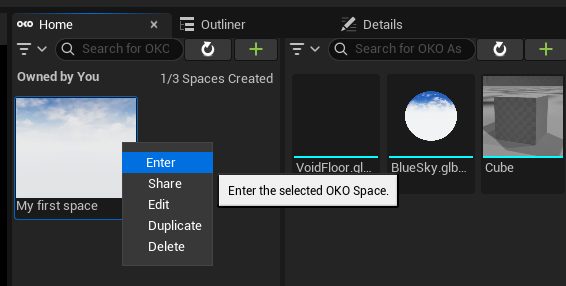
Once you’ve logged in, open the OKO Home tab.
If you don’t have any spaces, you’ll need to create a new one.
Enter your space by double-clicking on its thumbnail or right-clicking and then selecting “Enter.”
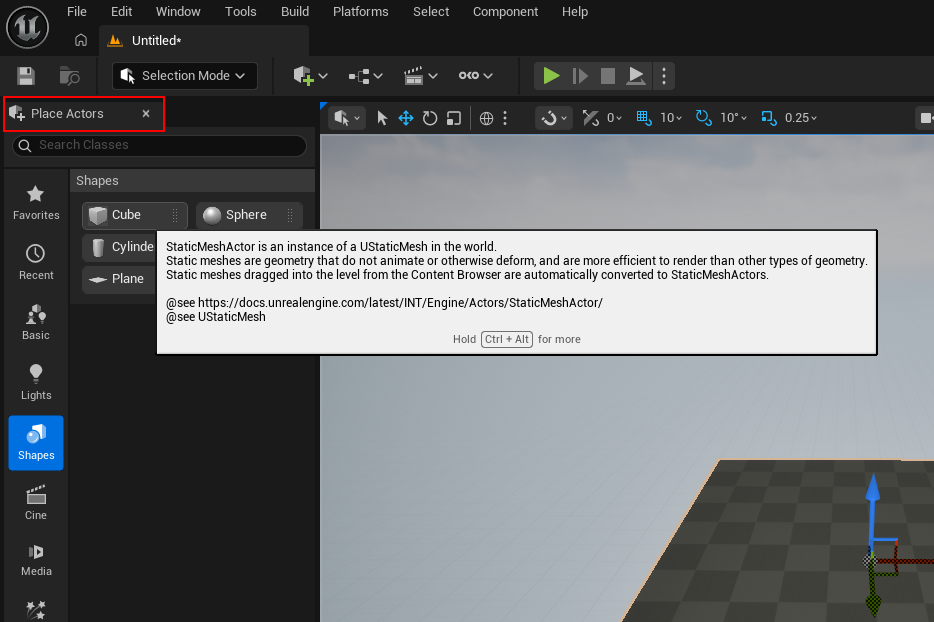
The two fastest ways to add Unreal actors to the level is by using the Place Actors tab, shown below.
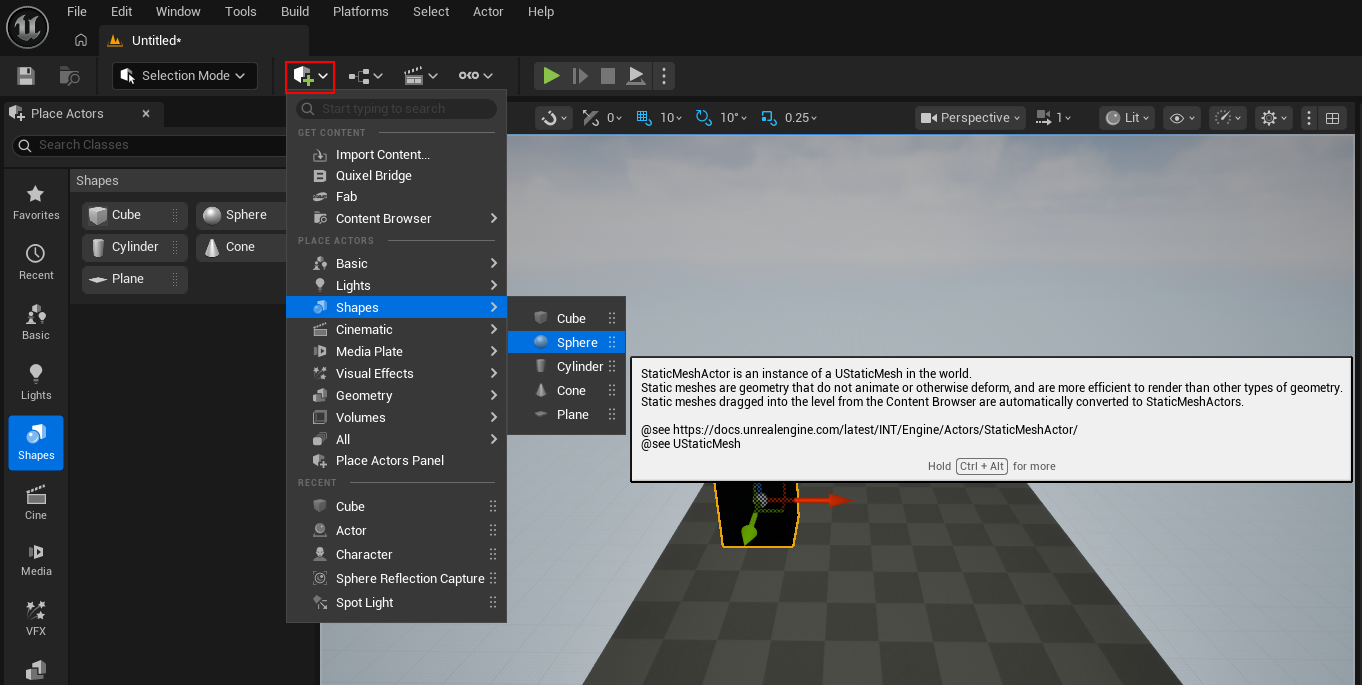
Or using the Quick Add button.
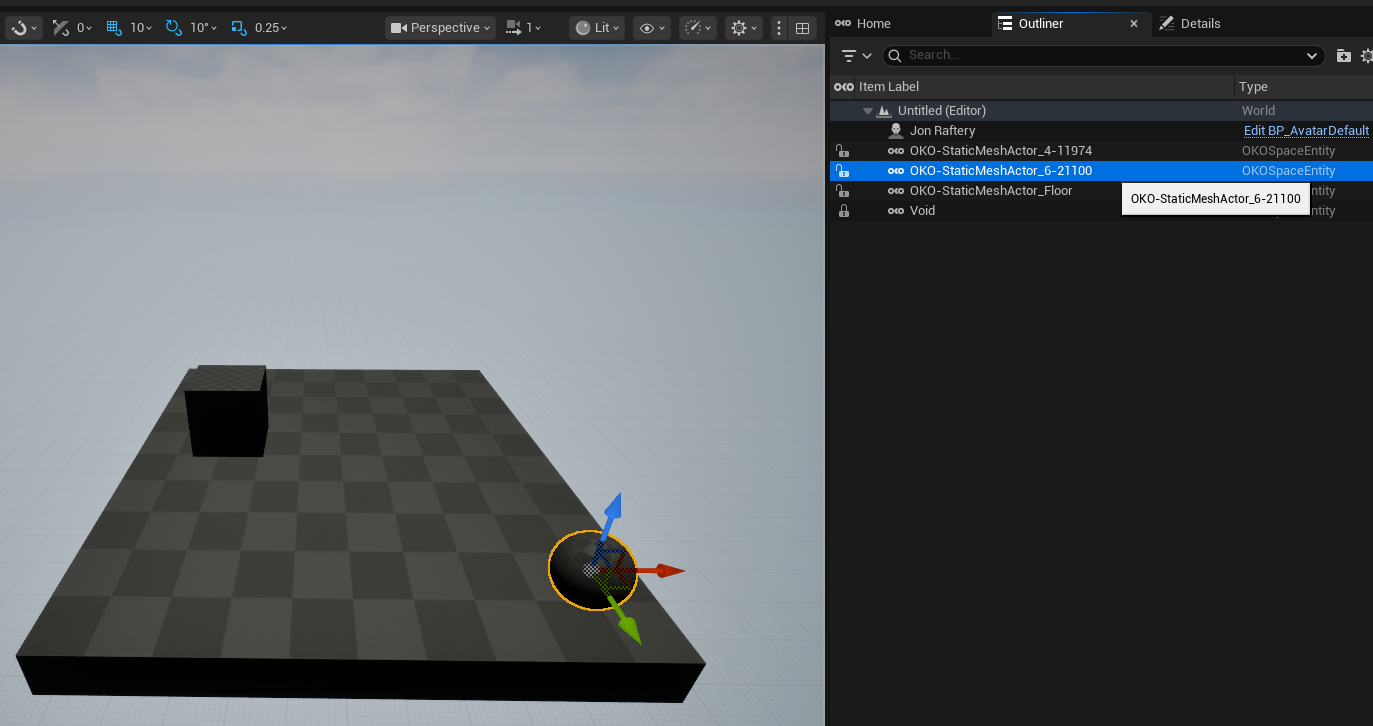
Which ever method you use, as soon as the Unreal actor is placed, OKO will automatically attempt to convert it to an OKO Space Entity. Here’s what happens when we place a cube.
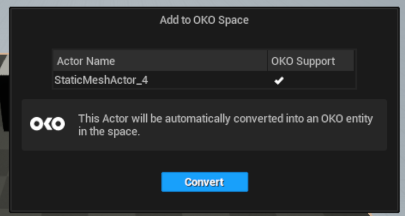
You can also adjust a host of parameters before the OKO Space Entity is actually created.
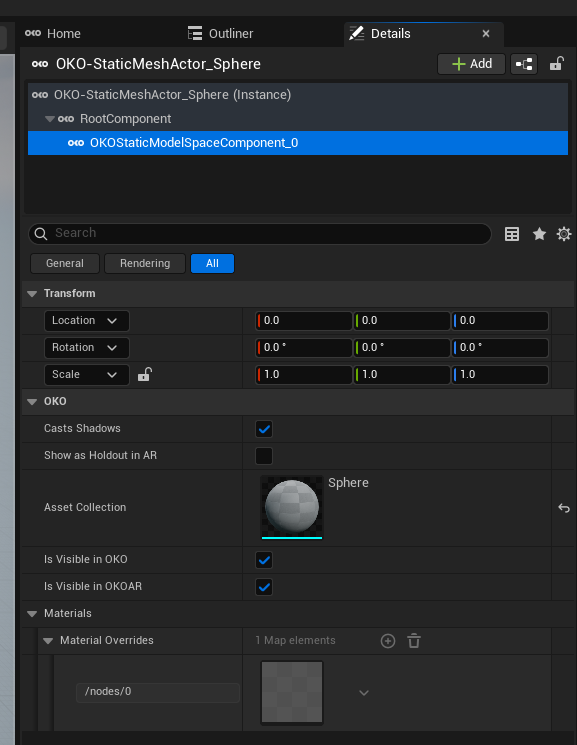
For our example we add two basic shapes to the OKO space; a cube and a sphere. If you look at the Outliner you can see they were both created as OKO Static Mesh Actors, using auto generated unique names. In the image below you will see that the name for the OKO sphere Space Entity is not very descriptive!
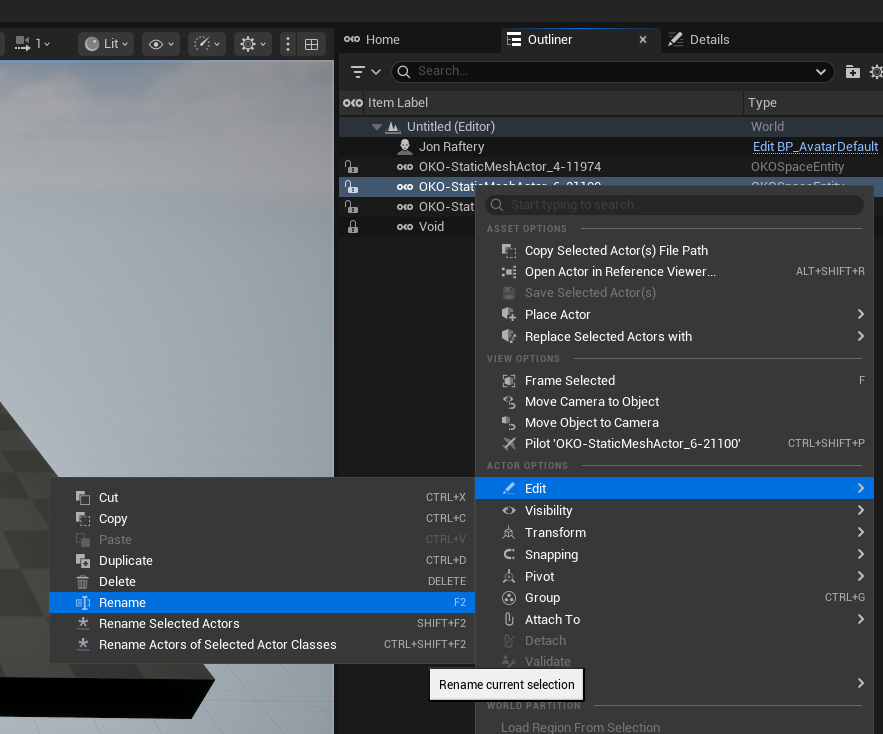
Now would be a good time to rename it to something more meaningful, so go ahead and right click on the OKO Space Entity in the outliner, and select Edit->Rename. Now do the same for the cube.
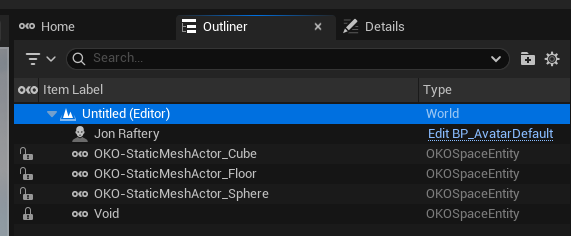
Ah, that’s better!
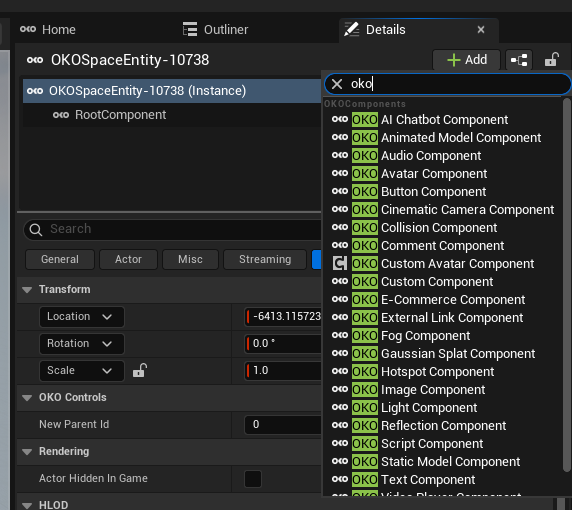
With you select an OKO Space Entity using the outliner, looking at the the details tab you will see all the OKO-specific details relevant to the Space Entity, including components and properties. To avoid confusion, nothing here is shown for the Unreal actor which the Space Entity was created from.
You have now successfully added assets to an OKO space. These assets will appear across all clients: OKO Web, OKO Unreal Editor Extensions, and the OKO iOS App. Any additional changes to this asset will also be reflected across all clients.
Additionally, if you have a space in which you previously uploaded assets to your asset library in Web. Those assets will now appear in our Unreal Asset Library.
To open the Unreal Asset Library, enter the space using the plugin. Once in the space, the library will appear next to the space list.
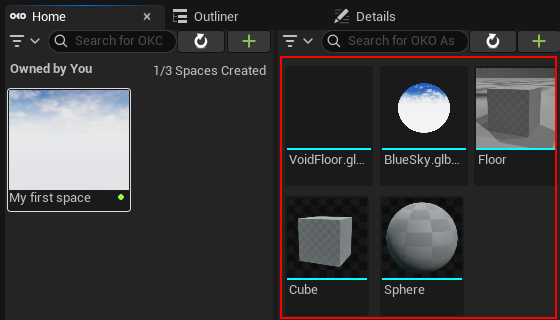
The asset library works in the same way as in OKO Web, just drag and drop the asset to appear in your space and across all clients, without needing to convert it to an OKO actor.
If you want to directly add a Space Entity and start adding components to it, you can simply right-click on the ground and select 'Create empty OKO Space Entity here'.
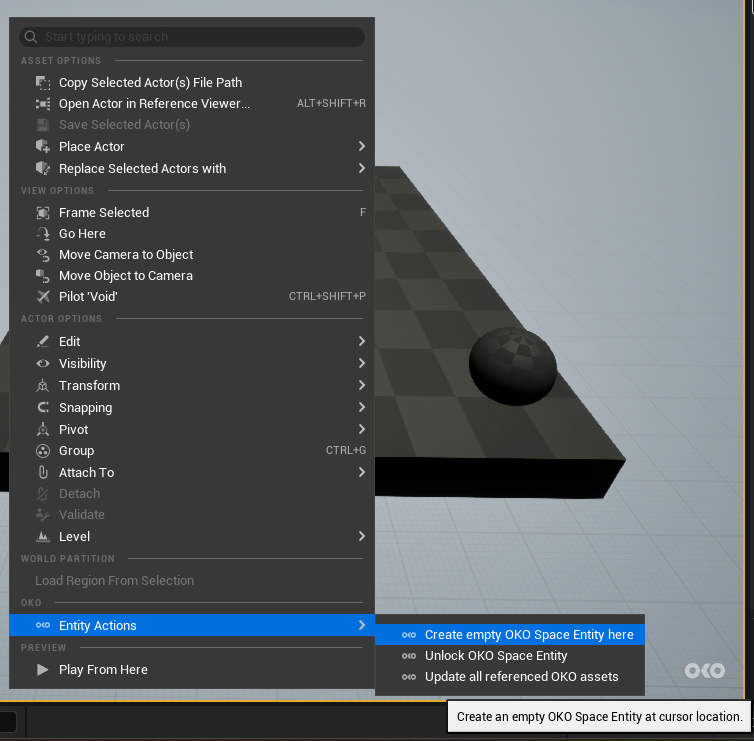
Then, using the component picker, you can start adding your OKO components!